
grout removal tool small is usually the quickest way to fix cracked, stained, or crumbling grout without tearing up good tile, especially in tight joints and corners where bulky tools just fight you.
If you’ve ever tried to “just scrape a little” and ended up scratching glaze or widening a joint, you already know why this matters, grout is softer than tile, but the wrong tool or angle makes the tile pay the price. A small tool gives you control, and control is what keeps a repair looking like a repair, not a patch.
This guide breaks down what “small” really means, which tool styles work for which joints, and a realistic workflow for removal, cleanup, and regrouting. I’ll also call out the common mistakes that waste time, like picking a blade that’s too wide or skipping dust control.
Why a small grout removal tool is often the right call
For tile repair, the goal is targeted removal, not demolition. A compact remover tends to shine in a few real-world situations.
- Narrow grout joints: Many wall tiles and mosaics use thinner joints, so a smaller blade reduces the chance of riding up onto the tile edge.
- Detail work: Around fixtures, niches, thresholds, and transitions, you need precision more than speed.
- Spot repairs: If only a few feet of grout failed, a small hand tool can be faster than setting up power tools and masking everything.
- Less collateral damage: Smaller contact area means fewer accidental slips, assuming you keep the blade aligned.
That said, “small” is not automatically “best.” If you’re removing grout across a whole bathroom floor, a power oscillating tool with the right blade may be more practical, and you can still keep a compact hand tool for edges and cleanup.
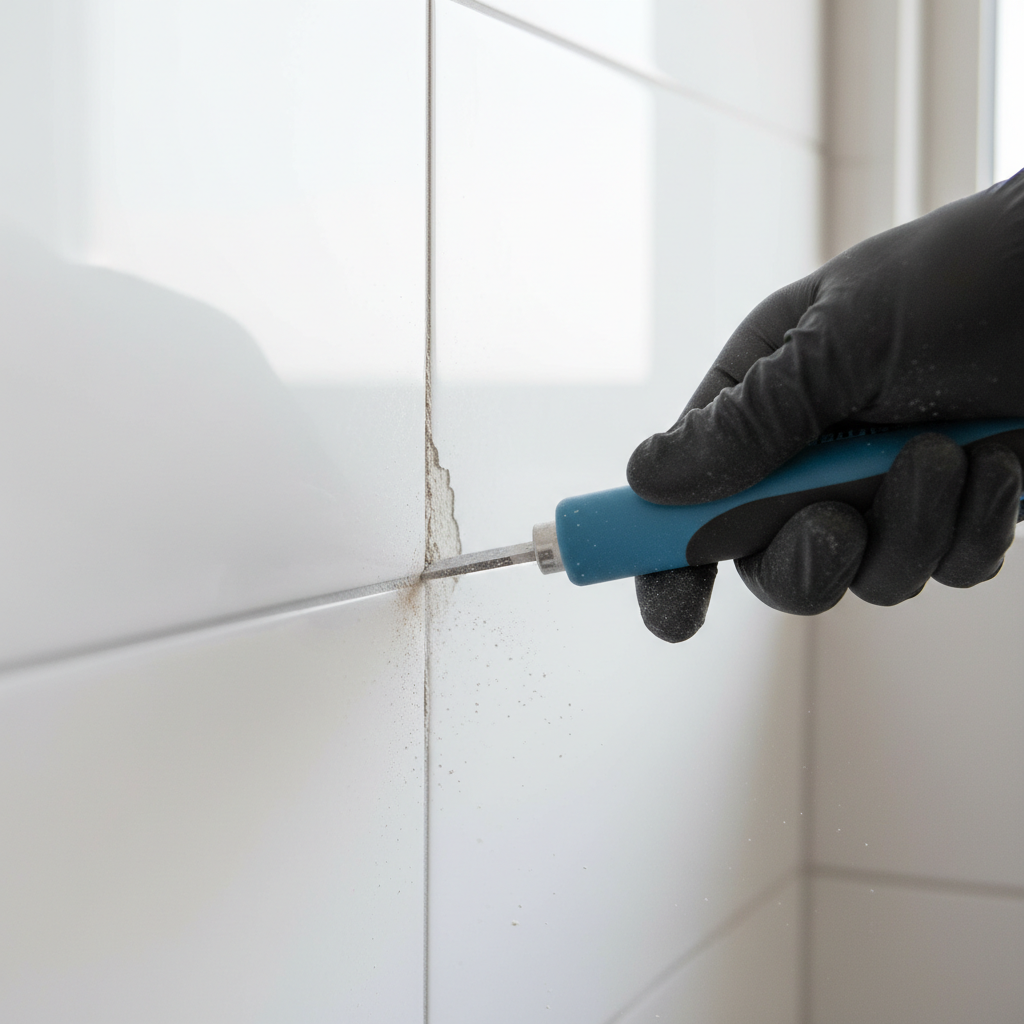
Types of grout removal tools (and what they’re good at)
Most options fall into a few categories. The trick is matching the tool to grout hardness, joint width, and how much grout you need out.
Hand grout saws (carbide grit or carbide teeth)
- Best for: small repairs, controlled removal, beginners who want feedback through the handle
- Watch for: blades that are wider than your joint, they can chip tile edges
Grout removal knives and scrapers (thin, rigid blades)
- Best for: softened grout, cleanup passes, shallow removal near tile edges
- Watch for: pushing too hard and slipping, especially on glossy wall tile
Oscillating multi-tool blades (carbide or diamond grit)
- Best for: larger areas, hard grout, faster removal when you can protect surrounding surfaces
- Watch for: heat and vibration, it’s easy to scar tile if you rush
Rotary tools (grout bit in a Dremel-style tool)
- Best for: medium areas, detailed lines, awkward angles
- Watch for: dust, and “walking” off the joint if the bit catches
According to the U.S. Consumer Product Safety Commission (CPSC), power tools and home improvement products can create hazards if used improperly, so if you go beyond hand tools, treat dust control and eye protection as part of the job, not an optional add-on.
Quick self-check: do you need a small tool, a power tool, or both?
Before buying anything, take two minutes and classify your job. This prevents the classic mistake of buying a tiny tool for a big removal job, then hating life halfway through.
- Area size: Under ~10 square feet of grout lines to remove often favors a grout removal tool small and patient technique.
- Joint width: Very narrow joints or mosaics usually need slim blades, sometimes multiple passes rather than one aggressive cut.
- Grout type: Cement grout is common and varies in hardness, epoxy grout is tougher and may push you toward power tools or professional help.
- Tile type: Soft stone and polished finishes scratch easier, hand tools can be safer if you’re careful.
- Access: If you’re working behind a toilet, inside a niche, or around trim, compact tools earn their keep.
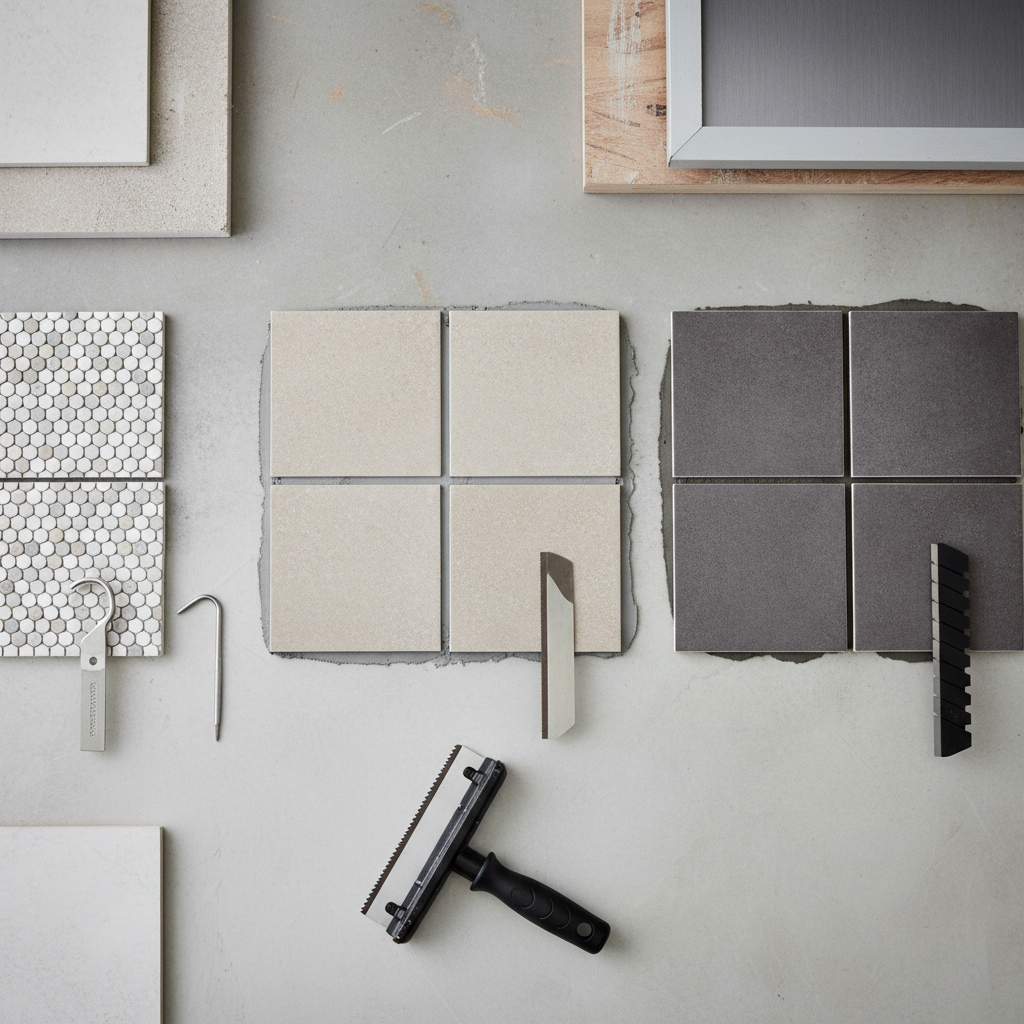
Choosing the right size: a practical guide (with table)
“Small” can mean a compact handle, a narrow blade, or both. For most tile repairs, blade width matters more than handle length.
| Situation | What to look for | Why it helps |
|---|---|---|
| Narrow grout joints (common on wall tile) | Thin blade that fits the joint; steady grip | Reduces tile edge contact and chipping risk |
| Corner joints and tight spaces | Compact head, short stroke control | Lets you work close to fixtures without awkward angles |
| Hard, old grout that resists scraping | Carbide grit/teeth; optional power tool support | Maintains bite without forcing and slipping |
| Soft stone tile (marble, travertine) | Gentler hand tool use; masking and test passes | Stone scratches easily, precision beats speed |
| Whole-room regrout | Power tool for field + small hand tool for edges | Faster overall, but still controlled at borders |
If you’re unsure, buy the tool that fits your tightest joint and accept that removal might take more passes. Trying to “make a wider blade work” is where chipped tile edges usually start.
Step-by-step: remove grout cleanly without damaging tile
grout removal tool small works best when you treat removal like controlled sanding, light pressure, consistent angle, frequent checks. Rushing is what causes slips.
1) Prep the area (this saves you more time than you think)
- Vacuum the joints so grit doesn’t act like sandpaper against tile.
- Protect edges and nearby finishes with painter’s tape if you’re working on glossy tile or soft stone.
- If you’ll generate dust, open a window, run ventilation, and consider a shop vac with a fine dust filter.
2) Score the grout line and establish a groove
- Start in the middle of a joint, not right on the tile edge.
- Use short strokes, keeping the blade centered, you’re creating a track the tool can follow.
- Once you have a shallow groove, deepen it in passes rather than trying to get depth in one go.
3) Remove to the right depth for a durable regrout
- A common rule is removing grout to about two-thirds of the tile thickness, but tile assemblies vary, so use it as a guideline, not a promise.
- Stop if you see movement in the tile, hollow sounds, or crumbling underneath, that becomes a substrate issue, not just grout.
4) Detail the edges, then clean thoroughly
- After bulk removal, do a light pass close to tile edges with reduced pressure.
- Vacuum again, then wipe with a barely damp sponge to pick up fine dust.
- Let joints dry before regrouting, moisture can change how grout cures.
According to the Tile Council of North America (TCNA), tile installations rely on correct materials and methods for long-term performance, so if grout failure keeps coming back in the same spot, it’s worth questioning what’s underneath, not just what’s on the surface.

Mistakes that make small grout tools feel “useless”
When people say a compact remover “doesn’t work,” it’s often one of these issues, and fixing it changes the experience fast.
- Using the wrong blade width: too wide drags on tile edges, too narrow can take longer but stays safer.
- Forcing the cut: heavy pressure makes the tool jump, light pressure with more passes usually wins.
- Skipping a test area: grout hardness varies by age and mix, test behind a door or in a corner.
- Ignoring dust: dust hides your progress and acts abrasive, vacuuming mid-job is not overkill.
- Regrouting too soon: if the joint stays dusty or damp, new grout bonds poorly and can crack early.
If your grout seems rubbery, glossy, or unusually resistant, it might be epoxy or a specialty formula. In that case, a small hand tool can still help at edges, but a power approach or a pro may be more realistic.
When to consider a pro (or at least get advice)
grout removal tool small is great for surface-level repairs, but some warning signs suggest the problem goes beyond grout.
- Multiple tiles feel loose, rock slightly, or sound hollow.
- Grout cracks repeatedly in the same lines after regrouting.
- You see staining that might suggest moisture movement, especially around showers.
- You suspect asbestos-containing materials in very old flooring systems, in older homes this can be a concern, and you should consult qualified professionals for testing and remediation guidance.
Also, if you’re using power tools in a small bathroom and can’t manage dust, that’s not just messy, it can be a respiratory irritation issue, so consider better containment or hiring it out.
Key takeaways and a simple action plan
If you want a clean-looking tile repair, the small-tool approach is mostly about restraint: fit the blade to the joint, work in passes, and clean as you go. Speed comes later.
- Pick the tool to match your narrowest joint, not your biggest open area.
- Cut a centered groove first, then deepen it gradually.
- Vacuum often, dust control is part of precision.
- Regrout only after the joint is clean and dry, otherwise the repair can fail early.
If you’re repairing one small section this weekend, start with a careful hand tool pass and only add power tools if the grout truly fights back, that’s the easiest way to protect tile while still making real progress.
FAQ
What is the best grout removal tool for small spaces?
For tight areas, a compact hand grout saw or a narrow carbide-grit blade usually gives the most control. If grout is very hard, an oscillating tool can help, but it increases the risk of tile scratches.
How deep should I remove grout before regrouting?
Many installers aim for roughly two-thirds of tile thickness, but real installations vary. If you hit crumbly material or the joint widens unexpectedly, stop and reassess before going deeper.
Can a small grout remover work on epoxy grout?
Sometimes, especially for edge cleanup or tiny sections, but epoxy can be stubborn. If the tool barely bites after a test section, you may need a specialty blade, a power tool, or professional help.
How do I avoid chipping tile edges while removing grout?
Keep the blade centered, make light passes, and establish a shallow groove first. Painter’s tape along edges can reduce cosmetic scuffs on glossy tile, though it won’t stop damage from a hard slip.
Is it worth buying an oscillating tool just for grout removal?
If you’re regrouting a whole room, it can be worth it. For a small repair, a grout removal tool small is often cheaper, quieter, and less risky, even if it takes more patience.
Why does my new grout crack again after a repair?
Repeated cracking often points to movement, moisture issues, or poor joint prep rather than the grout itself. If tiles feel loose or the substrate seems compromised, a deeper repair may be needed.
Do I need to seal the grout after I regrout?
It depends on the grout type and location. Many cement-based grouts are commonly sealed, while some premixed or specialty grouts may not require it, check the manufacturer instructions for your product.
If you’re trying to get a repair to blend in, not just “fill the gap,” choosing a small, controllable remover and matching it to your joint width makes the biggest difference. If you want, share your tile type and joint width, and I can suggest which tool style usually fits that scenario with less risk.