how to replace trimmer line on a weed eater is usually quick, until the spool fights you, the line tangles, or the head won’t feed when you bump it.
If you’ve ever stopped mid-edge to pull string out by hand, you already know why doing this the “right enough” way matters: better cuts, fewer breaks, and less frustration.
I’ll walk through the common head types, a simple compatibility check, and two reliable reload methods, plus the small details that tend to cause 80% of the problems.
Before you start: identify your trimmer head and line size
Most “it won’t feed” complaints come from one of two things: the wrong line diameter, or winding the spool in the wrong direction. Get these right first, and the rest becomes routine.
Common head types you’ll see in the U.S.
- Bump-feed (dual line): you tap the head on the ground to advance line.
- Auto-feed: the trimmer advances line as it runs, varies by brand.
- Fixed-line head: short pre-cut pieces insert into slots, no winding.
Find the correct line diameter
Check the trimmer’s manual, the label on the shaft, or markings on the spool/head. Typical sizes are 0.065, 0.080, and 0.095 inches. If you upsize “for power,” many heads jam or stop feeding, especially on smaller electric models.
According to OSHA, you should follow manufacturer instructions and use appropriate PPE when operating power lawn equipment, which starts with shutting the tool off before servicing the head.
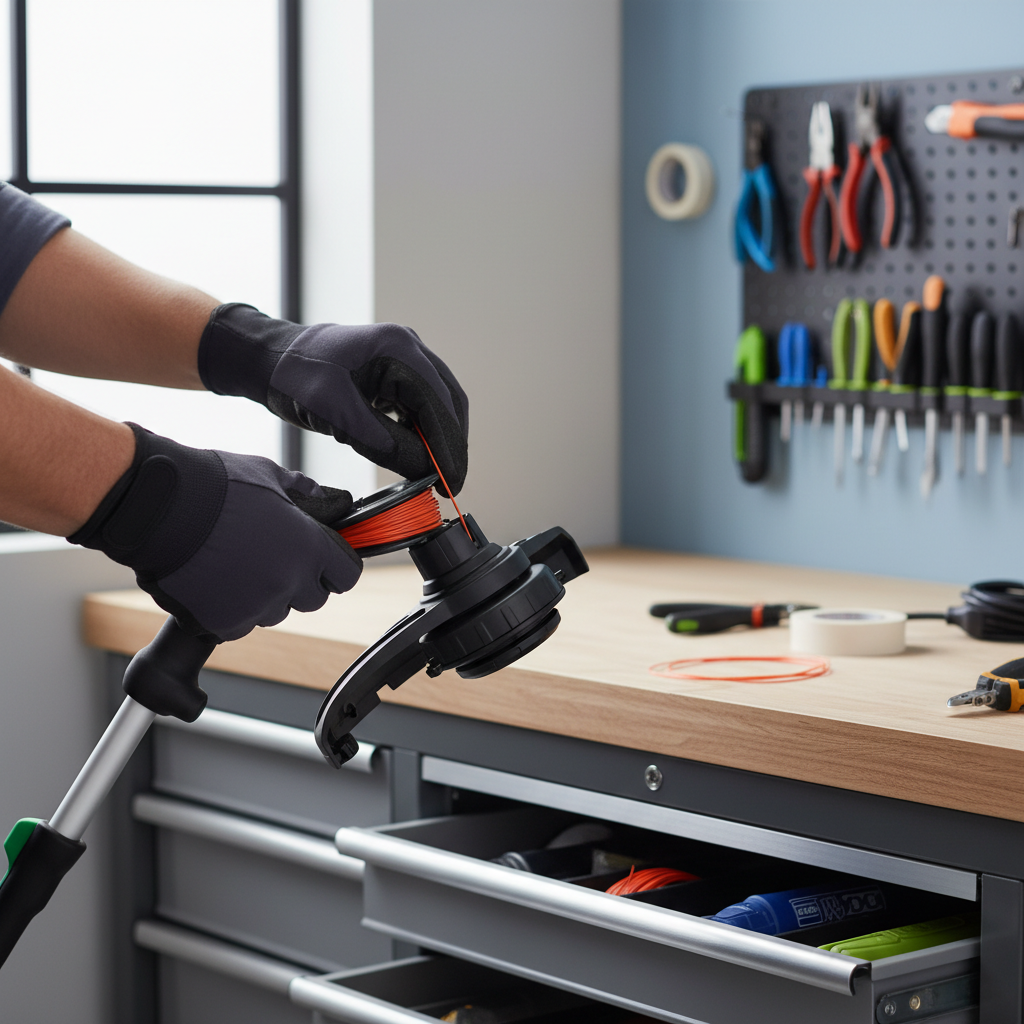
Quick safety and prep checklist (takes 2 minutes)
This is basic, but skipping it is how people end up with a spinning head while their fingers are near the spool.
- Power off: unplug corded units, remove battery on cordless, disconnect spark plug wire on gas.
- Gloves and eye protection
- Clean the head: knock off wrapped grass and grit so parts seat correctly.
- Cut line cleanly: use scissors or snips, not your teeth, not a dull knife.
If the head housing is cracked, the bump knob is missing, or the spring feels deformed, replacement parts may be safer than forcing a reload.
Self-check: why your line keeps breaking, tangling, or not feeding
Before you reload again, it helps to know what you’re fighting. Many users “fix” the line, but the real issue is how it was wound or how the trimmer is being used.
- Line fuses together: often from overheating, running too long at full throttle against hard edges, or using old line stored in dry heat.
- Line won’t advance: common when wound opposite the arrow direction, or line is too thick.
- Line keeps snapping: can happen with thin line on thick weeds, nicking on chain-link, or cutting with too much line extended.
- Head jams immediately: usually crossed wraps, uneven tension, or debris under the spool.
Step-by-step: replace trimmer line on a bump-feed head (most common)
If you want the “works on most models” approach, this is it. Exact clips vary, but the logic stays the same.
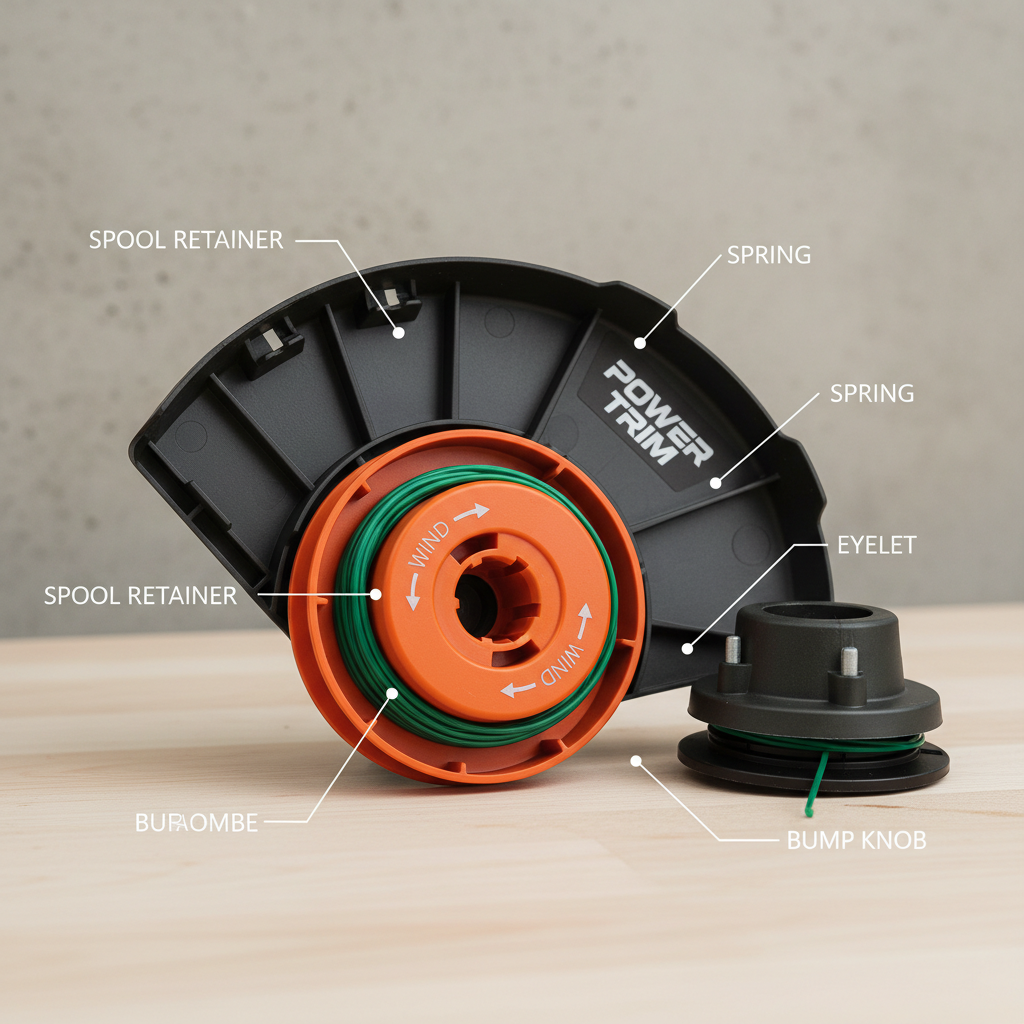
1) Open the head
- Press side tabs, unscrew the bump knob, or rotate the cap to unlock, depending on your model.
- Lift out the spool and note how the spring sits, a quick phone photo helps.
2) Measure and cut the line
Many spools take roughly 10–20 feet per side. If your manual gives a number, use that. Overfilling is a classic cause of binding.
3) Anchor the line and wind in the correct direction
- Find the center anchor hole or notch and insert the midpoint of the line, or use two separate pieces if your head requires it.
- Wind tight and even, following the arrow on the spool. Loose wraps invite tangles.
- Keep the two lines separated if your spool has two channels.
4) Thread the line ends through the eyelets
- Feed each end through its eyelet on the head housing.
- Seat the spool fully, then reinstall the spring and cap.
- Pull both ends to remove slack, then trim to a reasonable length if needed.
After you power up, advance line slowly. If you floor the trigger immediately, some heads struggle to feed cleanly on the first bump.
Step-by-step: fixed-line and quick-load heads (when there’s no spool winding)
Some newer heads are designed for speed, but they’re less forgiving about correct line diameter and clean cuts.
Fixed-line heads
- Remove the old pre-cut pieces.
- Insert new pieces until they click or seat firmly, then tug to confirm.
- Match the required length and thickness, “close enough” can throw balance off.
Quick-load (feed-through) heads
- Align the eyelets (usually marked).
- Push a single length of line through until both sides are even.
- Turn the knob to wind, keeping light tension on the line so wraps stay tight.
If you’re unsure which head you have, the fastest tell is this: if you can see a removable spool inside, you’re in bump-feed territory; if you can push line straight through the head, it’s likely quick-load.
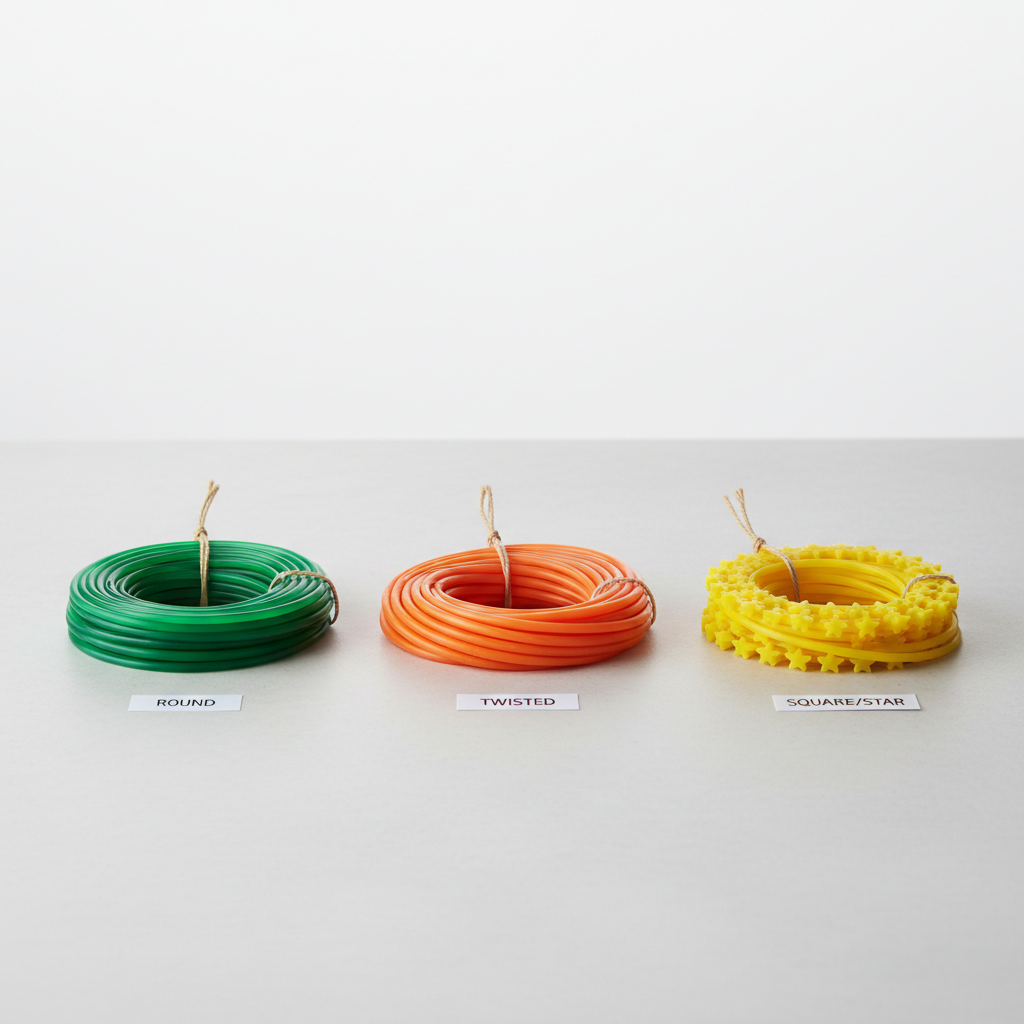
Line selection tips that actually affect performance
Not all trimmer line behaves the same. The best choice depends on what you cut and how much you care about convenience versus durability.
| Line type | Where it shines | Common tradeoff |
|---|---|---|
| Round | General trimming, smooth feeding | Less aggressive on thick weeds |
| Twisted | Often quieter, cleaner cut on grass | Can wear faster on fences/brick |
| Square / star | Tough weeds, crisp edges | May reduce feed smoothness in some heads |
- If your line keeps snapping, consider a slightly thicker diameter only if your head is rated for it.
- If your head keeps jamming, going back to the recommended diameter often fixes it.
- Old, brittle line is real. Many people store it in a hot shed and then blame the trimmer.
Practical tips to prevent jams and wasted line
Replacing the string is only half the battle. A few small habits usually keep the head feeding the way it should.
- Don’t overfill the spool: more line often means more binding.
- Keep wraps tight: if you see gaps, rewind before closing the head.
- Avoid “full throttle grinding” on concrete: it overheats line and eats length fast.
- Trim at the right length: too much line makes the motor work harder and can reduce feed reliability.
- Clean eyelets: burrs and dirt increase friction; replace worn eyelets if your model allows.
Key takeaway: If your weed eater cuts fine for 30 seconds and then stops feeding, the cause is usually winding direction, line thickness, or loose wraps, not “a bad trimmer.”
When it’s time to stop DIY and get parts or help
If you try a correct reload and the line still won’t advance, something else may be going on. In many cases it’s a cheap part, but it still needs the right diagnosis.
- Cap won’t lock or pops off: worn tabs, missing spring, or wrong cap for the head.
- Bump mechanism does nothing: stripped bump knob, broken spring, damaged spool.
- Excessive vibration after reload: line lengths uneven, spool not seated, or head damage.
If you’re working on a gas model and you suspect clutch or shaft issues, it’s reasonable to consult a small engine shop or the manufacturer support line, especially if the unit is under warranty.
Conclusion: a clean reload beats “more power” every time
Once you know your head type and the correct line size, replacing line becomes a repeatable process instead of a guessing game. Wind in the marked direction, keep tension even, don’t stuff the spool, and you’ll usually get smooth feeding and cleaner edges.
If you want an easy next step, check your trimmer head for the model number and pick line that matches the rating, then do one careful reload and test it on light grass before you go after the tough stuff.