
painters tape sharp edge results come down to two things: the right tape for the surface, and a clean sealing method before you ever roll color. If either part is off, you get bleed-through, fuzzy lines, or tape pulling up fresh paint.
This matters more than people expect because crisp lines usually fail at the edges, not in the middle of the wall. Trim, accent walls, stripes, cabinets, and two-tone rooms all look “almost right” until you catch that wavy line in bright daylight.
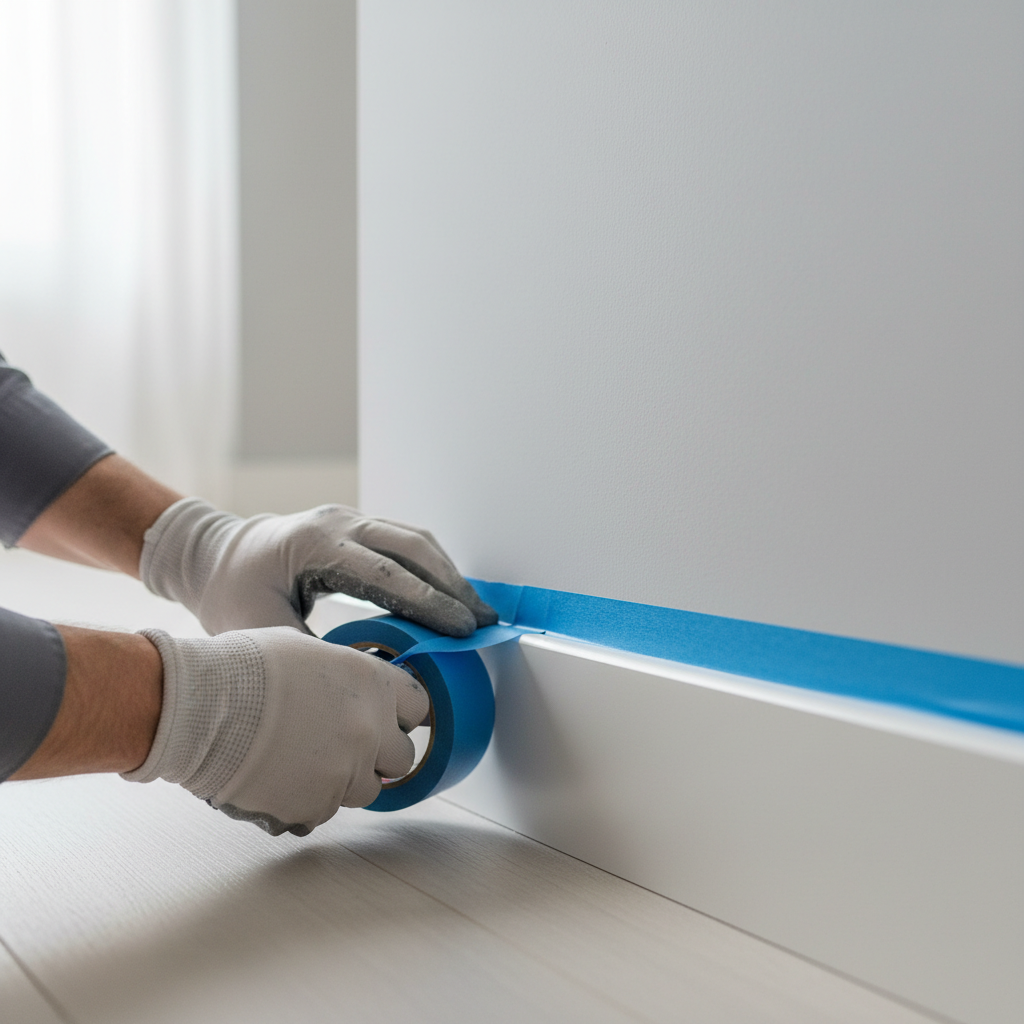
The good news, crisp lines are repeatable once you stop relying on “press harder” as the main strategy. Below, you’ll see why bleeding happens, how to pick tape, how pros seal edges, and what to do when tape still fails on tricky surfaces.
Why “Clean Lines” Fail: What’s Really Happening at the Edge
Paint doesn’t respect tape just because tape is there. It respects a sealed boundary. Most messy edges happen for a few predictable reasons.
- Micro gaps on textured surfaces: Orange peel, knockdown, and even slightly rough drywall create tiny channels under the tape where paint can wick.
- Dust or residue: Sanding dust, cooking grease, bathroom film, and old cleaner residue reduce adhesion, so the tape edge lifts in spots.
- Wrong tape for the job: Delicate-surface tape may not seal well on semi-rough walls, while heavy-duty tape can bond too aggressively and tear paint on removal.
- Too much paint at the edge: A loaded brush or roller pushes paint into the tape seam. Thin coats are your friend here.
- Pull timing: Wait too long and the paint forms a “bridge” across tape, then tears jagged on removal.
According to Paint Quality Institute (PQI), surface preparation is a key factor affecting coating performance. In practice, that includes the few inches where tape sits, because any grit there becomes a leak path.
Quick Self-Check: Are You Set Up for a Sharp Edge?
Before you tape, run this quick checklist. It’s faster than repainting a line twice.
- Wall or trim is dry, clean, and dust-free (no chalky residue on your fingers).
- Paint underneath is fully cured, not just “dry to the touch.” Many paints feel dry quickly but cure more slowly, especially in humid rooms.
- You know the surface type: smooth drywall, textured wall, stained wood, varnished trim, or previously painted trim.
- You have a plan to seal the tape edge (not optional on most real-world walls).
- You can remove tape within a sensible window, usually same day for many interior projects.
If two or more bullets feel shaky, your painters tape sharp edge goal is still doable, but the method has to be more careful.
Choosing the Right Tape: Match Adhesive to Surface (Not to Habit)
People buy tape by color because it’s familiar, but what matters is adhesion level and edge technology. Here’s a practical comparison to keep at hand.
| Surface / Task | Typical Tape Type | Why It Helps | Watch Out For |
|---|---|---|---|
| Smooth, cured walls | General-purpose painters tape | Good balance of seal + removal | Can still bleed if edge isn’t sealed |
| Fresh paint or delicate surfaces | Delicate-surface/low-tack tape | Reduces risk of paint pull | Less sealing power on texture |
| Textured walls | “Sharp lines”/edge-treated tape | Designed to limit seepage at edge | Still needs burnishing and light coats |
| Trim, baseboards, cabinets | Premium tape + clean removal rating | Cleaner edge on smooth substrates | Over-bonding if left too long |
| Exterior or rough surfaces | Higher-adhesion painter’s tape | Better hold in heat/wind | Can leave residue, test first |
If you’re unsure, buy two small rolls and test on an inconspicuous area. That sounds cautious, but it saves you from the most annoying failure: perfect paint, ruined edge, plus a repair that never blends the same.
The Method That Actually Works: Seal the Edge Before Color
For consistent crisp lines, think like this: tape creates the boundary, but sealing creates the barrier. Here are two sealing options that cover most DIY jobs.
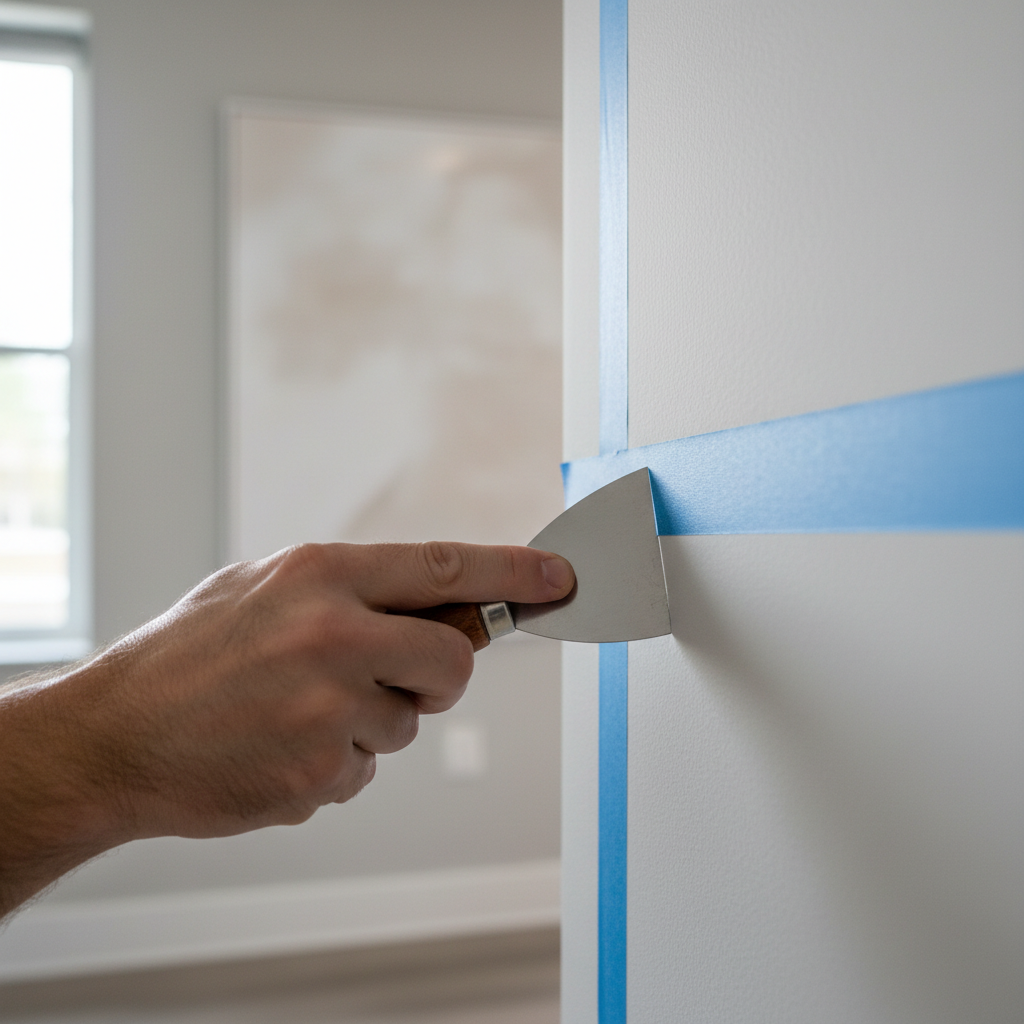
Option A: Seal with the base color (most forgiving)
- Apply tape, align carefully, then burnish the edge with a plastic putty knife or a firm credit card. You want pressure at the edge, not wrinkles in the middle.
- Brush a thin coat of the existing/base color along the tape edge. This color fills micro gaps.
- Let it dry enough to stop looking wet.
- Paint your new color in light coats, avoiding heavy buildup right against the tape.
Option B: Seal with clear acrylic/edge sealer (handy on high-contrast lines)
- Burnish tape edge.
- Apply a thin line of clear sealer along the edge, keep it tight.
- After it turns clear or dries per label, paint your color.
This is the step that turns “pretty good” into “wow, that’s straight.” It’s also where many people skip because it feels like extra work, then they spend longer touching up.
Step-by-Step: Clean Paint Lines on Walls, Trim, and Stripes
Different surfaces need slightly different handling. Use the version that matches your project.
Accent wall or two-tone wall
- Clean the edge zone with a mild cleaner and water, let dry.
- Tape the line, stand back and sight it from multiple angles. Small drift shows more over 8–10 feet.
- Seal the edge (base color works well here).
- Roll the field, then “cut in” near the tape with a lighter brush load.
Trim and baseboards
- If trim has gloss, a light scuff sand can help tape grip and paint bond, wipe dust off.
- Use shorter tape runs so you can keep it straight around corners.
- Keep paint thin at the edge, trim paint tends to be heavier and can ridge.
Stripes and geometric patterns
- Measure, mark lightly, then tape to the marks, not to your “eye.”
- Seal tape edge every time. Patterns are unforgiving.
- Remove tape sooner, because ridges are more visible on stripes.
Key takeaway: for painters tape sharp edge work, your best “tool” is patience with thin coats, not a thicker brush load.
Removal Timing, Angle, and Touch-Up: Don’t Ruin the Last 2%
Most edges look great until tape comes off. Two practical rules help.
- Pull at a low angle (almost parallel to the surface), slowly and steadily.
- Score if needed: if paint forms a film over the tape, lightly score along the edge with a sharp utility knife before pulling. Use gentle pressure to avoid cutting into drywall or fresh paint.
When should you remove? Many painters prefer removing tape while paint is slightly tacky, but this depends on product, humidity, and how heavy the coat is. If you’re unsure, test a small section and watch for tearing.
For touch-ups, avoid “scrubbing” along the line. Use a small artist brush and dab in tiny corrections, then feather away from the edge.
Common Mistakes (and What to Do Instead)
These are the usual traps that make people swear off tape, even though the tape isn’t always the real issue.
- Mistake: Putting tape over dusty sanding residue. Instead: vacuum or wipe, then let the surface dry fully.
- Mistake: Using one long tape run and fighting it. Instead: shorter segments, align, then overlap slightly.
- Mistake: “Fixing” bleed with more paint on the edge. Instead: remove tape, lightly scrape ridges, re-tape, and seal.
- Mistake: Leaving tape on for days. Instead: pull within a reasonable window, especially in heat or direct sun.
According to U.S. Environmental Protection Agency (EPA), ventilation is important during painting to reduce exposure to fumes. If you’re sealing edges or using coatings indoors, good airflow and label-following matter, and in sensitive situations it may be worth asking a professional for guidance.
Conclusion: The “Sharp Edge” Is a System, Not a Tape Color
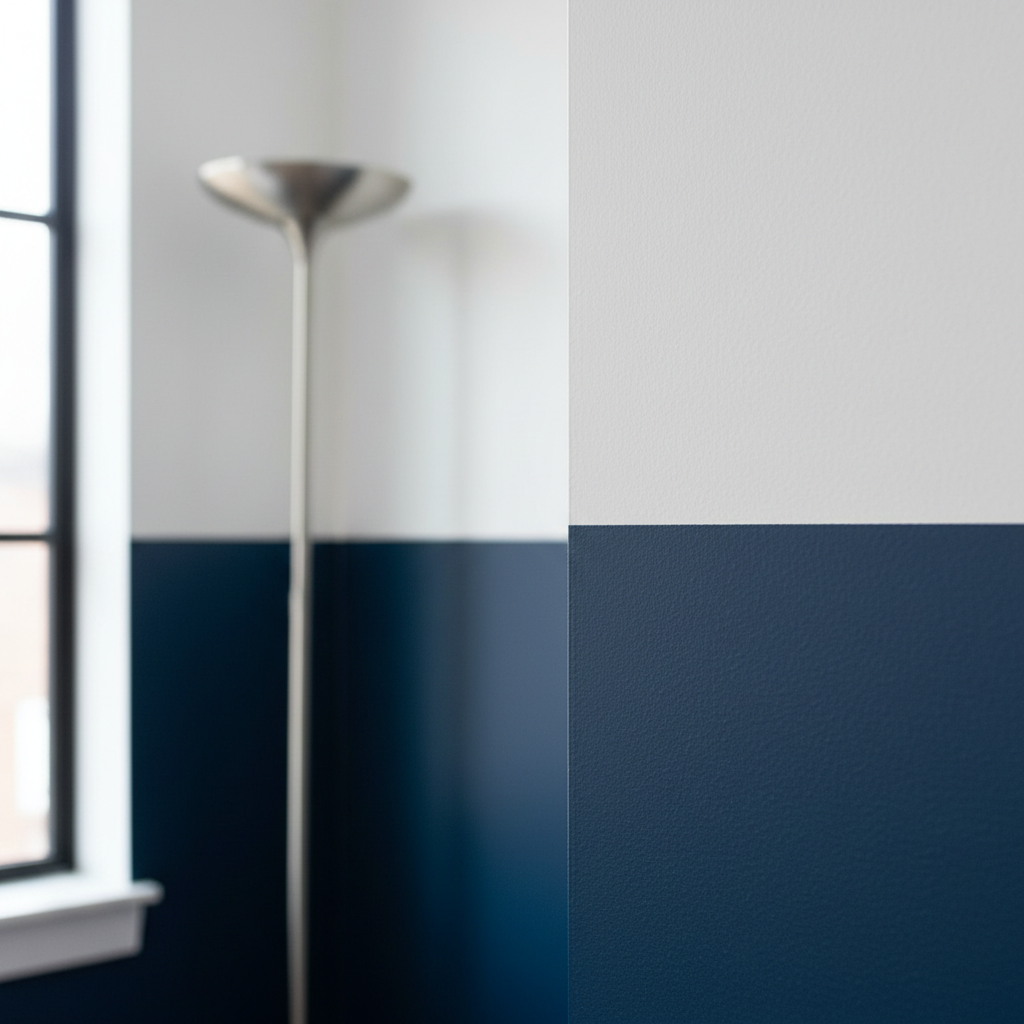
Getting a clean line is less about finding a magic roll and more about stacking small advantages: clean surface, correct adhesion level, burnishing, sealing the edge, then lighter coats and smart removal. If you only change one thing, make it the sealing step, that’s where painters tape sharp edge results usually jump from average to reliably crisp.
If you want an easy next move, try your method on a 2-foot test line, seal the edge with the base color, and pull tape the same day. That tiny test tells you more than any label claim.
Key points to remember
- Prep beats pressure: clean, dry surfaces make tape work.
- Seal the edge with base color or clear sealer to block bleed.
- Thin coats near the tape reduce ridges and seepage.
- Remove carefully at a low angle, score if paint bridges.
FAQ
How do I get painters tape sharp edge lines on textured walls?
Texture creates micro gaps, so burnishing alone often falls short. Use an edge-sealing step, keep paint coats light near the tape, and consider a tape marketed for sharp lines rather than a delicate low-tack roll.
Should I seal painter’s tape with the same color or the new color?
Sealing with the existing/base color is usually safer because any seepage matches the old color and stays invisible. Sealing with the new color can work, but if it bleeds, you’ll see it.
Why does paint bleed under painter’s tape even when I press it down?
Pressing helps contact, but it doesn’t fill every gap on imperfect walls. Bleed-through is typically paint wicking through tiny channels, so sealing and lighter coats tend to matter more than force.
How long can I leave painter’s tape on before removing?
It varies by tape and conditions, and labels often give a removal window. In many interior projects, removing the same day avoids bonding and tearing, especially in warm rooms or direct sun.
Can painter’s tape pull off my wall paint?
Yes, especially if the underlying paint is not fully cured, the wall has weak adhesion, or the tape is too aggressive. If you’re unsure, test a small spot and use delicate-surface tape for higher-risk areas.
Is it better to cut in freehand instead of using tape?
Freehand can look great in skilled hands, but tape is more repeatable for most DIYers, especially for long straight lines and high-contrast color changes. Many pros mix both: tape for long runs, freehand for tight details.
What’s the best way to avoid a thick ridge along the tape line?
Keep paint thin at the edge and avoid overloading the brush right against tape. Removing tape before the paint fully hardens also helps, because thick paint bridges tend to tear.
If you’re working on a high-contrast accent wall, cabinet edges, or any project where touch-ups will stand out, a small “test line” setup can save time. If you need a more hands-off approach, consider using a premium sharp-line tape plus an edge-sealing product and follow the label instructions closely, it’s often the simplest path to cleaner lines without rework.