
Stud finder wall sensor tools are supposed to make hanging TVs, shelves, and cabinets straightforward, yet a lot of people still end up with crooked brackets, extra holes, or anchors sitting in weak drywall.
The gap usually isn’t “bad luck”, it’s technique, wall conditions, and picking the right scanning mode for what’s behind the paint. Once you understand what the sensor is actually detecting and how to mark with intent, accuracy improves fast.
This guide breaks down why readings go wrong, how to confirm a stud edge, and how to mark so your screw lands where you expect, not an inch off.
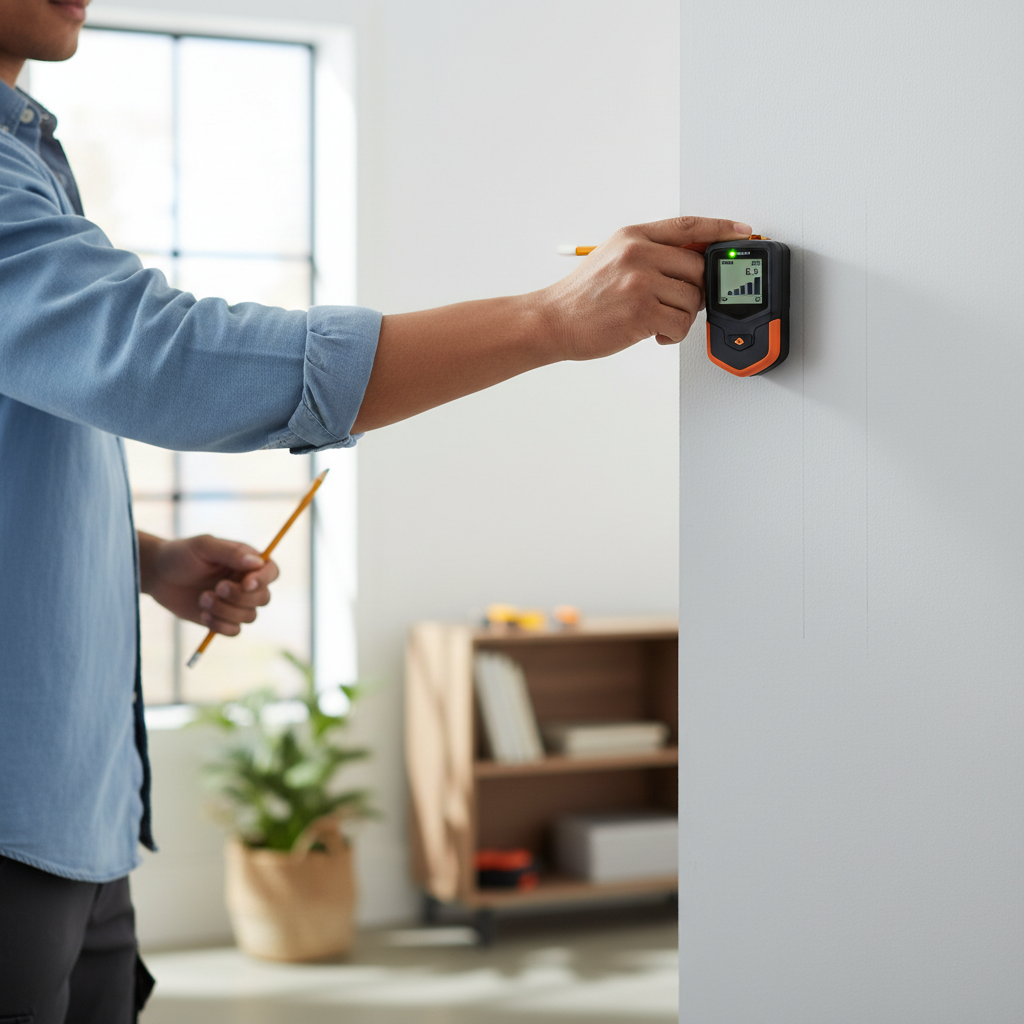
What a wall stud finder sensor actually “sees”
Most consumer stud finders don’t “see studs” the way people imagine. They infer what’s behind the wall by measuring changes through the surface, then translate that into a beep, bar graph, or center-line indicator.
- Electronic (capacitive) sensing: Detects density changes behind drywall, common in many handheld scanners.
- Deep scan modes: Increase sensitivity to read through thicker walls, but also raise the chance of false positives.
- Metal and live-wire modes: Look for metal objects or energized AC fields, useful but easy to misuse.
According to CPSC (U.S. Consumer Product Safety Commission) guidance on home safety, locating and avoiding hidden electrical wiring is a key precaution before drilling, so treating “wire alert” seriously is more than a nice-to-have.
Why you’re getting false positives or shifting marks
If your stud line “moves” every time you rescan, it’s usually not the wall changing, it’s the setup. These are the big repeat offenders I see in real DIY situations.
Common causes in typical U.S. homes
- Improper calibration: Many devices auto-calibrate when you press and hold, if you start over a stud or near metal, everything gets skewed.
- Hands drifting during the scan: Tilting the tool, changing pressure, or lifting slightly can shift the sensed edge.
- Textured walls: Orange peel, knockdown, paneling, or heavy paint layers can add noise.
- Plaster, lath, or thick drywall: Older construction reads differently; deep scan may be needed, but confirmation steps matter more.
- Nearby metal: Corner bead, nails/screws, brackets, pipes, or HVAC can look like a stud boundary.
- Moisture: Damp drywall can alter readings, especially after leaks or fresh patch compound.
Many people also forget studs aren’t always perfectly centered, straight, or consistently spaced in real walls, especially near doors, windows, and load-bearing transitions.
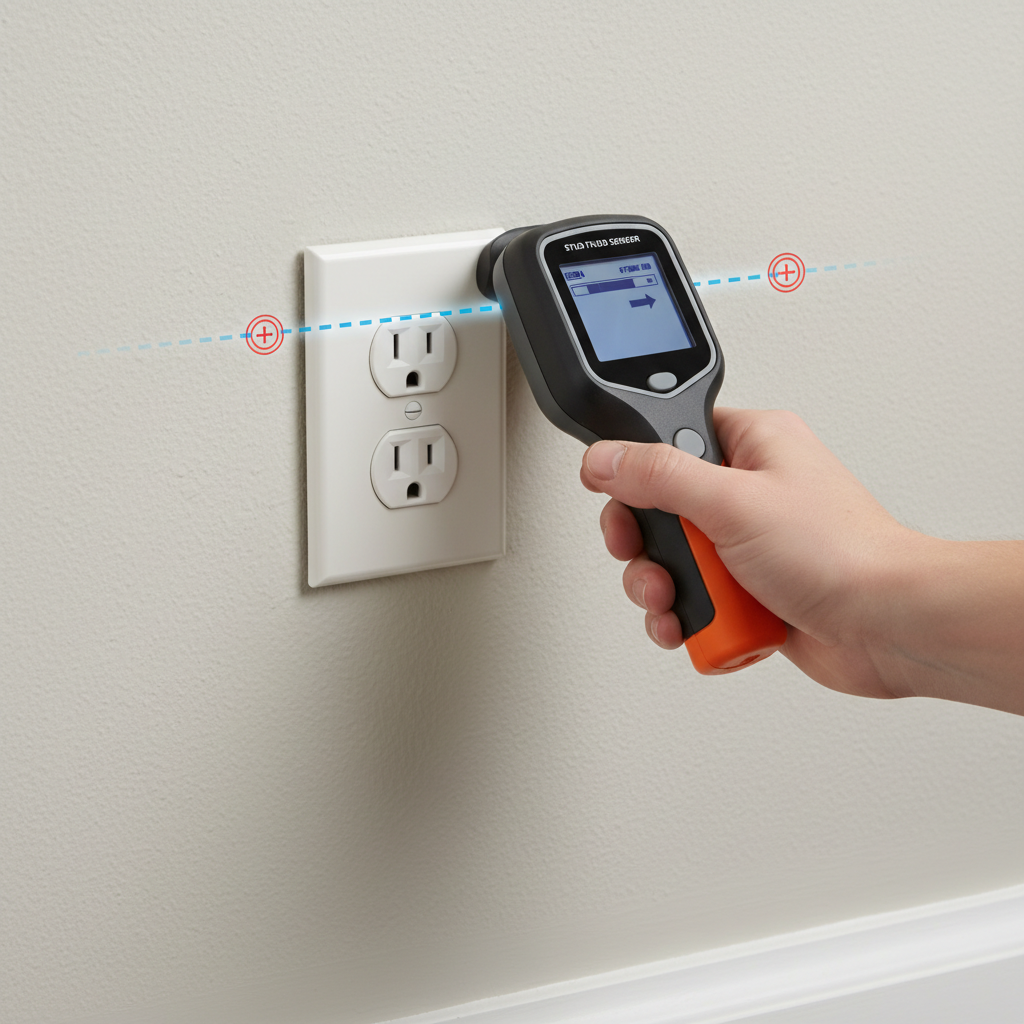
Quick self-check: are you scanning the right way?
Before blaming the tool, run this fast checklist. If you fix just one or two items here, your marks often tighten up immediately.
- Calibrate on a “blank” section of wall, not near outlets, corners, or obvious framing.
- Keep the sensor flat, steady pressure, and move slowly, about 1 inch per second.
- Scan in both directions, left-to-right and right-to-left, then compare edges.
- Mark both edges, not just “center,” then compute the midpoint yourself.
- Repeat at two heights (for example, 12 inches and 48 inches) to confirm alignment.
- If the device flags live wire, stop and reassess rather than “pushing through.”
If your marks still wander by more than about half an inch after consistent technique, you may be dealing with wall material the sensor struggles with, or interference behind the surface.
How to mark accurately (a repeatable method that works)
The most reliable approach is boringly methodical. It also saves drywall patch time, which is the part nobody enjoys.
Step-by-step marking workflow
- Pick the correct mode: Standard for typical drywall, deep scan for thicker material, metal/wire modes only when you truly need them.
- Calibrate on clear wall: Hold the tool still during calibration, then start moving.
- Find the first edge: Move until the edge indicator triggers, mark a small tick.
- Find the second edge: Keep going until the opposite edge triggers, mark again.
- Back-scan: Come back from the other direction and confirm the same two edges.
- Mark center: Measure midpoint between edges, draw a clean vertical pencil line through your mounting height.
For heavier installs, I’d also recommend a tiny verification step before driving a big lag: a small finish nail, an awl, or a very small drill bit can help confirm you’re in wood, but if you suspect wiring or plumbing, don’t “probe” blindly.
A practical marking table (match the job to the approach)
| Project | What “accurate” means | Suggested approach | Extra check |
|---|---|---|---|
| Picture frame / light shelf | Hit a stud or use rated anchors | Standard scan, edge-to-edge mark | Rescan at 2 heights |
| TV mount | Stud center within a tight margin | Mark edges, measure center, level line | Confirm with pilot hole (if safe) |
| Kitchen wall cabinet | Multiple stud hits along rail | Locate several studs, snap a line | Look for consistent 16" spacing |
| Bathroom accessories | Avoid tile/plumbing risks | Use proper mode and slow scan | Consider pro if uncertain |
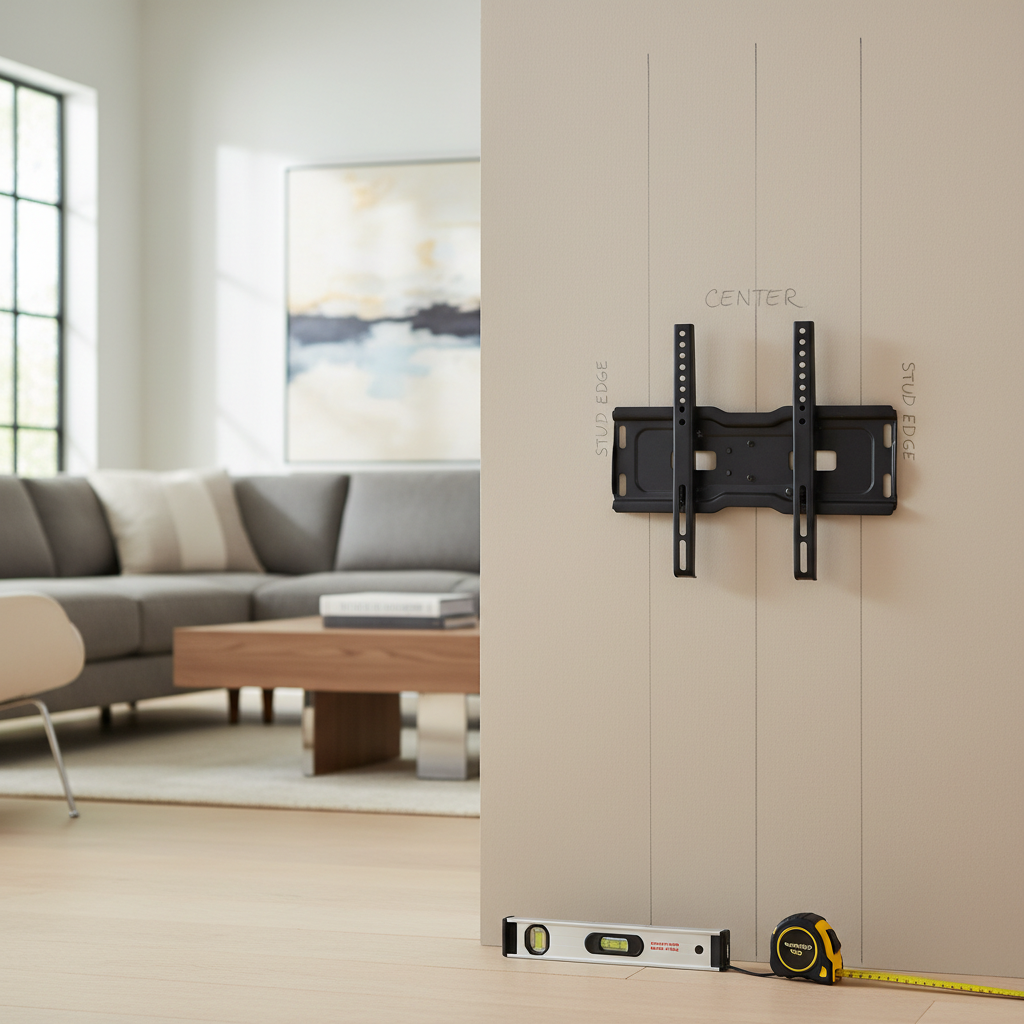
Real-world obstacles: corners, outlets, and “weird framing”
This is where people get frustrated, because you can do everything “right” and still get confusing signals.
Near corners and door frames
- Expect extra studs (king stud, jack stud) near door and window openings.
- Corner assemblies can be dense with wood, which can look like a wide stud.
- Scan a little farther out, then work back toward the corner with shorter passes.
Near outlets and switches
- Outlets often sit next to a stud, but not always on the same side throughout the house.
- Use wire detection cautiously; if the alert persists, assume wiring could be nearby.
- Don’t drill directly above or below boxes without extra confirmation.
When studs aren’t 16 inches on center
Sixteen-inch spacing is common, but not a rule. Renovations, repairs, and older homes can break the pattern. Use spacing as a clue, not proof, and trust repeated edge confirmations more than a “perfect grid” in your head.
Key takeaways (so you stop making extra holes)
- Mark both edges and measure center, it beats chasing a single “center” icon.
- Rescan from the opposite direction and at a second height, you’re looking for consistency.
- Deep scan increases sensitivity and can increase confusion, use it deliberately.
- Wire alerts deserve respect, if readings are ambiguous, slow down and reassess.
When to get extra help or switch methods
If you keep seeing wide “studs,” constant wire warnings, or you’re working on plaster, tile, or a wall with obvious past repairs, a stud finder wall sensor might need backup. Sometimes that backup is a different tool, sometimes it’s a person.
- Consider a second detector type (for example, a magnet-based stud finder) to cross-check fasteners in the stud.
- Use building clues: Baseboard nails, window trim alignment, and consistent framing patterns can help validate a location.
- Call a professional when drilling could hit wiring/plumbing, or when you’re mounting high-value or heavy items where failure risk matters.
According to NFPA (National Fire Protection Association), electrical safety is a major part of reducing home fire risk, and while their guidance isn’t “about stud finders,” the practical takeaway holds: if you’re unsure where wiring runs, it’s smart to be conservative and consult a qualified electrician.
Conclusion: accuracy comes from repeatable marking, not luck
Stud finding gets easier once you treat it like a quick verification process instead of a single pass and a single beep. Calibrate carefully, scan both directions, mark edges, then commit your centerline only after the wall tells the same story twice.
If you’re doing a TV mount or cabinets this weekend, your next step is simple: pick one wall, run the edge-to-edge method at two heights, and compare the marks before you drill. That small pause usually saves the most time.
FAQ
Why does my stud finder show a stud almost everywhere?
This often happens when the unit calibrates over dense material, when deep scan is too sensitive for the wall, or when there’s widespread interference from metal or moisture. Recalibrate on a clear area and repeat slower passes to see if the “stud everywhere” effect tightens up.
How do I know I marked the stud center correctly?
Instead of trusting a center indicator alone, find and mark both edges from both directions, then measure the midpoint. If the midpoint stays consistent across two heights, you’re usually in good shape.
Is deep scan always better for accuracy?
Not necessarily. Deep scan can read through thicker material, but it can also exaggerate signals and pick up nearby objects. Use it when the wall calls for it, not as a default.
Can a stud finder wall sensor detect live wires reliably?
It can help flag potential energized wiring, but readings vary by wall build and device design. Treat alerts as a caution sign, and if placement matters, consider consulting a qualified electrician for safer confirmation.
What’s the best way to find studs near an outlet?
Scan a wider area around the outlet, then confirm edges with back-scans. Outlets often mount beside a stud, but wire routing can vary, so avoid drilling close to the box without a clear, repeated read.
Should I use a magnet stud finder instead?
Magnets are great for finding screws or nails in studs, which can be a strong confirmation step. They can be slower for mapping a full stud width, so many people use magnets as a cross-check rather than a full replacement.
My wall is plaster or has tile, what should I do?
These surfaces can be tougher for standard sensors. Move slowly, test multiple modes if your device supports it, and consider alternative methods or professional help if you can’t get consistent edges.
If you want a lower-stress setup
If you’re working on a heavier mount or you just want fewer surprises, it helps to use a stud finder wall sensor that offers clear edge indicators, consistent calibration feedback, and wire/metal awareness you can interpret without guessing. A simple routine, plus a tool you trust, is usually what separates “one-and-done” installs from patch-and-repaint weekends.