
Faucet installation tool kit choices make or break a faucet job when you’re working blind under a vanity, dealing with corroded nuts, or trying to avoid a surprise drip after you leave. The right kit won’t magically fix bad rough-ins, but it can cut down on rework, sore wrists, and “why won’t this nut move?” moments.
If you’re a plumber, you probably already own half the tools in most kits, yet still end up borrowing a basin wrench extension or digging for the one deep socket that fits a weird mounting nut. This article focuses on what actually earns space in your bag, what’s just packaging, and how to match a kit to the faucets you see in U.S. homes and light commercial work.

We’ll cover common failure points, a quick self-check to identify what you really need, a comparison table, and a practical workflow you can use on your next install. I’ll also call out a few habits that look “efficient” but tend to create leaks and callbacks.
Why faucet installs go sideways (even for experienced plumbers)
Most faucet installs aren’t complicated on paper, but the work environment is usually the problem: cramped cabinets, limited line-of-sight, and mounting hardware that was never designed with human hands in mind.
- Access and angle issues: Nuts sit high on the shank, close to the deck, and you’re twisting at odd angles. Standard wrenches round off plastic nuts fast.
- Mixed materials and fragile fasteners: Plastic mounting nuts, thin stamped brackets, and soft brass threads don’t tolerate brute force.
- Old supply valves and rigid supplies: The faucet is new, but the stop valves might not be. Disturbing them can trigger leaks that look like your faucet install failed.
- Seal and seating mistakes: A faucet can feel “tight” but still lift or shift because the deck plate or gasket isn’t seated evenly.
- Over-tightening: Especially with thin sink decks or stone tops, too much torque can deform gaskets, crack porcelain, or twist shanks.
According to ASPE (American Society of Plumbing Engineers), proper installation and maintenance practices are key to preventing leaks and water damage in plumbing systems, which is why tool choice and controlled tightening matter in the real world.
What a faucet installation tool kit typically includes (and what’s actually useful)
A decent kit isn’t “more tools,” it’s the right geometry for under-sink work: reach, clearance, and grip without chewing up hardware.
Core tools that earn their keep
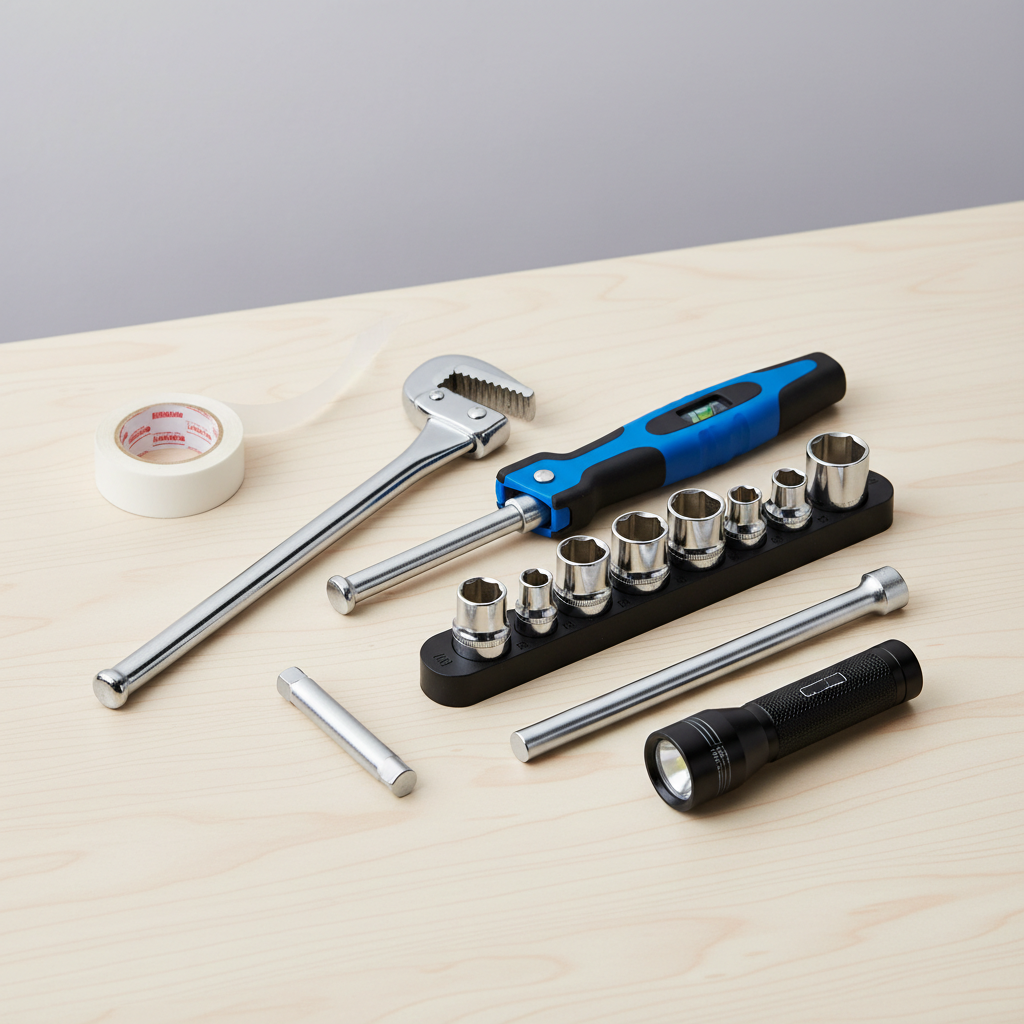
- Basin wrench (adjustable head): Still the workhorse for awkward nuts, especially when you need reach.
- Faucet/sink installer tool (multi-function tube): Helps spin mounting nuts and some supply nuts in tight spaces, usually faster than a basin wrench when it fits.
- Deep sockets + extension: Great for long shanks and certain mounting nut styles, more controlled than a wrench when you can stay aligned.
- Flexible shaft or crowfoot adapter: Useful when the cabinet wall blocks a straight shot.
- Thread seal accessories: Not “kit” items sometimes, but having PTFE tape and compatible pipe dope on hand prevents sloppy improvisation.
Nice-to-have items (depends on your jobs)
- Small torque wrench: Not common in every bag, but helpful for high-end installs where manufacturers specify limits.
- Inspection mirror or compact light: Under-sink visibility changes everything, and speeds up troubleshooting.
- Deburring tool or abrasive pad: Helps when supply lines or fittings have burrs that can compromise seals.
One honest note: a “complete” faucet installation tool kit often duplicates tools you already own. What you’re really buying is speed in tight spaces and fewer damaged nuts.
Quick self-check: which kit matches your work?
If you pick a kit based on the box photo, you’ll end up with tools that fit one faucet style and frustrate you on the next. Use this quick checklist instead.
- You do lots of vanity swaps in older homes: prioritize a basin wrench with good bite, plus a multi-function installer tool for plastic nuts.
- You see high-arc kitchen faucets with long shanks: prioritize deep sockets, long extensions, and a stable way to keep sockets centered.
- You work on tight pedestal or wall-hung sinks: prioritize compact tools, crowfoot adapters, and a light/mirror combo.
- You handle premium brands regularly: prioritize controlled tightening, clean handling of finishes, and non-marring grips.
- You get callback-prone buildings (multi-family): prioritize repeatable steps, quick leak checks, and tools that reduce cross-threading.
If two or more bullets describe your day-to-day, you’ll usually benefit from a kit that mixes a basin wrench and a purpose-built installer tool rather than betting on just one.
Tool kit comparison table: what to look for before you buy
This table is the quick filter. It won’t pick the brand for you, but it will keep you from paying for the wrong format.
| Feature | Why it matters | What to check |
|---|---|---|
| Reach length | Cabinet depth + shank height often forces long reach | Extension length, basin wrench handle length |
| Head profile | Clearance behind bowls and against cabinet walls | Low-profile socket heads, slim wrench jaws |
| Grip on plastic nuts | Plastic rounds easily, then you waste time | Non-marring contact points, good bite without sharp teeth |
| Compatibility range | Mounting nuts vary by brand/model | Listed nut sizes, included adapters |
| Build quality | Cheap joints flex, slip, and damage hardware | Solid joints, minimal play, corrosion resistance |
| Packability | Field work favors fewer, more versatile pieces | Case size, modular pieces, weight |
For plumbers, the best sign is boring: tools that don’t wobble, a head that stays aligned, and sizes that cover common faucet mounting nuts without improvising.
Practical install workflow using a faucet installation tool kit
Faucet installation tool kit setups shine when you follow a repeatable sequence. The goal is less time under the sink, and fewer “tighten, test, tighten again” cycles.
1) Prep for fewer surprises
- Verify shutoff valves operate before you disconnect anything, if a stop valve weeps, plan for service or replacement.
- Dry-fit the faucet and deck plate/gasket, confirm full contact and no rocking.
- Stage tools you’ll need under the sink: basin wrench or installer tube, deep socket set, light.
2) Set the faucet and align above deck
- Seat gasket or putty per manufacturer instructions, don’t mix methods unless the instructions allow it.
- Align handle orientation and spout centerline before you fully tighten the mounting hardware.
3) Tighten mounting hardware with control
- Start threads by hand to avoid cross-threading, especially on brass or plated parts.
- Use the installer tool to spin nuts quickly until snug, then switch to a basin wrench or socket for final tightening if needed.
- Stop once the faucet stops moving and the gasket compresses evenly, chasing “extra tight” often backfires.
4) Connect supplies and test like you mean it
- Support valves and fittings as you tighten to avoid twisting stop valves in the wall.
- Turn water on slowly, then run hot and cold, inspect with a light and tissue around joints.
- If you see intermittent dampness, re-check alignment and seating before you crank harder.

This is also where you protect your reputation: many “faucet leaks” are actually stop valves disturbed during the swap. A careful test catches that before the customer does.
Common mistakes that waste time (and how to avoid them)
- Using pliers on plastic mounting nuts: it works until it doesn’t, then you’re cutting hardware out. Use the installer tool or the correct socket/adapter.
- Skipping deck cleaning: old putty, mineral buildup, or debris under the gasket can create micro-gaps and slow leaks.
- Over-relying on sealant: sealant is not a substitute for proper seating, too much can cause misalignment and later movement.
- Cross-threading flexible supply fittings: start by hand, keep alignment straight, and don’t “save it” with force.
- Not checking the aerator and flush: debris from the swap can clog the aerator and look like low pressure issues.
According to EPA WaterSense, household leaks can waste significant water over time, so even small drips are worth catching during install and final testing rather than treating them as “minor.”
Key takeaways for choosing and using a kit
- Buy geometry, not quantity: reach, clearance, and grip matter more than tool count.
- Mix tools for speed: installer tube for fast spinning, basin wrench or socket for controlled final tightening.
- Prevent callbacks: slow pressurization, good lighting, and a real leak check beat “tighten harder.”
- Match the kit to your faucet mix: kitchen long-shank installs need deeper sockets and extensions.
Conclusion: a good kit won’t replace skill, but it will protect your time
A faucet installation tool kit is worth it when it helps you work cleaner in tight spaces, tighten with control, and reduce hardware damage, which is where many installs bog down. If you’re buying or upgrading, aim for a small set of well-built tools that cover your most common faucet types, then build around that with the specialty pieces you actually reach for.
Action idea for your next job: pick one recurring pain point, like plastic mounting nuts or long shanks, then choose a kit component that solves that single problem well. Your bag stays lighter, and your installs usually get smoother.
FAQ
What should a plumber look for in a faucet installation tool kit?
Prioritize reach, a low-profile head, and solid grip on plastic and brass nuts. If a tool flexes under moderate force, it often slips at the worst moment.
Is a basin wrench enough, or do I need an installer tool too?
Many plumbers can get by with a basin wrench, but the installer tool speeds up repetitive tightening when the nut style matches. Having both gives you options when clearance changes.
Do these kits work for kitchen and bathroom faucets?
Usually yes, but kitchen faucets often have longer shanks and tighter cabinet layouts, so deep sockets and extensions matter more. Check the kit’s supported nut sizes before you assume.
Can I overtighten a faucet mounting nut?
Yes, and it’s more common than people admit. Overtightening can deform gaskets, shift deck plates, and in some setups contribute to cracks or stress, if you’re unsure, follow manufacturer guidance and tighten gradually.
Why does a faucet leak after a “successful” install?
Often it’s a disturbed stop valve, a supply connection that isn’t seated squarely, or a gasket that pinched during tightening. A slow pressurization and careful inspection usually reveals the source.
Are universal faucet tools truly universal?
They cover many common setups, but not every proprietary mounting system. If you see a lot of one brand in your area, confirm compatibility with that mounting hardware.
What’s the fastest way to remove a stuck mounting nut?
Start with the right tool for grip and angle, then add penetrating oil if materials allow and you can control where it goes. When corrosion is severe, cutting may be the safer option, but many situations benefit from a cautious approach to avoid damaging the sink or faucet body.
If you’re stocking a truck or rebuilding a go-to bag, and you want a more streamlined faucet installation tool kit setup matched to the faucet types you service most, it can help to list your top three “problem installs” and build the kit around those instead of buying the biggest set on the shelf.