
pulley puller small removal is usually where DIY jobs go sideways, the pulley is tiny, space is tight, and one wrong pull can bend a shaft or crack a hub.
If you’re trying to remove a small pulley from an alternator, power steering pump, water pump, small motor, or a bench setup, the right “small pulley puller removal tool” is less about brute force and more about fit, alignment, and control.
This guide breaks down why small pulleys fight back, how to choose a puller that actually fits, and a practical step-by-step so you can get the pulley off without turning a simple removal into a parts-replacement day.
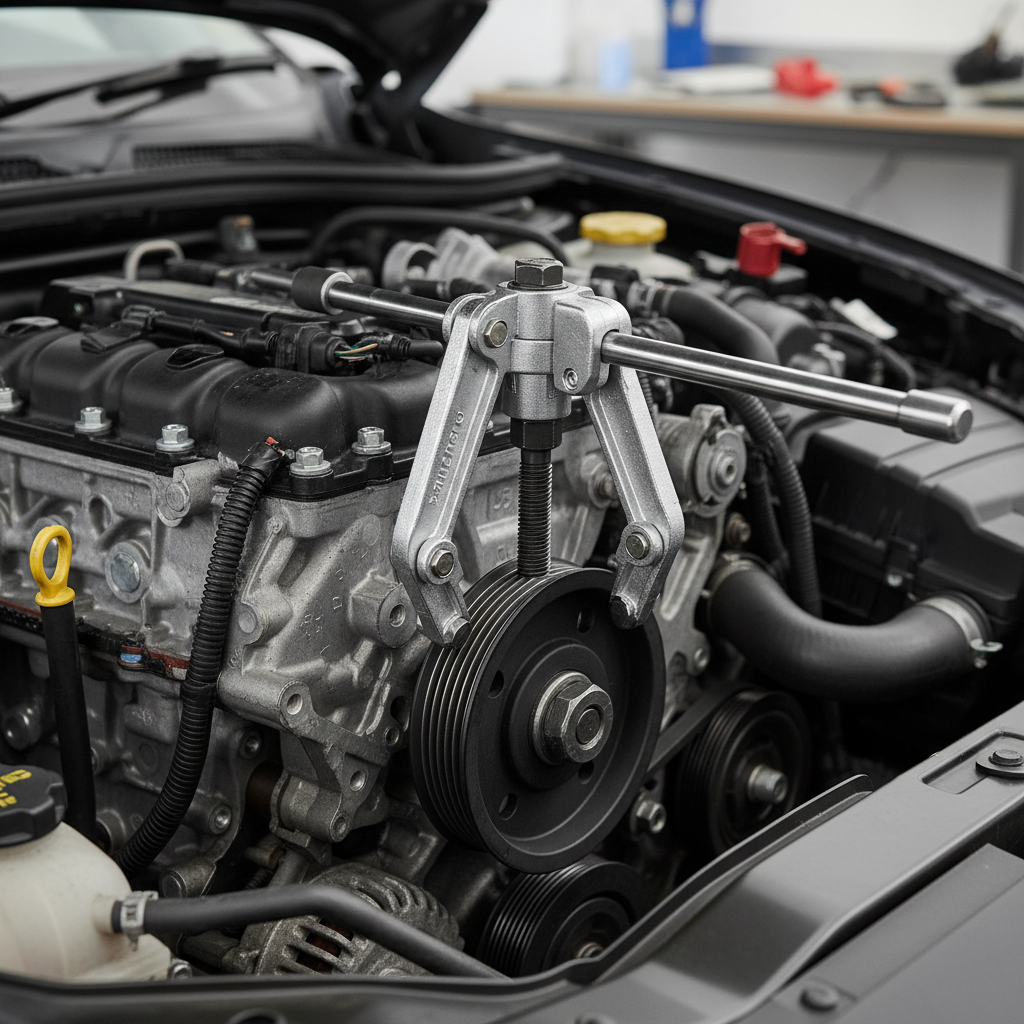
Why small pulleys are harder to remove than they look
Small pulleys don’t give you much to grab, and that’s the root of most trouble. With limited lip depth and short hubs, many pullers either can’t seat fully or end up pulling at an angle.
- Short contact area: less surface for jaws to hold, so slip-outs happen fast.
- Press fit or corrosion: even a “light” press fit can feel welded after heat cycles and moisture.
- Delicate surrounding parts: bearings, seals, and thin brackets sit right next to the pulley.
- Shaft-end risk: pushing on the shaft incorrectly can mushroom threads or damage the center.
According to OSHA, pinch points and stored-energy releases are common shop hazards, so eye protection and controlled force matter even on small parts.
Types of small pulley pullers (and what each is good at)
People search “small pulley puller” as if it’s one tool, but there are a few common designs. The best choice depends on how the pulley is shaped and what access you have.
| Puller type | Best for | Common downside |
|---|---|---|
| 2-jaw / 3-jaw mini puller | Pulleys with a clear outer lip and room around it | Can slip on shallow lips, easy to go off-center |
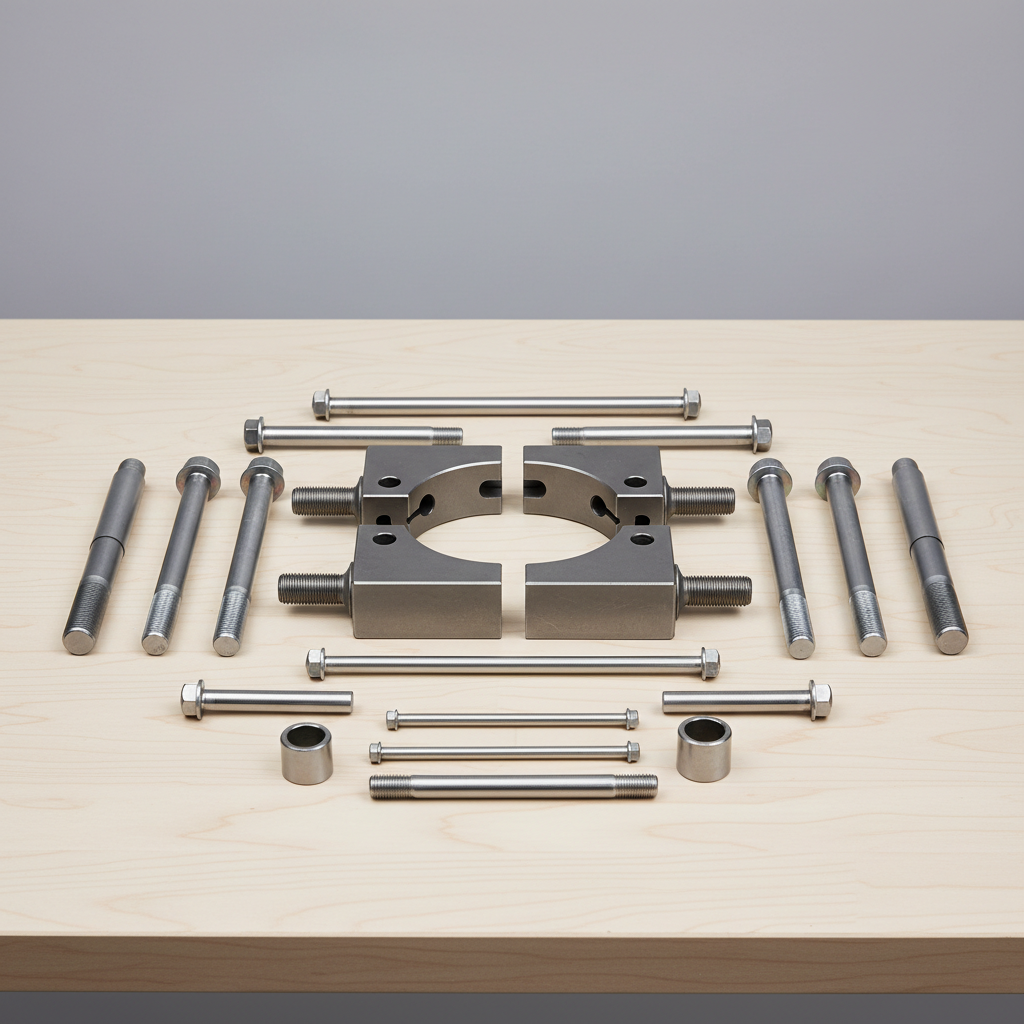
| Split-plate (bearing separator) + puller | Very small pulleys with minimal lip, tight clearances | Needs access behind pulley, slower setup |
| Clamshell / specialty puller set | Specific automotive pulleys (often alternator/PS) | More parts, must match your pulley style |
| Internal puller (collet style) | Pulleys you can grip from the inside bore | Requires correct collet size and a solid bore |
For pulley puller small removal, the split-plate approach solves more “why won’t this fit” situations than most people expect, because it grabs the hub instead of relying on a thin outer edge.
Quick self-check: pick the right setup before you start pulling
Before you crank on anything, take 60 seconds and classify what you’re dealing with. This prevents the classic mistake of using a jaw puller where a separator is the safer call.
- Does the pulley have a solid outer lip? If the lip is thin or tapered, plan on a separator.
- Is there a gap behind the pulley? If you can slide a thin splitter behind it, you’re in good shape.
- Is the shaft threaded? If yes, protect the threads with an appropriate tip, cap, or sacrificial nut.
- Can you pull in a straight line? If brackets force an angled pull, consider removing the component to a bench.
- Any signs of keyways or set screws? A hidden set screw can make removal feel impossible.
If two or more answers make you hesitate, that’s a sign to slow down, take photos, and consider a different tool choice. Small parts break quickly, and replacements are not always cheap.
Step-by-step: small pulley puller removal without damage
This is the practical sequence that works in many garage and light-shop scenarios. Adjust based on your pulley type, and if anything feels unstable, stop and reset rather than “sending it.”
1) Prep the area and protect the shaft
- Clean grime at the hub so the tool seats flat.
- If the shaft is threaded, spin on a nut flush with the end (when applicable) to protect threads.
- Add a small drop of penetrating oil at the hub/shaft seam, give it time to wick in.
2) Choose your grip point, hub beats rim for tiny pulleys
- Jaw puller: jaws must sit evenly and deep, not on a tapered edge.
- Separator: clamp the split plate behind the pulley hub, then attach the puller yoke.
3) Align the forcing screw dead center
Most failures come from misalignment. The forcing screw should push straight into the shaft centerline. If it walks off-center, you’ll tilt the pulley and gouge the hub.
4) Apply tension gradually, then re-check
- Turn the screw until snug, pause, confirm the tool still sits square.
- Continue in small increments, listening for movement rather than forcing a big turn.
- If the jaws creep outward, back off and re-seat, don’t “catch it” mid-pull.
5) Use heat carefully when the fit is stubborn
Localized heat on the pulley hub (not the shaft) can help in many cases, but it depends on nearby seals, plastic, or bearings. A heat gun is often easier to control than an open flame. If you’re unsure, a professional mechanic can confirm what’s safe on your specific assembly.
For pulley puller small removal, it’s usually better to use a little heat plus controlled tension than to jump straight to impact tools that shock-load bearings.
Key points that keep you out of trouble (the stuff people skip)
- Stability beats strength: if the puller feels sketchy at low tension, it will fail at high tension.
- Don’t pull on thin pulley spokes: spokes bend, then the pulley binds even harder.
- Support the component: on a bench, support close to the pulley so you’re not flexing housings.
- Use the right tip: many kits include different forcing-screw tips, pick one that matches the shaft end.
- Stop if you see aluminum deforming: a shiny smear at the hub is a warning sign.
According to NIOSH, eye protection is a baseline control for tasks with flying-particle risk, and pullers can suddenly release tension when a pulley breaks free, so safety glasses are worth treating as non-negotiable.
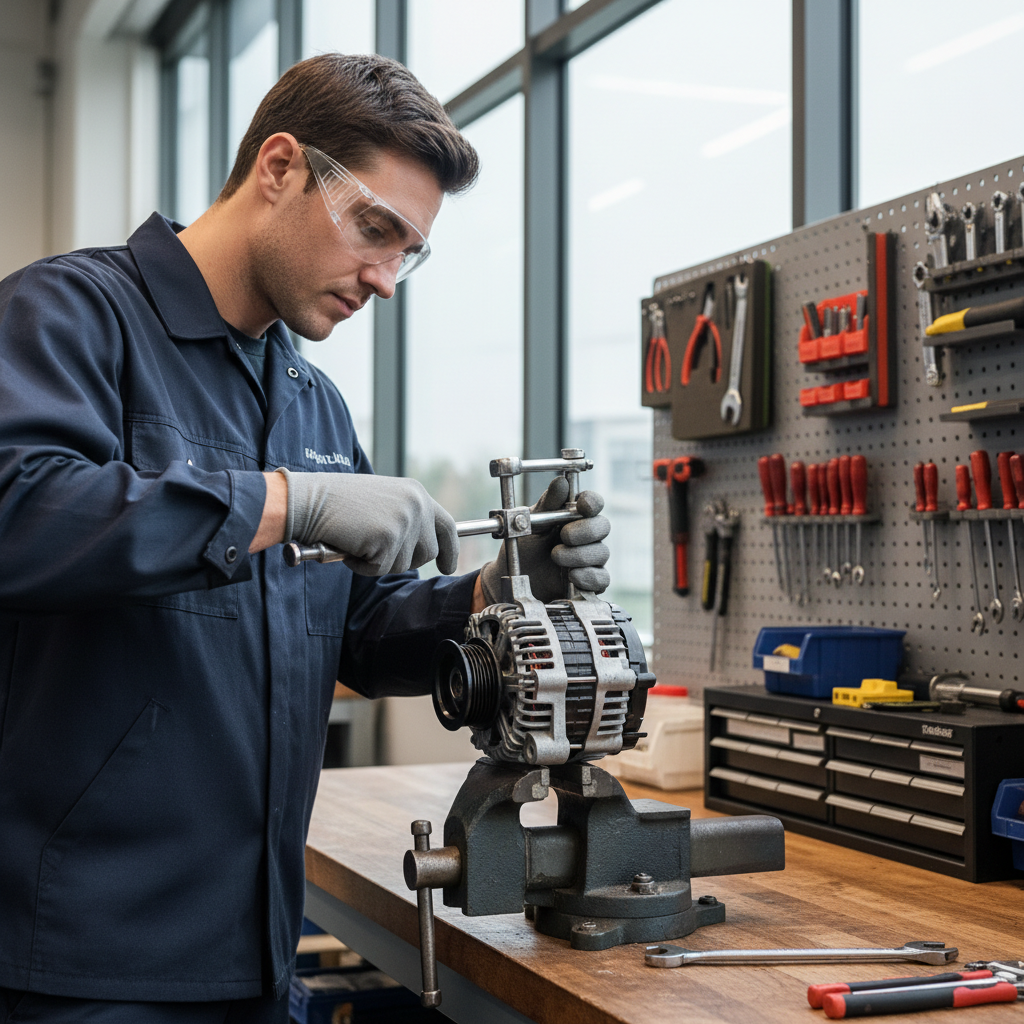
Common mistakes that cause slipping, cracking, or bent shafts
A lot of “this puller is junk” reviews are really setup issues. Small pulleys don’t forgive casual alignment.
- Using a too-large puller: the jaws sit at a shallow angle and walk off.
- Pulling from the rim: the rim flexes, the hub stays stuck, then something breaks.
- Forcing screw not lubricated: dry threads add friction, you feel resistance and over-torque.
- Impact wrench on the forcing screw: fast torque spikes can damage bearings and threads.
- Ignoring set screws: some pulleys hide a small grub screw under grime.
One more thing people miss, if the pulley is part of a system that also needs a matching installer tool for reassembly, removal is only half the job. Plan for install before you pull.
When to stop DIY and get help
Most small-pulley jobs are doable, but there are clear cases where a shop saves money and stress, especially if breakage would force a larger repair.
- The pulley sits next to a seal or bearing you can’t risk overheating.
- The shaft end is already mushroomed, cross-threaded, or visibly damaged.
- Your puller cannot grab securely without slipping at low tension.
- You need to remove the entire assembly but lack the tools to re-torque or re-align it.
- You suspect the pulley is part of a clutch or one-way mechanism that needs a specialty tool.
If you’re working on a vehicle that must stay reliable, a quick inspection by a qualified mechanic can be a reasonable step, especially when access is poor and collateral damage is likely.
Practical takeaway and next action
If your pulley is small and the lip is shallow, treat pulley puller small removal as a “precision pull” job, not a muscle job, center alignment and a hub-focused grip usually decide whether it comes off cleanly.
Pick the puller style that matches your pulley geometry, do a dry fit before applying real force, and if the setup won’t stay square, switch to a separator or move the part to a bench before you crank harder.
FAQ
What size puller is considered “small” for pulley removal?
In practice it means a puller with short reach and narrow jaw spread that can sit fully on compact pulleys, often found on accessories and small motors. The right size is the one that seats deep without forcing the jaws open wide.
Should I use a 2-jaw or 3-jaw puller on a tiny pulley?
A 3-jaw puller tends to self-center better, but a 2-jaw can fit where clearance is limited. If neither seats securely, a bearing separator setup is often safer than either jaw style.
Why does my small pulley puller keep slipping off?
Most cases come down to shallow lip contact, jaws sitting on a taper, or the forcing screw being off-center which tilts the pull. Re-seat deeper, reduce jaw angle, or switch to grabbing behind the hub.
Is penetrating oil enough to remove a stuck small pulley?
It can help, especially if corrosion exists, but it rarely replaces correct tool geometry. Think of it as lowering friction so the puller can do its job, not as the main solution.
Can I use heat to remove a small pulley without damaging parts?
Sometimes, but it depends on nearby seals, bearings, and plastics. Controlled heat on the pulley hub can help, but if you’re unsure what’s behind the pulley, it’s smart to consult a professional.
Do I need a special installer tool after removal?
Often yes, especially on press-fit accessory pulleys where hammering can damage bearings. If your pulley pressed on, plan for a proper install method before you remove it.
What’s the safest way to protect shaft threads during pulling?
When the design allows, a nut spun flush to the end helps protect threads, and a correct forcing-screw tip reduces point loading. Avoid forcing screws directly onto fine threads.
If you’re trying to remove a tight pulley in a cramped space and you’d rather not gamble on an almost-fitting puller, a compact kit that includes a bearing separator and the right adapters can be a more straightforward path, especially when you need controlled, centered pulling instead of trial-and-error.