The best countersink drill bit set is the one that matches your screw style, wood species, and how often you actually drill, because a “great” set on paper can still burn, chatter, or leave fuzzy edges in real use.
If you’ve ever driven a flat-head screw and watched the surface crater, or you got a countersink that wobbles and leaves a ring, you already know why this matters, the finish quality depends on the bit as much as the tool behind it.
This guide stays practical, what to look for, what to skip, and how to set countersink depth so the screw seats clean without overcutting. I’ll also call out a few buying traps, especially around “all-in-one” sets.
What a countersink set actually needs to do (and where most fail)
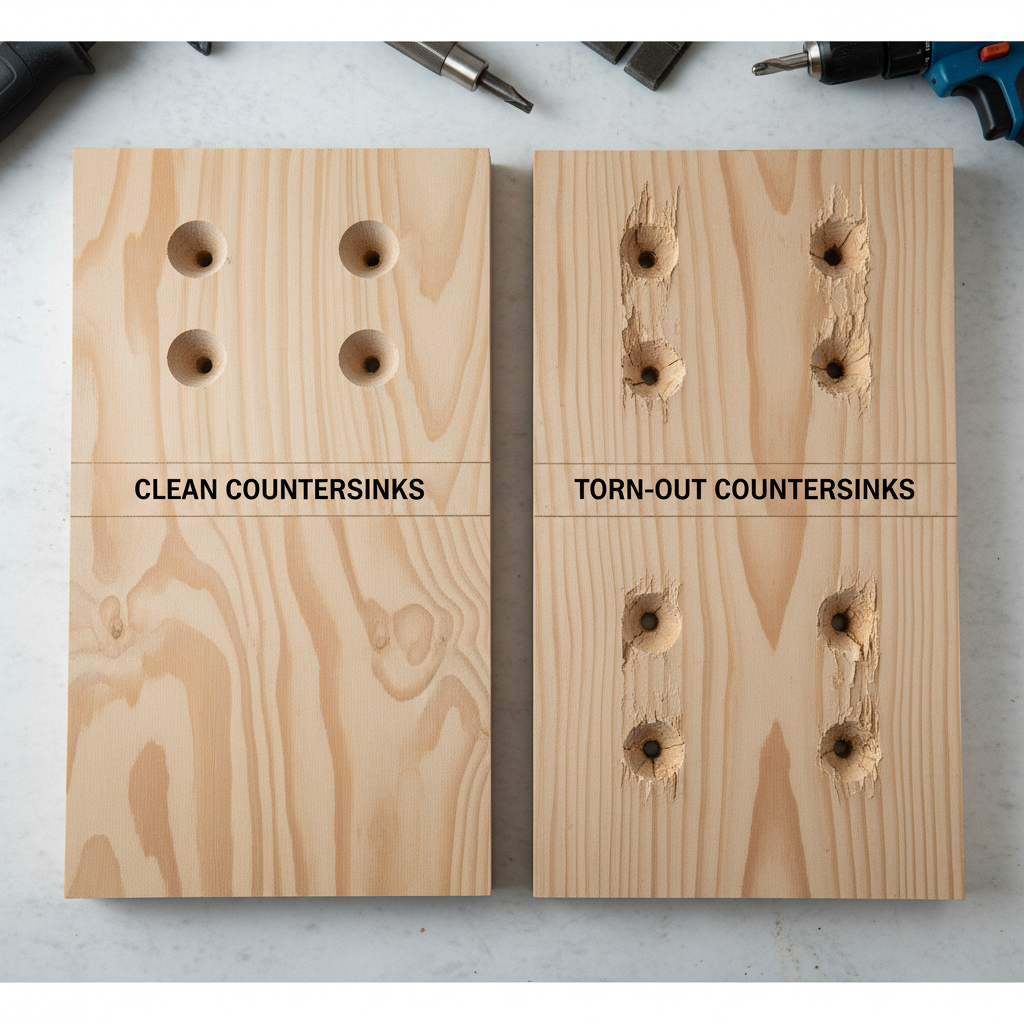
A good set does two jobs consistently, it creates a centered pilot hole and a smooth taper that matches the screw head angle, without tearing the fibers around the rim.
- Cut a clean rim so paint, stain, or clear coat doesn’t highlight fuzzy tear-out.
- Stay concentric so the taper doesn’t “walk” and leave an off-center crater.
- Hold depth predictably, especially when you’re repeating holes across a face frame or deck board run.
- Resist heat, burning shows up fast in hardwood and plywood glue lines.
Many sets fall short because the countersink cutter is dull out of the box, the stop collar slips, or the drill bit and taper aren’t aligned well. You can compensate a bit with technique, but if the geometry is off, you’ll keep fighting it.
Quick comparison table: choosing a set by use case
There isn’t one “winner” for every shop, so I like to pick the category first, then shop within it. Here’s a practical way to narrow down the best countersink drill bit set for your work.
| Use case | What to prioritize | Nice-to-have | Common mistake |
|---|---|---|---|
| Furniture, cabinets | Concentric cut, sharp flute, clean rim | Micro-adjust stop, replaceable bits | Over-countersinking and “cupping” the surface |
| Trim, general DIY | Easy depth control, common sizes (#6/#8/#10) | Quick-change hex shank | Buying a huge set with odd sizes you never use |
| Decking, outdoor builds | Durable coating, chips clear well | Stop collar that won’t slip | Using a fine woodworking set on pressure-treated lumber |
| Metal (light sheet/soft metals) | Proper material rating, correct speeds | Dedicated single-flute style | Using a wood countersink and overheating instantly |
Key features that separate a “fine” set from a reliable one
1) Screw head angle and the finish you want
Most flat-head wood screws in the US commonly land around 82°, but specialty hardware can vary. If your taper doesn’t match, the screw seats on an edge instead of across the whole head, and you’ll see it as a proud screw, crushed fibers, or a halo.
When you’re shopping, confirm the set is intended for wood screws you use, not a generic “for everything” listing with no angle details.
2) Cutter design: multi-flute vs single-flute
- Multi-flute often leaves a smoother cut in wood, but can chatter if the tool or alignment is mediocre.
- Single-flute can reduce chatter and clogging in some materials, but finish quality depends heavily on sharpness and feed control.
Realistically, either can work, but if you hate chatter marks, put “runs smooth at low RPM” at the top of your list, not the number of pieces in the case.
3) Depth stop that actually stays put
A stop collar looks like a small detail until you’re doing a run of 40 holes. If it slips, every hole becomes a rework decision.
- Look for a collar that clamps evenly and uses a decent set screw, not a soft screw that strips easily.
- If you work in hardwood often, micro-adjust depth features can save time, but only if they lock securely.
Self-check: which set is likely “best” for you?
Before you buy, answer these quickly, it usually makes the decision obvious.
- What screws do you use most? #6, #8, #10 cover a lot of household and cabinet work.
- What materials show tear-out? If plywood and oak frustrate you, prioritize a cleaner-cutting countersink.
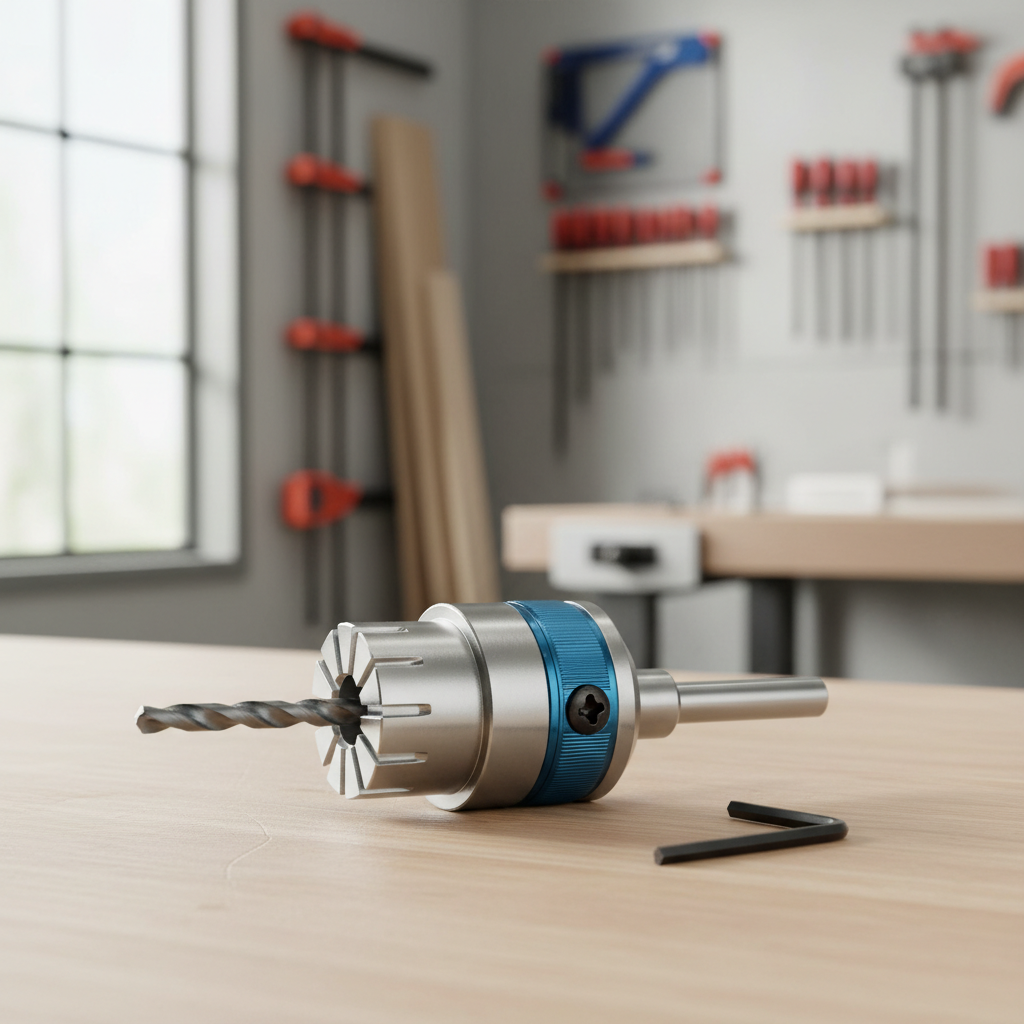
- How do you work? If you use an impact driver, a hex-shank, quick-change format matters more.
- How repeatable must it be? Batch drilling for face frames needs a stable stop collar, not “eyeballing.”
- Do you replace parts? Replaceable pilots and cutters can be cheaper long-term than tossing the whole unit.
If you answered “I just want clean holes for common screws” and you build occasionally, a small, well-made 3-piece set often beats a bargain 12-piece kit.
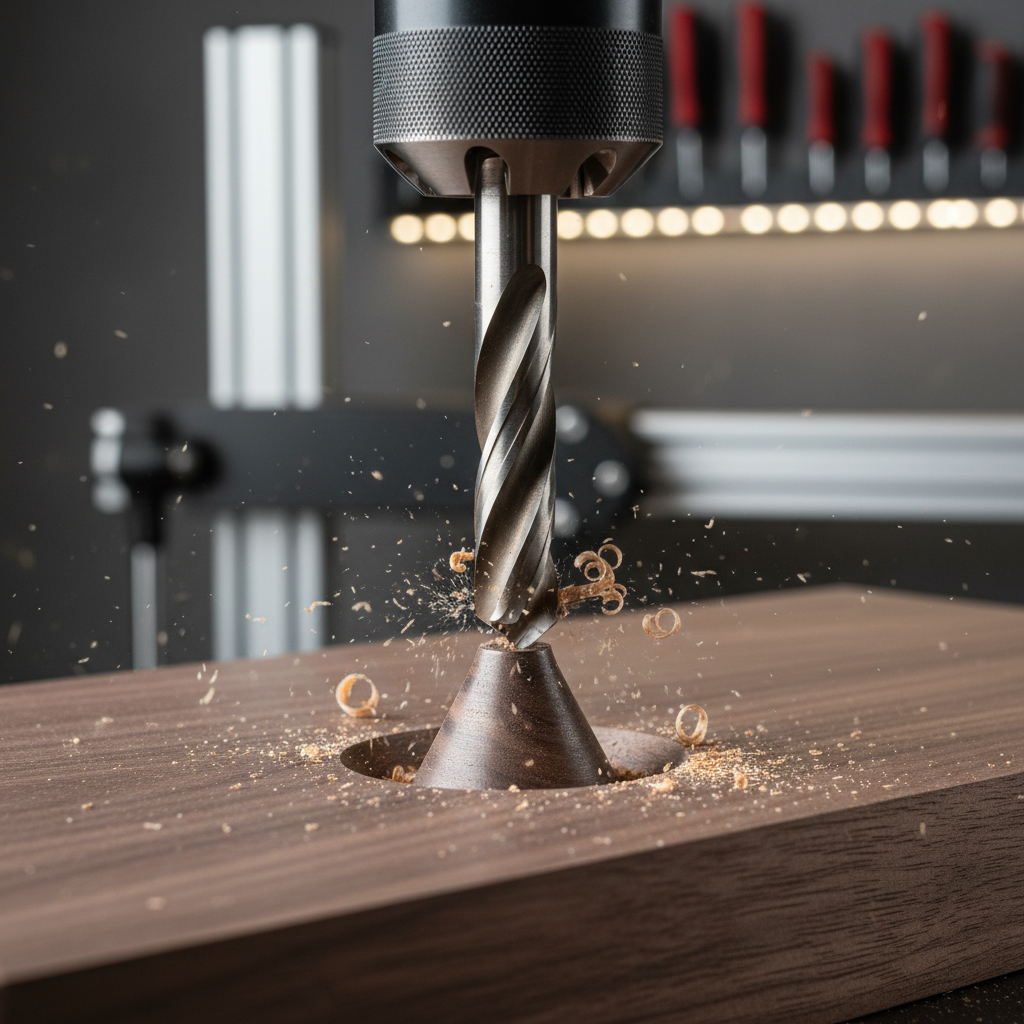
How to get clean countersinks in real projects (step-by-step)
The best countersink drill bit set still needs correct setup, especially depth and speed. This is the part people rush, then blame the tool.
Step 1: Set depth using a real screw (not your guess)
- Grab the exact screw you’ll use, seat it by hand into a test hole.
- Adjust the stop so the screw head ends up just below flush if you plan to fill, or flush if you want a clean hardware look.
- Lock the collar firmly, then do one more test hole after tightening, collars can shift slightly as you clamp.
Step 2: Match speed to material
In hardwood, high RPM can scorch and dull the cutter faster. In softwood, too slow can tear fibers instead of slicing cleanly. If you see smoke or dark rings, back off, clear chips, and reduce speed.
According to OSHA and many shop safety guidelines, using the correct speed, secure clamping, and proper eye protection reduces injury risk when drilling. If your workpiece can move, it will eventually move at the worst time.
Step 3: Keep the bit square and let it cut
- Start the pilot straight, then let the countersink engage smoothly.
- Use steady pressure, forcing it increases chatter and makes an oval taper.
- On veneered plywood, consider a light “kiss cut” first, then deepen, it often reduces edge blowout.
Common mistakes (even experienced DIYers make these)
- Mixing screw types: drywall screws, deck screws, and specialty cabinet screws don’t always seat the same way, even if they look similar.
- Using an impact driver to drill everything: impacts can wobble more, which shows up as a rough taper, drilling with a drill/driver is often cleaner.
- Skipping test holes: one scrap test saves a lot of patching and sanding.
- Not clearing chips: packed chips heat the cutter, then burning and dulling spiral together.
- Assuming “titanium coated” means premium: coatings help in some cases, but geometry and hardness matter more than marketing terms.
If you’re chasing a furniture-grade finish, don’t be surprised if you end up preferring a slightly slower workflow with more controlled drilling, that’s usually where the cleanest results come from.
When it’s time to upgrade, or ask for help
If you keep seeing wobble marks, even after slowing down and testing depth, the issue is often runout or alignment. That can come from a worn drill chuck, a bent pilot bit, or a countersink body that isn’t machined well.
- If the drill itself has noticeable runout, consider a different drill or have the chuck checked.
- If you’re countersinking metal or composite decking, it may be worth asking a hardware specialist or tool supplier about material-specific cutters, because heat and chip clearing behave differently.
- If you’re doing production-level cabinetry, a pro-grade solution or dedicated countersink system may pay back in consistency, not just speed.
And if any setup feels unsafe, slipping workpiece, awkward angles, unstable footing, it’s smart to pause and consult a professional, safety problems rarely “work themselves out.”
Conclusion: what “best” means in 2026
The best countersink drill bit set in 2026 usually comes down to consistency, clean cutting, stable depth control, and sizes you truly use. Bigger kits look impressive, but a tight, well-made set that matches your screws will feel better every time you pull the trigger.
If you want one simple action today, drill two test holes in scrap using your real screws, then buy around what you learn. If the taper seats clean and repeats reliably, you’re already in the right category.