how to cut curves with a jigsaw comes down to three things most people overlook: the right blade for the radius, support under the cut, and a feed speed that doesn’t force the blade to twist.
If your curves look wavy, chipped, or “off the line,” it’s usually not your hands, it’s the setup, blade choice, or the way the workpiece is supported. The good news is you can fix all three fast, even with a basic jigsaw.
This guide walks through a practical workflow: picking blades that actually track, laying out clean lines, choosing a safe cutting strategy for tight radii, and finishing edges without turning a simple curve into a sanding marathon.

Why jigsaw curves go wrong (and what that looks like)
Most “bad curve” problems show up in a few predictable ways, and each points to a specific cause. Fix the cause, and the tool suddenly feels more precise.
- Blade wandering off the line: often a blade that’s too wide for the curve, or you’re feeding too fast and the blade twists.
- Burn marks on hardwood: a dull blade, too much orbital action, or lingering in one spot while steering.
- Chipped veneer on plywood: wrong tooth direction or no splinter control at the surface.
- Undercut or beveled edge: blade deflection from forcing tight turns, cutting unsupported stock, or using a long blade where a short one would stay stiffer.
According to OSHA, you should keep hands away from the blade path and secure the workpiece to reduce kickback and loss of control, which becomes more likely when you’re steering curves and tempted to “muscle” the saw.
Pick the right blade for the curve (this matters more than people admit)
If you’re learning how to cut curves with a jigsaw, start by treating blades like drill bits: the wrong one makes the job feel impossible. Curves need maneuverability and clean tracking, not brute speed.
Quick blade cheat sheet
| Material / goal | Blade type | What to look for | What to avoid |
|---|---|---|---|
| Plywood, clean top face | Reverse-tooth (down-cut) or fine-tooth | More teeth per inch (TPI), “clean cut” labeling | Coarse demo blades that tear veneer |
| Hardwood, smooth curve | Fine-tooth wood blade | Sharp, high TPI, appropriate length | Dull blades, overly long blades |
| Tight radius curves | Narrow “scroll” blade | Thin/narrow body to pivot easier | Wide blades that force deflection |
| Plastic or laminate | Fine-tooth, slower speed | Controlled cut to limit melting/chipping | High speed + orbital that melts edges |
Rule of thumb: the tighter the curve, the narrower the blade should be. But narrow blades can flex more, so your feed pressure needs to drop too.
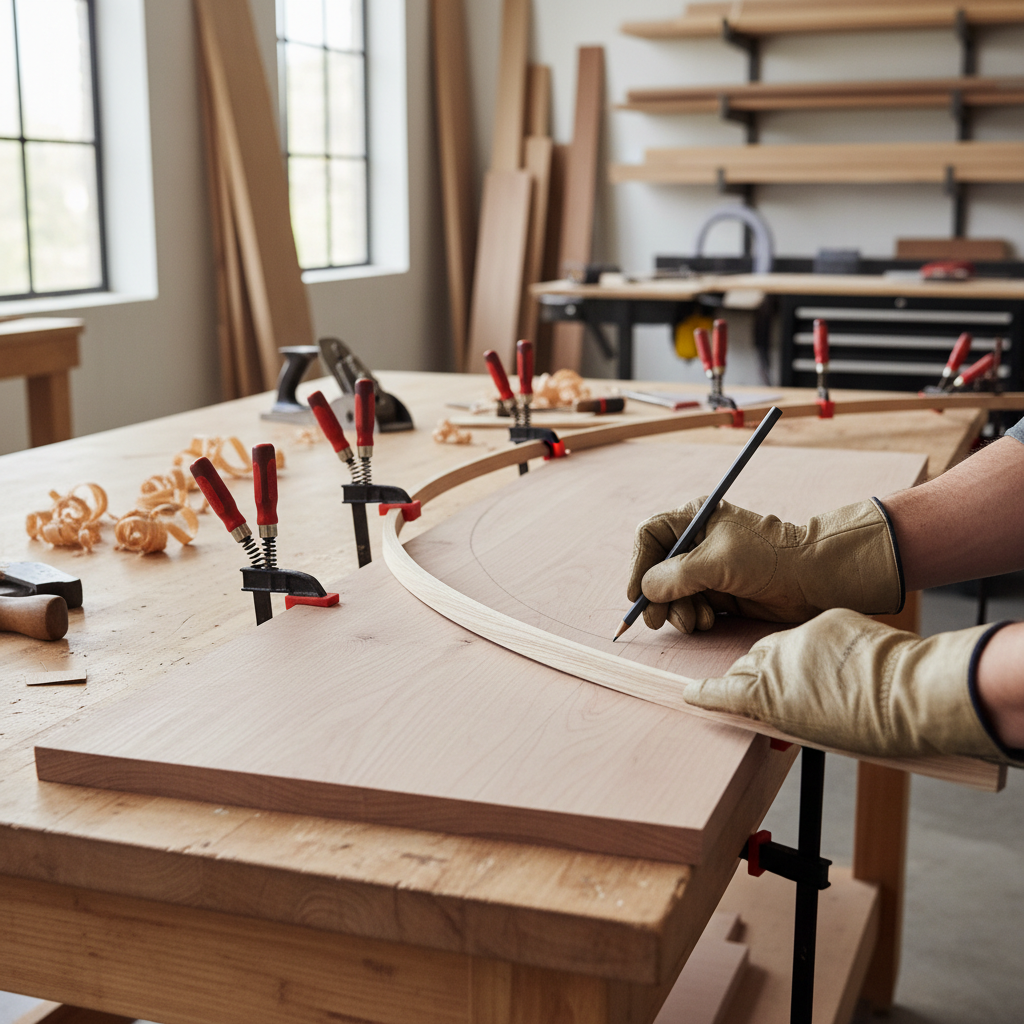
Layout and prep: get the line and the support right
A clean curve starts before the saw turns on. If you’re freehanding with a fuzzy line on an unsupported panel, you’re basically asking the jigsaw to improvise.
- Use a clear layout: pencil is fine for rough work, but for accuracy use a fine marker or a knife line on hardwood.
- Make the curve fair: for smooth arcs, use a flexible batten, thin strip of wood, or a curve ruler so the line doesn’t have flat spots.
- Support the work: foam insulation board under sheet goods keeps both sides supported and reduces vibration.
- Clamp for real: you want the offcut to fall away without pinching the blade, but not so early that it snaps and tears fibers at the end.
Small detail that helps: if you care about the top face of plywood, put painter’s tape over the cut line and mark on the tape. It won’t solve everything, but it can reduce splintering in many cases.
Cutting technique: steer the shoe, not the blade
The biggest mindset shift for how to cut curves with a jigsaw is this: you don’t “turn the blade,” you guide the saw’s base plate so the blade stays relaxed and vertical.
- Let the blade cut at its pace: if you push faster than the teeth can clear chips, the blade heats up and starts bending.
- Keep the shoe flat: lifting the front edge to “see the line” increases deflection and makes beveled edges more likely.
- Use two hands when possible: one drives forward pressure, the other gently steers, especially on longer arcs.
- Watch the blade, not just the line: if you see it bowing, you’re forcing the turn or the curve is too tight for that blade.
Orbital settings and speed (practical guidance)
Orbital action can cut faster, but it tends to roughen curves and increase tear-out. For cleaner curves, many people get better results with low orbital or orbital off, then adjust speed to match the material.
- Plywood/finish cuts: lower orbital, moderate speed.
- Thick hardwood: moderate orbital can work, but only if the curve is gentle and the blade stays straight.
- Plastic: slower speed to avoid melting, and pause if chips start sticking.
Tight curves: relief cuts, drill starts, and when to stop pretending
Tight radii are where a jigsaw gets exposed. You can still do it, but you need tactics that reduce sideways load on the blade.
Three approaches that actually work
- Relief cuts: make short straight cuts from the waste side up to the curve line, then cut the curve and let waste pieces fall away. This keeps the blade from binding.
- Drill a starter hole: for interior cutouts, drill a hole big enough for the blade, then start the jigsaw inside the work. Use a backer board to reduce blowout on exit.
- Cut proud of the line: leave 1/16–1/8 inch, then sand or flush-trim to the final curve. For “pretty” work, this is often faster than trying to nail it in one pass.
If the radius is extremely tight and the edge quality matters, a bandsaw, scroll saw, or a router template may be a better fit. That’s not failure, it’s tool selection.
Finishing the curve cleanly (without sanding forever)
Even when you nail the cut, most projects still benefit from quick cleanup. The trick is choosing the right finishing tool for the curve size.
- Large gentle arcs: sanding block or random orbit sander, moving with the curve to avoid flat spots.
- Medium curves: spindle sander, oscillating tool with sanding pad, or a flap wheel (careful, it removes material fast).
- Tight inside curves: dowel wrapped in sandpaper, half-round file, or small sanding drums.
Key point: if you cut slightly outside the line on purpose, you can “sneak up” on the final shape with controlled sanding, and the curve ends up smoother than most one-pass jigsaw cuts.

Troubleshooting checklist (fast diagnosis before you recut)
When a curve goes sideways, don’t guess. Run through this list and you’ll usually spot the real problem in a minute.
- Edge is beveled: slow down, reduce turning pressure, switch to a shorter/stiffer blade, keep the shoe flat.
- Line is wavy: use a narrower blade for the radius, add support under the sheet, reduce orbital action.
- Top veneer chips: try down-cut blade, tape the line, or cut from the “good face” depending on tooth direction.
- Blade keeps binding: add relief cuts, ensure waste can fall away, check clamp placement.
- Burning: new blade, lower speed/orbital, keep moving through the cut.
Key takeaways and a simple game plan
If you want smoother curves without fighting the tool, treat it like a system: match blade to curve, support the work, then cut at a pace that keeps the blade straight. That’s the core of how to cut curves with a jigsaw in a way that feels controlled.
- For your next cut: pick a narrow scroll blade, draw a cleaner line, clamp the piece over full support, then cut just outside the mark.
- For cleaner results: plan on a light finish step, sanding to the line is often faster than trying to steer perfectly.
If you’re about to cut curves for a visible furniture part or a template you’ll reuse, do a short test cut in scrap first, it saves time and material in most shops.