how to trim hedges evenly with power tool is mostly about setup, not strength, because the cleanest hedge lines usually come from consistent guides, the right blade, and a calm pace.
If you have ever stepped back after trimming and noticed waves, bald spots, or a hedge that somehow leans, you are not alone, most people cut what they see up close, then discover the overall shape only when it is too late.
This guide breaks the job into a repeatable process, what to check before you start, how to choose a cutting approach that matches your hedge type, and the small habits that keep lines straight. I will also flag common mistakes that waste time, or worse, create plant stress that takes a season to hide.

Choose the right power tool and blade for an even finish
Even trimming starts with tool fit. A powerful trimmer can still leave a ragged line if the blade length, tooth spacing, or tool style does not match your hedge.
Common power-tool options (and when they work)
- Cordless hedge trimmer: Great for most homeowner hedges, easier movement, less cord management, usually the most forgiving option for straight lines.
- Corded hedge trimmer: Reliable runtime, often lighter than gas, but the cord adds a “pull angle” that can nudge your cut off-line unless you manage it.
- Gas hedge trimmer: Useful for large properties and thick growth, though vibration and weight can make perfectly flat planes harder for casual users.
- Pole hedge trimmer: Best for tall hedges where ladders feel sketchy, but the long reach can amplify small wrist movements into noticeable waves.
Blade length and tooth spacing, simplified
- Longer blades help you “bridge” small dips, which often looks straighter from the street, but they are harder to control in tight areas.
- Wider tooth spacing handles thicker stems better, while tighter spacing usually produces a cleaner cosmetic cut on finer growth.
If the hedge has frequent woody stems thicker than your pinky, a hedge trimmer may still work, but you will get cleaner results by pruning those stems selectively with loppers first, then doing a finishing pass with the power tool.
Prep work that prevents wavy lines
Most uneven hedges come from skipping the boring part. Five minutes of prep tends to save half an hour of “chasing the line” later.
- Walk the full length and look for dips, high spots, and any sections that already lean outward.
- Remove hidden obstacles like twine, sprinkler heads, edging wire, or dog fencing near the base.
- Clear the drop zone so clippings do not build up and change your stance mid-cut.
- Check blade condition, a dull or gummed blade tears tips and makes your line look fuzzy.
- Plan the shape before you cut, especially the top width and side taper.
According to OSHA, outdoor power equipment work should include eye and hearing protection where appropriate, and attention to bystanders and overhead hazards. If you are new to hedge trimmers, treat safety gear as part of the “even cut” plan, because flinching from debris often causes sudden dips in the line.
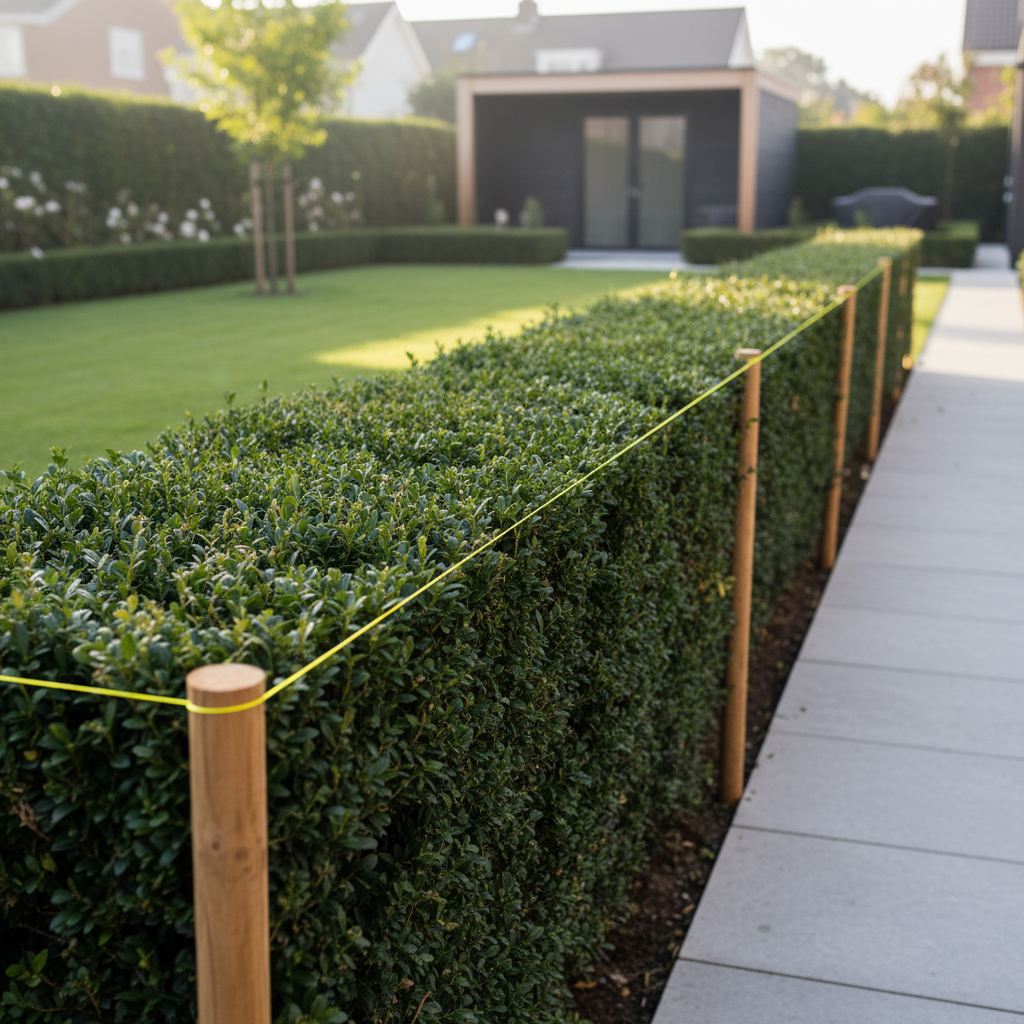
Use simple guides to make “level” obvious
Your eyes lie at close range, especially on long hedges. A physical reference keeps your cut consistent, which is the heart of how to trim hedges evenly with power tool without constantly second-guessing.
Fast guide methods that work in real yards
- String line for the top: Set two stakes past the hedge ends, stretch string tight, and check level. Trim just below the string so you do not nick it.
- Two-stick depth guide: Mark a target width on a short stick, then use it to spot-check depth as you work down the line.
- Chalk line on a board: For short formal hedges, a straight board with a marked edge can act as a visual ruler.
A quick note about shape, many shrubs stay healthier when the hedge is slightly wider at the bottom than the top, that taper helps sunlight reach lower growth so you do not end up with a leafy “hat” and bare legs.
Step-by-step: trim the top, then the sides, then detail
The order matters because the top sets the visual reference for everything else. If you cut the sides first and later lower the top, the hedge can look thinner than you intended.
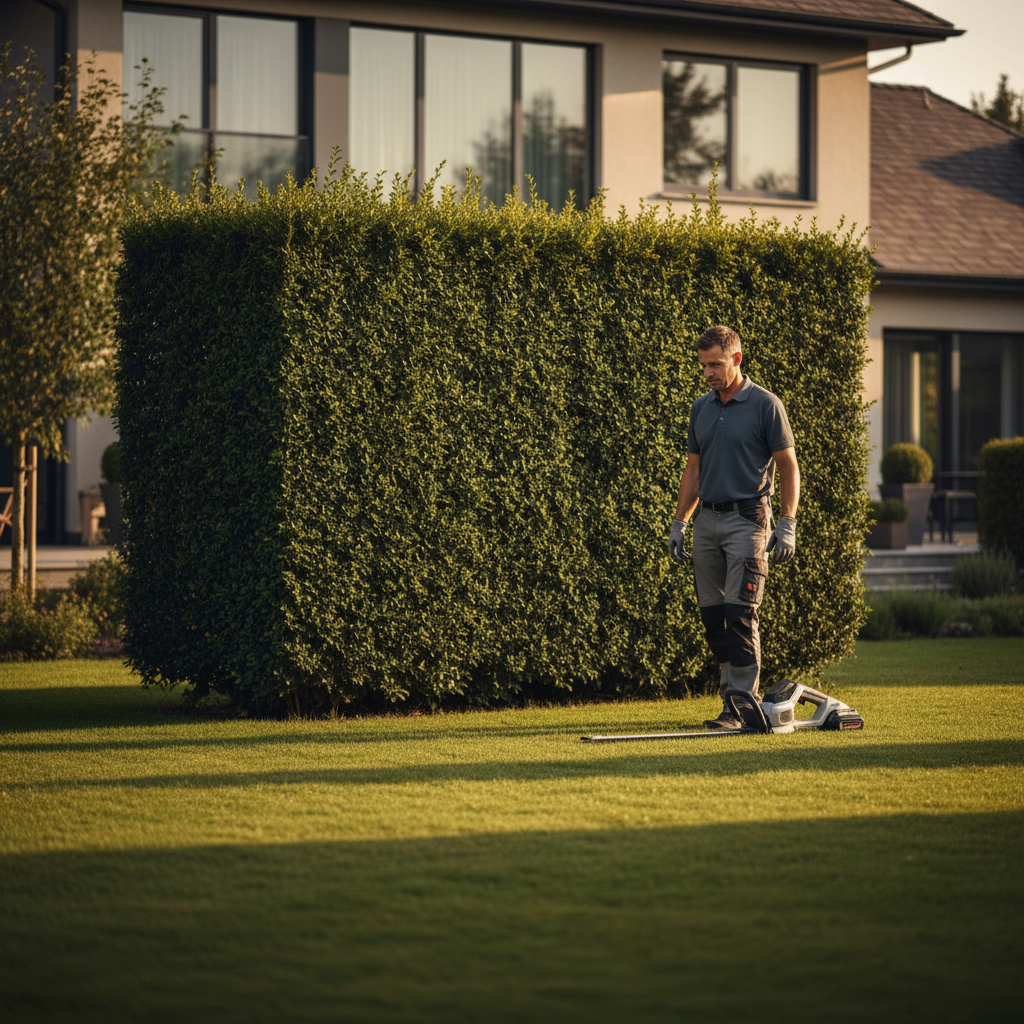
1) Set your stance and cutting rhythm
- Stand with stable footing and keep shoulders square to the hedge face you are cutting.
- Use slow, overlapping passes, rushing makes scallops.
- Let the tool do the work, forcing the blade tends to “bounce” and chatter.
2) Trim the top plane
- Work in one direction along the hedge, keeping the blade as parallel to your guide as possible.
- Take less material than you think you need on the first pass, you can always refine.
- Stop every 6–10 feet and step back, the wide view catches tilt early.
3) Trim the sides with a consistent angle
- Start at the bottom and sweep upward, this helps clippings fall away so you can see your line.
- Keep a slight taper, often 5–10 degrees is enough to prevent shaded-out lower growth.
- Use your guide stick to spot-check depth, especially near corners.
4) Finish corners and “transition zones”
Corners are where unevenness shows first. Use short, careful passes and aim for crisp transitions, not “perfectly sharp” edges that remove too much living foliage at once.
A quick troubleshooting table for uneven hedges
When the hedge looks wrong, the cause is usually predictable. This table helps you diagnose without overcutting the whole row.
| What you see | Likely cause | Fix on the next pass |
|---|---|---|
| Wavy top line | No guide, moving too fast, changing stance | Use a string line, overlap passes, stop to step back |
| “Bald” patches | Cut into old wood on a species that does not back-bud well | Lightly reshape only, allow regrowth, consider a pro for renovation |
| Uneven depth along the face | Following bumps with the blade, no depth checks | Use a marked stick, aim for one flat plane |
| Ragged tips, fuzzy look | Dull blade or cutting wet foliage | Clean/sharpen blade, trim when foliage is dry |
| Hedge looks narrower at the bottom | Sides cut too vertical or inverted taper | Re-cut with slight outward flare toward the base |
Self-check list: are you cutting evenly as you go?
If you want an even hedge on the first try, build in small checks instead of waiting until the end.
- Top line: does it look level from two viewing spots, not just straight-on?
- Taper: can you see a slight “A-shape” when you look at the hedge end?
- Depth: does the face feel like one plane when you sight down the line?
- Consistency: are you trimming the same amount per section, or “fixing” one area repeatedly?
- Tool angle: are your wrists drifting as your arms get tired?
This is also where many people realize the job is more about pacing than power. When fatigue shows up, take a break, tired arms make uneven passes much more likely.
Mistakes that quietly ruin the final look
Some errors do not look dramatic in the moment, then you clean up and wonder why the hedge feels messy.
- Skipping the step-back: close-up trimming hides tilt, step back often and change viewing angles.
- Cutting too deep to “fix” one low spot: it usually creates a longer, more obvious low spot.
- Trimming wet foliage: clumps can pull into the blade and tear tips, wait for drier conditions when possible.
- Ignoring species limits: some evergreens do not push new growth from old wood, so a hard correction can leave thin areas for a long time.
- Over-shaping every session: routine trims are for maintaining a line, big reshapes work better as planned projects.
If you are unsure what species you have, treat it cautiously, take off less, see how it responds, then decide if deeper shaping makes sense.
When it makes sense to get professional help
DIY works for most routine trims, but there are situations where bringing in a landscaper or certified arborist can save you from a long recovery period.
- The hedge is tall enough that you feel tempted to use an unstable ladder, safety risk tends to outweigh savings.
- You need major height reduction into older wood and you are not sure the hedge will recover.
- There are power lines nearby, even “not that close” can become close when you reposition.
- The hedge shows signs of disease or dieback, and you do not want to spread issues with a blade.
According to ISA (International Society of Arboriculture), trained professionals can assess pruning limits for different species and site conditions. For renovation cuts or electrical hazards, a quick consult may be worth it.
Conclusion: a straighter hedge is mostly a repeatable process
Once you treat the job like a small layout project, guides, viewing angles, light passes, how to trim hedges evenly with power tool becomes a lot less stressful and the results look intentional, not accidental.
Key takeaways: use a string line for the top, keep a slight taper, take lighter first passes, and step back often. If you want one action step today, set up a guide before you start cutting, it changes everything.
FAQ
How do I keep the top of my hedge perfectly level with a power trimmer?
A tight string line is the simplest solution, because it gives you a non-negotiable reference. Trim just under the line in light passes, then step back to confirm you did not introduce a gradual tilt.
Is it better to trim hedges from the bottom up or top down?
For sides, bottom up often feels cleaner because clippings fall away and you can see your cut. For the top, it is more about keeping the blade parallel to your guide than the direction you walk.
Why does my hedge look uneven even after I trimmed it straight?
Many hedges have uneven density, so a “straight” cut can still read as bumpy. Step back and look for depth changes, not just height changes, then correct with very small amounts.
Can I use a pole hedge trimmer to get an even finish?
Yes, but it usually takes slower passes and more frequent checks. The extra reach can magnify small movements, so guides and steady footing matter even more.
How often should I sharpen or clean the hedge trimmer blade?
Cleaning sap off after use helps a lot, and sharpening frequency depends on use and what you cut, gritty dust and thicker stems dull faster. If the tool starts tearing tips instead of slicing cleanly, it is usually time to service the blade.
What is the best hedge shape to prevent bare spots at the bottom?
A slight taper with the base wider than the top is a common approach because it lets light reach lower foliage. Very vertical sides can look modern, but they often increase shading and thin growth near the bottom.
What safety gear should I wear when trimming hedges with a power tool?
Eye protection is a practical baseline, and hearing protection is often smart with louder tools. Gloves and long sleeves can reduce scratches, and if your situation involves heights or electrical lines, consider a professional rather than improvising.
If you are trying to get a clean, even look but keep fighting waves or thin spots, it can help to share a few photos of your hedge, the tool you use, and the shape you want, then you can get a more tailored trimming plan without guessing.