how to sharpen garden shears at home is usually the fastest way to fix ragged cuts, crushed stems, and that annoying feeling that your tool is “fine” but your plants disagree.
Sharp shears matter more than most people think, because a clean cut helps plants recover, while a dull blade can tear tissue and invite stress or disease pressure in many gardens. It also saves your hands, dull tools make you squeeze harder and that adds up fast.
This guide walks you through a realistic at-home routine, what to use, how to check your edge, and what to do when sharpening doesn’t solve the problem, because sometimes the issue is alignment or a nicked blade, not effort.
Know your shears: bypass vs anvil (it changes the approach)
Before you touch a stone, take ten seconds to identify what you own. Most “garden shears” people mean are pruning shears, and they’re usually either bypass or anvil.
- Bypass: two blades pass by each other like scissors, best for live stems. You sharpen the cutting blade only in most designs.
- Anvil: one sharp blade closes onto a flat anvil surface, common for dead wood. You sharpen the blade, but also watch for dents in the anvil.
If you sharpen the wrong surface, you can ruin the cutting geometry and end up with worse performance even though the edge feels “sharper” to the touch.
What you need (and what you can skip)
You don’t need a full workshop to handle how to sharpen garden shears at home, but you do need the right contact surface and a way to stabilize the tool.
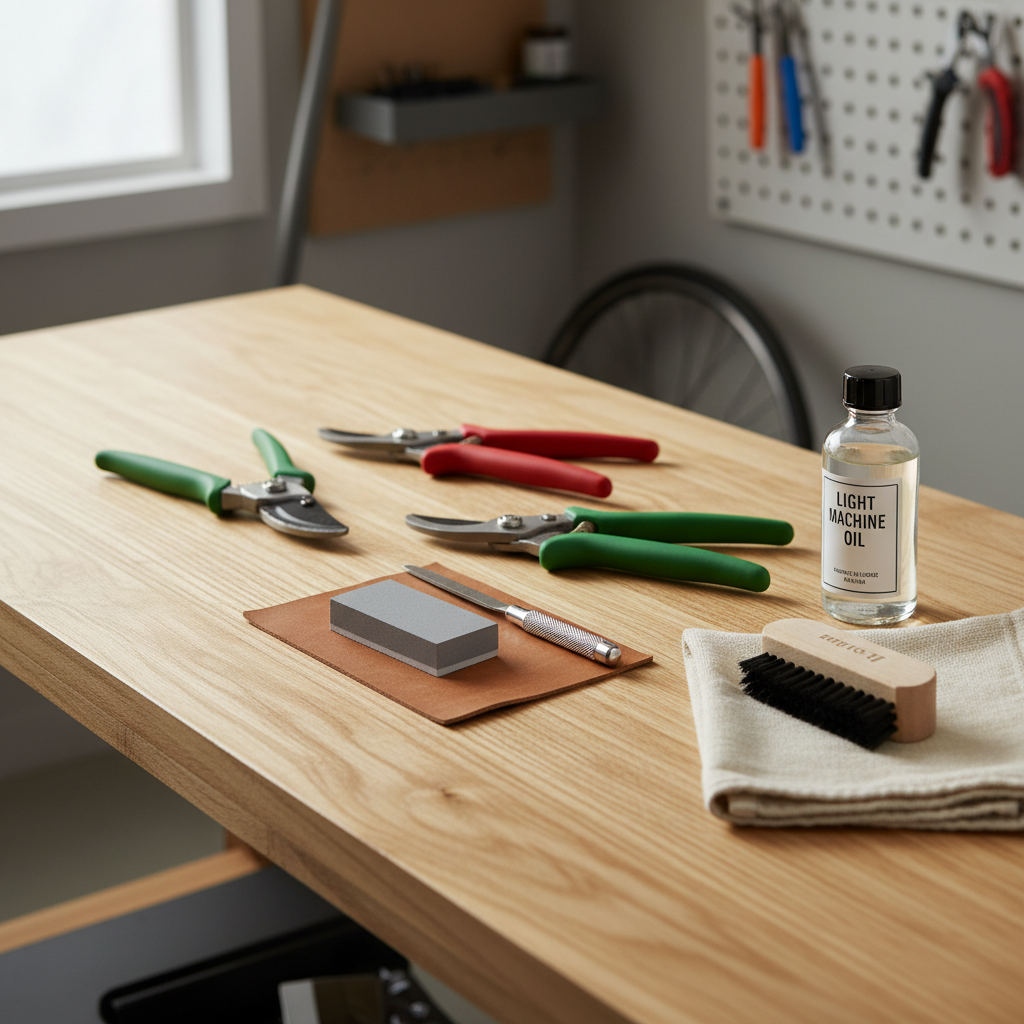
Basic kit for most homeowners
- Cleaning supplies: stiff brush, rag, mild degreaser or soapy water
- Sharpening tool: diamond file, ceramic rod, or a fine sharpening stone
- Safety: work gloves and eye protection are sensible, especially if you’re filing near springs
- Finishing: light oil (tool oil or mineral oil) and a drop of lubricating oil for the pivot
Nice to have
- Bench vise or clamp to hold the shears steady
- Rubbing alcohol for final wipe-down
Skip power grinders unless you already know what you’re doing, they remove metal fast, heat the edge, and mistakes happen in seconds.
Quick diagnosis: is sharpening even the real fix?
Many people search how to sharpen garden shears at home when the blade is fine but the tool still chews stems. Do this quick check first.
- Look at the edge: shiny flat spots along the bevel usually mean dullness.
- Check for nicks: small chips can snag on cuts, deep chips may need professional grinding.
- Test alignment: close the shears slowly, the blades should meet cleanly without gaps.
- Pivot tension: too loose causes slipping, too tight causes binding.
- Sticky sap or rust: buildup can mimic dullness, clean first.
According to Oregon State University Extension, cleaning and disinfecting pruning tools helps reduce disease spread between plants, so even if you only came here for sharpening, hygiene is part of “good cuts.”
Step-by-step: how to sharpen garden shears at home
how to sharpen garden shears at home works best as a routine: clean, sharpen, deburr, then oil and adjust. If you skip cleaning, you often grind grit into the edge and wonder why it takes forever.
1) Clean and open up the tool
- Brush off dirt, wipe sap, and remove rust spots gently.
- If sap is heavy, warm soapy water or a mild degreaser helps, dry thoroughly after.
- Open the shears and lock them if your model has a lock.
2) Find the factory bevel and match it
Most pruners have a visible bevel, that’s your guide. You’re not inventing a new angle, you’re restoring the existing one. In many household pruners, the bevel often sits around the low-to-mid 20s in degrees, but it varies by brand and blade thickness, so match what you see.
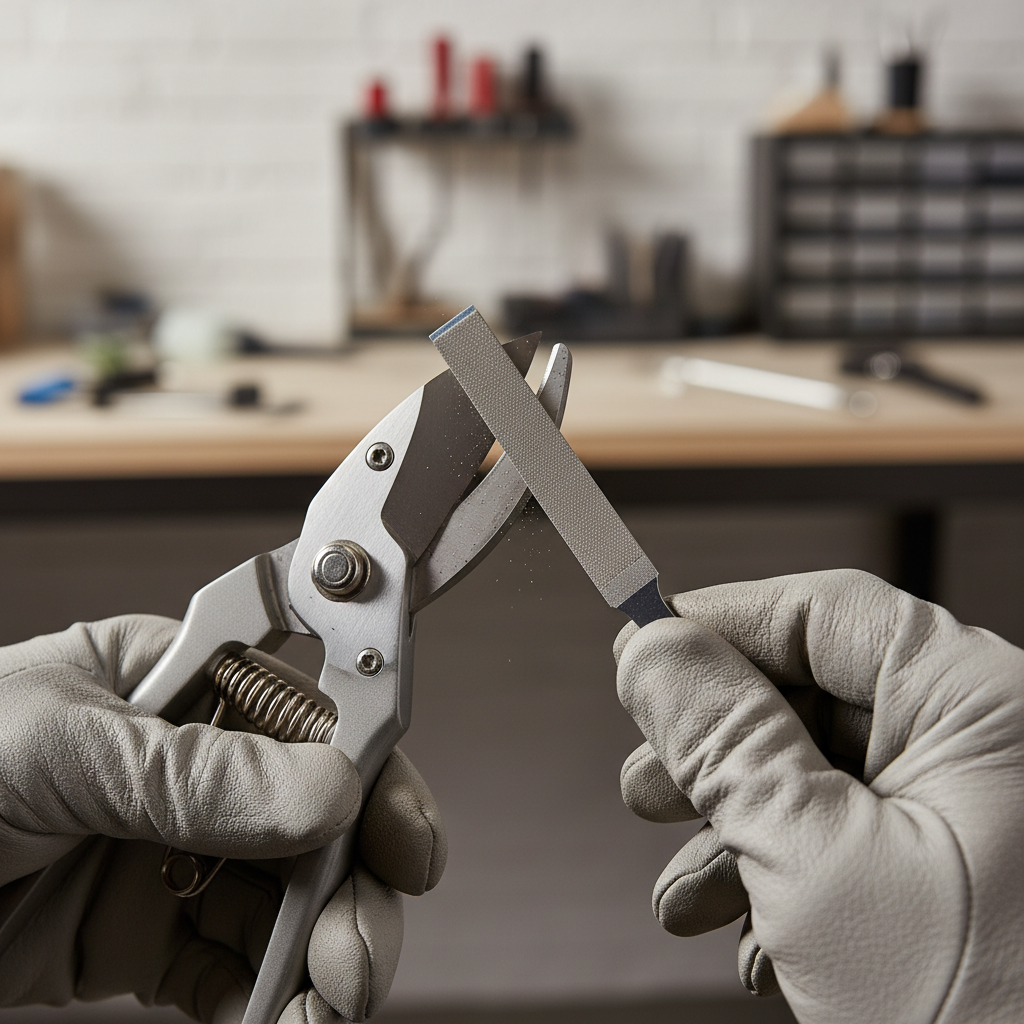
3) Sharpen the beveled side only (for bypass pruners)
- Hold the file/stone to the bevel and push in smooth strokes, like you’re shaving a thin layer off the bevel.
- Work from the base of the blade toward the tip, keeping the same angle.
- Use light pressure, too much pressure can create waves and uneven spots.
Usually 10–30 strokes gets you back to a crisp edge if the blade isn’t badly damaged. If you see a consistent, clean line along the bevel, you’re close.
4) Remove the burr on the flat side
After sharpening, you’ll often feel a tiny wire edge. Flip to the flat side and make one or two very light passes flat against the back to knock the burr off, don’t grind a bevel there, especially on bypass pruners.
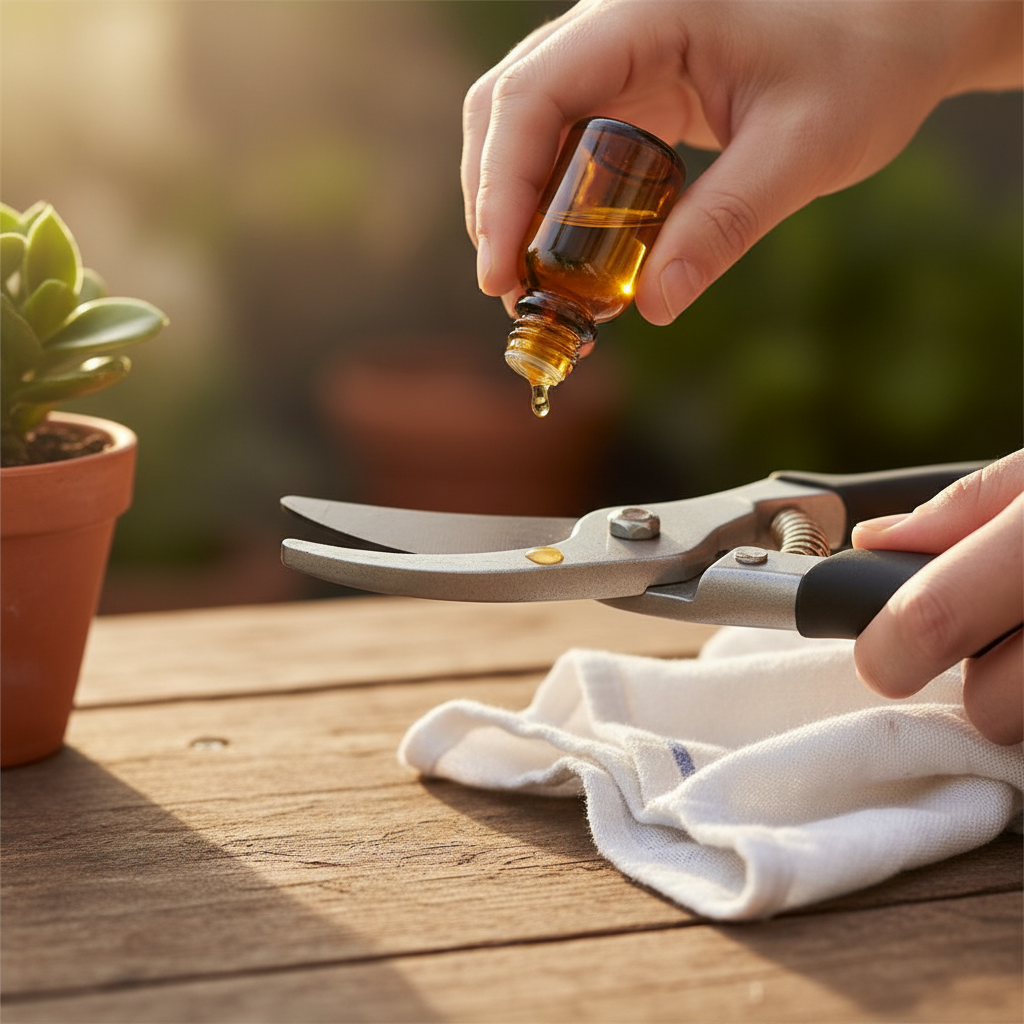
5) Wipe, oil, and adjust
- Wipe metal dust off, then apply a thin coat of oil to prevent rust.
- Add a drop of oil to the pivot, open and close a few times.
- Adjust the pivot tension so the blades move smoothly but don’t wobble.
According to CDC guidance on cleaning and disinfecting, following label directions and using appropriate disinfectants is important for safety, which applies when you disinfect tools, too. In garden practice, many people use alcohol or diluted bleach solutions, but you should follow product labels and avoid mixing chemicals.
Sharpening methods compared (pick what fits your situation)
If you’re deciding what to buy for how to sharpen garden shears at home, this quick comparison helps, because the “best” option depends on how dull the blade is and how steady your hands feel.
| Tool | Best for | Pros | Watch-outs |
|---|---|---|---|
| Diamond file | Most dull blades, small nicks | Fast, controlled, inexpensive | Can over-file tips if you rush |
| Ceramic rod | Quick touch-ups | Simple, portable | Slow on very dull edges |
| Sharpening stone | Precision work, nicer blades | Smooth finish, good control | Needs practice to hold angle |
| Pull-through sharpener | Convenience-first touch-ups | Easy to use | May remove extra metal, not ideal for premium blades |
Common mistakes that make shears worse
This is the part nobody likes hearing, many “bad sharpening” results come from small habits that feel harmless in the moment.
- Sharpening both sides on bypass pruners: it changes how the blades pass, and cuts start to crush.
- Changing the bevel angle: a steeper angle can feel sharp but dulls fast and can chip easier.
- Ignoring the anvil or counter-blade: dents, bends, or sap buildup can ruin cuts even with a sharp edge.
- Skipping the burr removal: the edge may fold quickly and feel dull after a few cuts.
- No lubrication: friction makes the tool feel “stiff,” so people overtighten the pivot and performance drops.
Practical routine: keep them sharp longer (less work next time)
If you want how to sharpen garden shears at home to become a five-minute job instead of a project, the trick is small maintenance before the tool gets wrecked.
- After each session: wipe blades, remove sap, dry the tool.
- Weekly during heavy use: quick touch-up with a ceramic rod or fine file.
- Monthly or as needed: full clean, sharpen, pivot oil, tension check.
- Storage: keep them dry, avoid leaving them outside or on damp soil.
Key takeaway: sharpness is half edge geometry and half friction control, a sticky pivot can make a sharp blade feel dull.
When to repair, replace parts, or ask a pro
There’s a point where sharpening at home stops being the smart move, mostly when damage changes the tool’s shape.
- Deep chips or a bent blade: a shop can regrind safely, but sometimes replacement blades are cheaper.
- Loose handles, cracked grips, broken springs: replacing parts is often more effective than more sharpening.
- Persistent misalignment: if blades don’t meet correctly after tension adjustment, a professional tune-up may save the tool.
If you’re unsure, bring the shears to a local hardware store or sharpening service and ask what they’d fix versus replace, you’ll usually get a practical answer fast.
Conclusion: a sharp edge, clean cuts, and less frustration
how to sharpen garden shears at home comes down to doing the simple steps consistently, clean first, match the bevel, sharpen the cutting side, remove the burr, then oil and set the tension so the blades actually work together.
If you only do two things this week, make a quick touch-up part of your routine, and stop cutting when stems start crushing, that’s your sign to maintain the edge before it turns into a bigger job.
FAQ
- How often should I sharpen garden shears at home?
It depends on use and what you cut. If you prune woody shrubs often, you may need touch-ups every week or two, while light houseplant trimming might only need a full sharpening a few times a year. - Can I use sandpaper instead of a file or stone?
In a pinch, fine wet/dry sandpaper wrapped around a flat surface can help with minor touch-ups, but it’s slower and harder to keep a consistent bevel on curved blades. - Do I need to take the shears apart to sharpen them?
Usually no. For most bypass pruners, sharpening with the tool assembled works fine, unless sap and rust are heavy around the pivot or you need to replace parts. - Why are my shears still crushing stems after sharpening?
Common causes are blade misalignment, a loose pivot, burr not removed, or buildup on the counter-blade. Clean thoroughly and re-check tension and blade contact. - Is it safe to disinfect shears with bleach?
Many gardeners do, but you should follow the product label for dilution and contact time, and rinse and dry to reduce corrosion. If you have questions about chemical handling, consider asking a local extension office or a professional. - What angle should I sharpen pruning shears to?
Most homeowners get the best results by matching the existing factory bevel rather than chasing a specific number, because designs vary and consistency matters more than a perfect angle. - Can a pull-through sharpener damage garden shears?
It can, especially on bypass designs, because it may remove extra metal or alter the bevel. It’s okay for quick convenience in some cases, but a file gives you more control.
If you’re working through a pile of pruners from a busy season, or you want a more hands-off way to keep tools cutting cleanly, a local sharpening service or garden center tune-up can be a practical option, especially for bent blades and alignment issues that home sharpening won’t fix easily.