
pipe reamer tool deburring is the small step that often separates a “good enough” cut from a clean, dependable connection, especially when you are working fast and the pipe ends look fine at a glance.
Rough edges, a thin internal lip, or a slightly oval opening can create real problems later, from stubborn fittings to damaged O-rings and messy solder joints. The frustrating part is that these issues can hide until pressure testing or, worse, after the job is closed up.
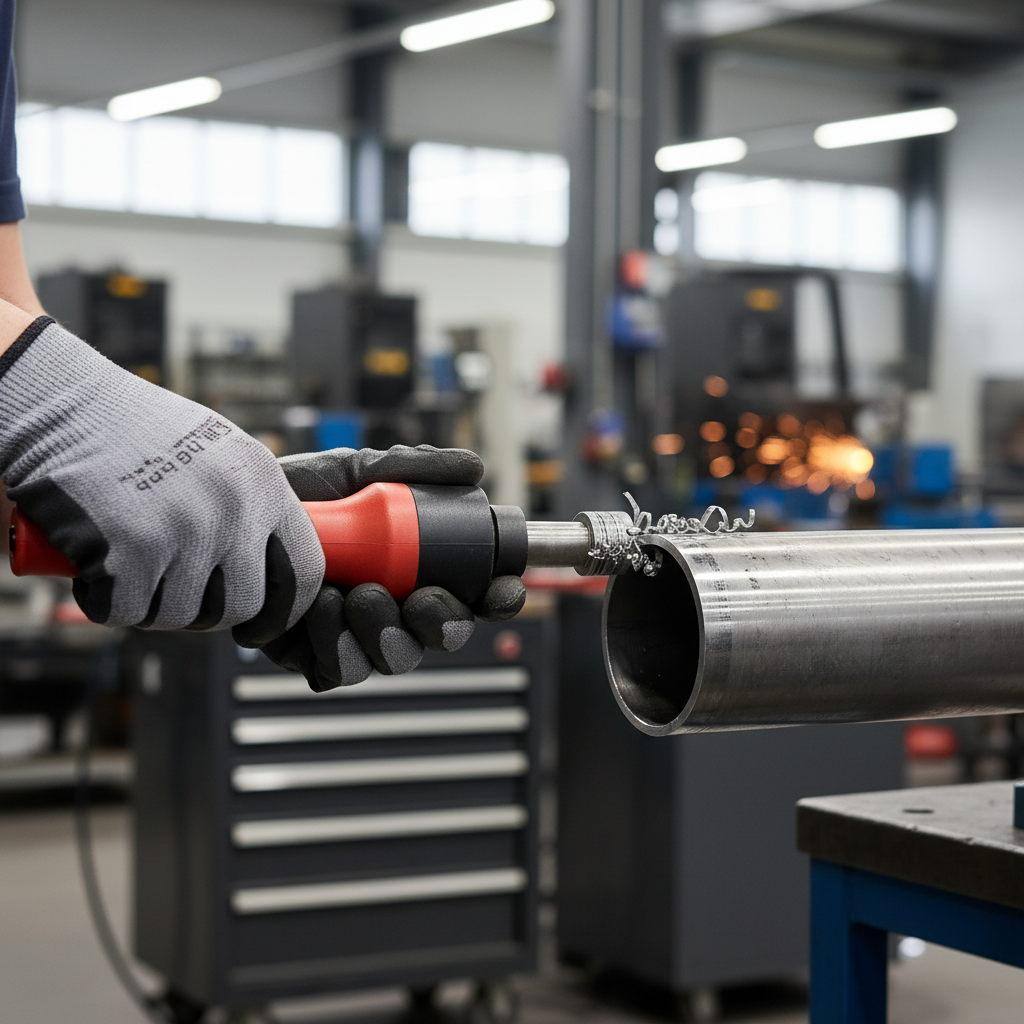
This guide stays practical: what deburring really fixes, how to tell when you need it, how to do it without over-reaming, and how to pick a tool that matches your pipe material and the pace of your work.
Why deburring matters more than people expect
Deburring is not just about making an edge look pretty, it is about how the next component seats, seals, and survives installation.
- Protects seals and O-rings: A sharp internal edge can nick rubber during insertion, which may turn into a slow leak later.
- Improves flow and reduces turbulence: That inner lip from cutting can slightly restrict the ID, on small diameters it can be surprisingly noticeable.
- Makes joining easier: Smooth edges help fittings start straight, reduce binding, and cut down “why won’t this go in” moments.
- Helps brazing/soldering quality: Clean edges support better capillary action and more predictable wetting, assuming surfaces are prepped properly.
According to OSHA, controlling sharp edges is part of basic injury prevention on jobsites, and deburring is one of the simple ways to reduce cuts when handling freshly cut material.
Common causes of rough pipe ends (and what they look like)
Most rough ends come from normal cutting, not “bad work.” The cause changes what tool works best and how aggressive you should be.
Tube cutter lip on copper or thin-wall tubing
Rotary cutters tend to roll material inward, leaving a clean-looking outside with a noticeable internal ridge. This is where a reamer shines.
Saw cuts on PVC, steel, or stainless
Hacksaws, recip saws, and chop saws can leave burrs outside and inside, plus a slightly angled end if the pipe shifted.
Dull blades or rushing the cut
Heat, chatter, and vibration create jagged burrs. You may also see micro-tears that catch a finger or a rag.
Quick self-check: do you actually need deburring here?
If you want a fast “yes or no,” this checklist usually catches the situations where deburring pays off immediately.
- Run a finger around the inside edge, if it feels sharp or catches skin, deburr.
- Drag a cotton swab around the rim, if fibers snag, deburr.
- Dry-fit the connection, if it hangs up halfway or needs excessive force, check for burrs.
- Any connection with an O-ring, gasket, or push-to-connect fitting, assume deburring matters.
- If you used a tube cutter on copper, assume there is an internal lip even if the outside looks perfect.
One nuance: if you are working with certain press-fit systems, manufacturers often specify prep steps. When in doubt, follow the fitting maker’s installation instructions.
How to use a pipe reamer tool for smooth ends (step-by-step)
pipe reamer tool deburring works best when you treat it like “remove the burr, keep the geometry,” not “keep cutting until it feels slick.”
1) Cut square, then stabilize the pipe
Deburring cannot fix a badly angled cut. If the cut is noticeably off-square, re-cut before you spend time reaming. Hold the pipe steady so the tool does not chatter.
2) Ream the inside first
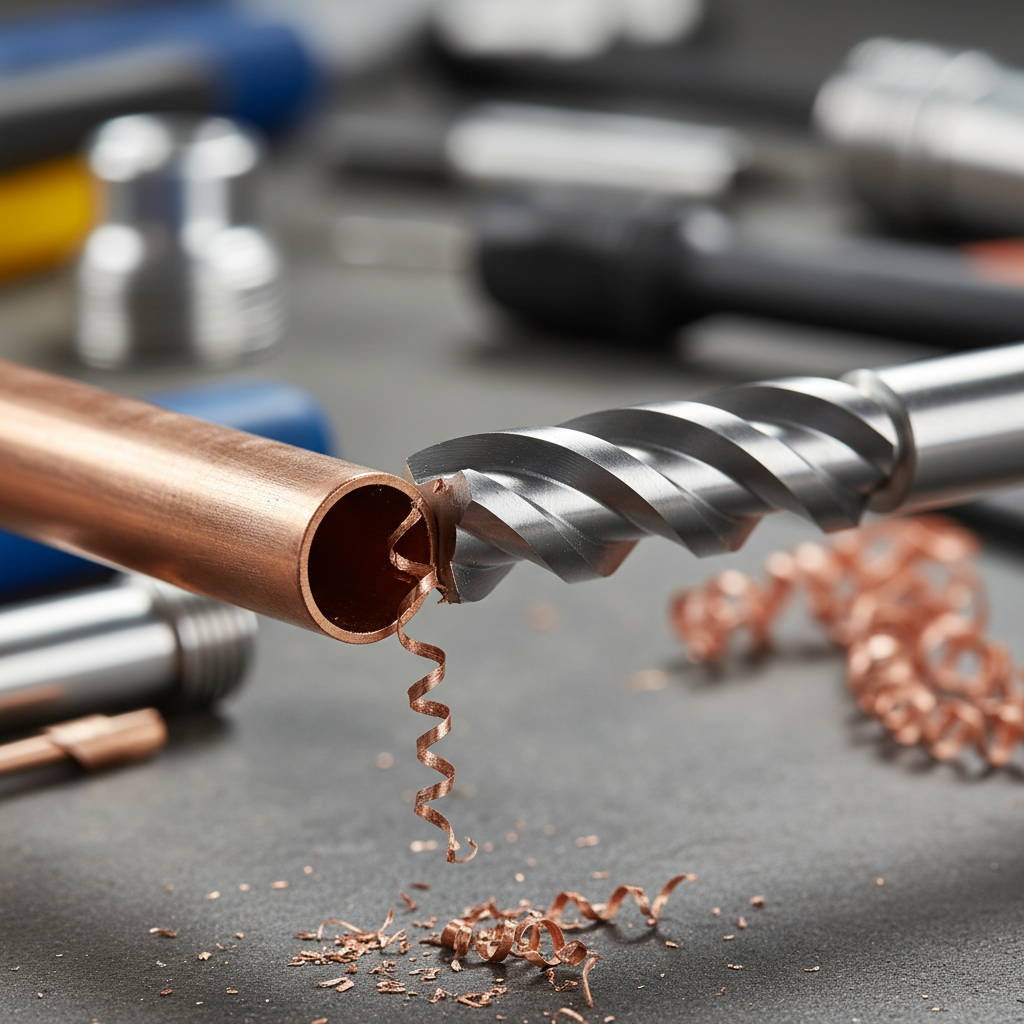
Insert the reamer just enough to contact the inner edge, rotate with light pressure, then stop and check. You are aiming to remove the raised lip, not enlarge the ID.
3) Break the outside edge (only as needed)
Many reamers also chamfer the outside edge, or you can use a separate deburring blade. A small bevel helps fittings start without shaving material, but keep it modest.
4) Clean out chips and dust
Wipe the end, tap out shavings, and for plastic, consider a quick rinse if allowed by the job spec. Leaving debris in the line can cause problems downstream.
5) Verify with a quick test
Feel the edge, check insertion, and look for a consistent, light chamfer. If you see a deep cone shape, you likely removed too much.
Choosing the right deburring tool: what to buy for your pipe and workload
The “best” tool depends on material, diameter range, and how repetitive the work is. Here is a practical comparison to help you decide without overthinking it.
| Tool type | Best for | Pros | Watch-outs |
|---|---|---|---|
| Built-in reamer on a tubing cutter | Copper, thin-wall tubing | Always on hand, fast for single cuts | Can be small/awkward, easy to under-ream |
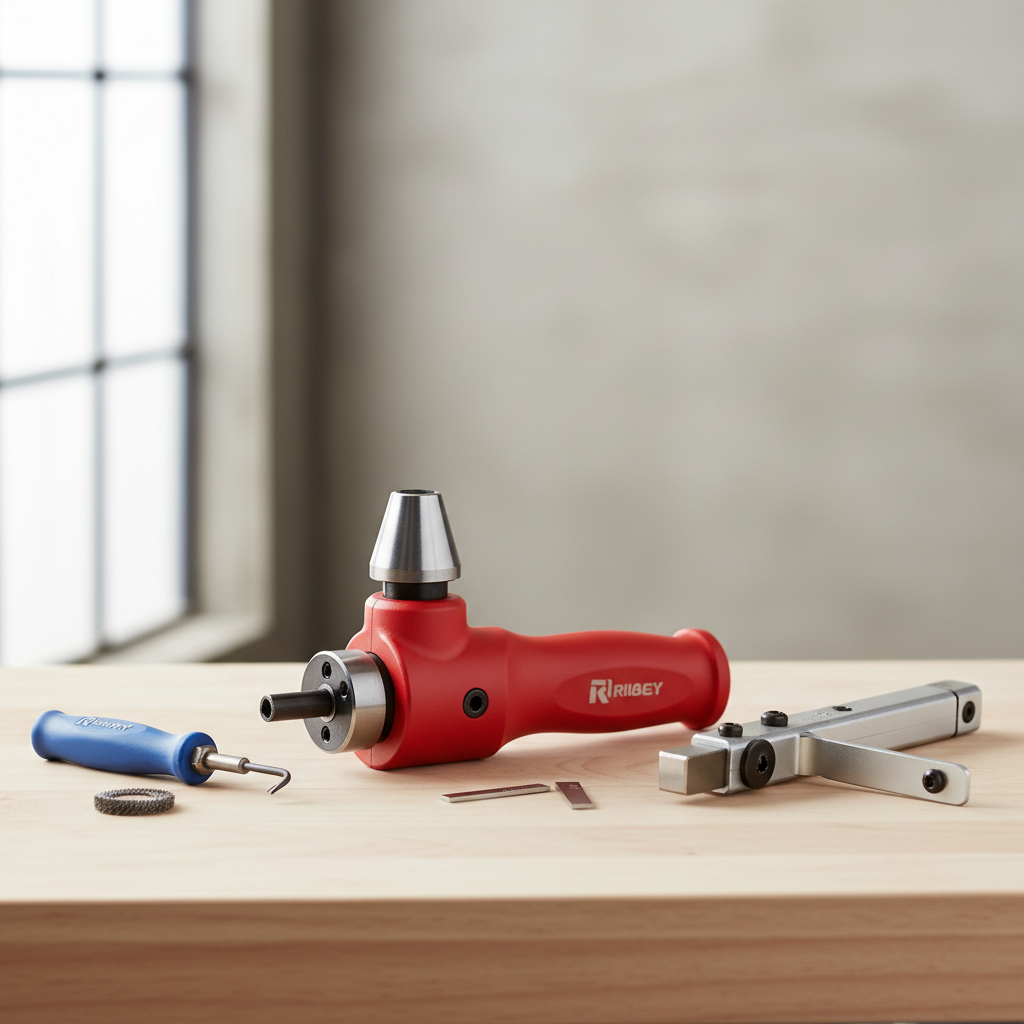
| Handheld multi-size pipe reamer | Copper, brass, aluminum | Consistent inside chamfer, good control | Over-reaming if you push too hard |
| Deburring pen/blade tool | PVC/CPVC, thin metal edges | Great for outside burrs, inexpensive | Less effective on heavy internal lips |
| Drill-driven reamer/chamfer tool | High volume, larger diameters | Fast, repeatable with practice | Easy to remove too much material, needs steady hands |
If you do a lot of service calls, a compact multi-size reamer plus a deburring blade covers most situations without adding much weight to the bag.
Mistakes that cause leaks, poor fits, or rework
These are the repeat offenders. They look minor in the moment, then cost time later.
- Reaming too deep: A big chamfer can reduce engagement length, and on some fittings it may compromise sealing surfaces.
- Only doing the outside: The internal lip is often the bigger issue, especially after using a tube cutter.
- Skipping cleanup: Metal chips in valves, aerators, and small orifices can create callbacks.
- Using the wrong tool on stainless: Some hand tools struggle on harder alloys, leading to uneven edges and lots of effort.
- Assuming “push harder” fixes it: If the reamer chatters, check your cut quality and tool sharpness.
Practical tips for smoother results (and safer hands)
Key takeaways if you want consistent results without overworking each cut:
- Use light pressure, let the cutting edges do the work.
- Stop often and inspect, two short passes beat one aggressive pass.
- Match tool size to pipe ID, “close enough” often leads to uneven chamfers.
- Wear gloves when handling freshly cut metal, sharp burrs can cut quickly.
- For plastic pipe, a clean, minimal bevel helps insertion without shaving curls into the line.
According to ASME, piping work often relies on meeting applicable standards and manufacturer instructions; in practice, that means your prep steps should align with the system you are installing, not just what “usually works.”
When to bring in a pro or follow manufacturer specs closely
If you are doing DIY plumbing and anything feels “off,” it is usually cheaper to pause than to force a connection.
- Press systems, push-to-connect fittings, and gas piping often have specific prep requirements, follow the brand instructions and local code expectations.
- If you see repeated leaks at the same type of joint, the issue might be out-of-square cuts, wrong insertion depth, or damaged seals, not just burrs.
- For commercial work or regulated systems, consult a licensed plumber or qualified installer if you are unsure, requirements vary by jurisdiction.
Conclusion: smooth ends are a small step with outsized payoff
pipe reamer tool deburring is one of those habits that feels optional until you deal with a stubborn fit or a mystery drip. Done lightly and consistently, it helps parts seat the way they were designed to seat.
If you want one action to take today, make it this: after every cut, do a quick inside-edge pass, wipe the chips, then dry-fit once before committing to solder, press, or glue.
FAQ
Do I need to deburr copper pipe after using a tubing cutter?
In many cases, yes. Tubing cutters commonly create an internal ridge even when the outside looks clean, and that lip can affect flow and fitting insertion.
Can over-reaming cause leaks?
It can, depending on the connection type. Removing too much material may reduce contact area or interfere with how a seal seats, so aim for a small, consistent chamfer.
What is the difference between a reamer and a deburring tool?
A reamer is typically shaped to address the inside edge and create a controlled chamfer, while a deburring tool with a blade often targets burrs on the outside edge and around irregular cuts.
Is a drill-powered reamer worth it?
For higher volume work, it can save time. The tradeoff is control, it is easier to remove too much material if you rush or use high speed.
Do I deburr PVC the same way as metal pipe?
The idea is similar, remove the sharp edge and loose material, but you usually want a lighter touch on plastic to avoid creating shavings that can end up in the line.
My fitting still will not seat, even after deburring. Now what?
Check for an out-of-square cut, ovaled pipe end, or a damaged fitting. Also confirm you are using the correct fitting size and insertion depth.
How often should I replace or sharpen a pipe reamer tool?
When it starts to chatter, skate on the edge, or takes noticeably more force, it is often a sign the cutting edges are worn. Replacement intervals vary by material and workload.
If you are setting up a repeatable workflow, or you keep bouncing between copper, PVC, and stainless, choosing a deburring setup that matches your most common jobs can make every connection feel less fussy and more predictable.