
Caulking gun smooth finish results come from the right mix of tool control, prep, and timing, not just buying a “better” tube of sealant.
If your bead looks lumpy, splits, or smears onto the tile or trim, you’re in familiar company, most DIYers fight the same three issues: uneven pressure, a cut tip that’s too big, and smoothing too late.
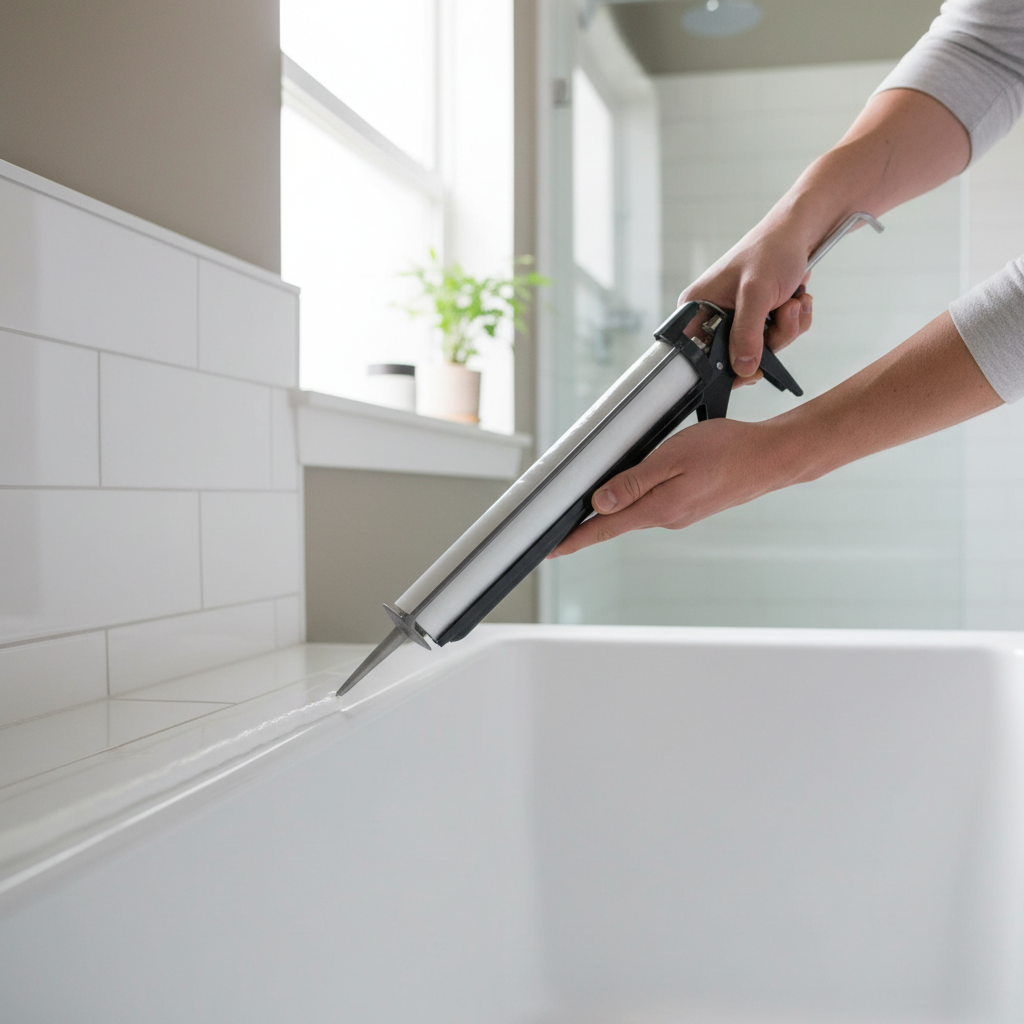
This guide breaks down what “smooth finish” really means, how to choose a caulk gun that helps instead of fights you, and a practical workflow you can repeat on baseboards, tubs, sinks, windows, and exterior gaps.
What “smooth finish” really means (and why it fails)
A smooth finish is a bead that stays consistent in width, bonds to both sides of the joint, and feathers cleanly at the edges without ridges. If it looks good for five minutes but peels later, that’s not a finish problem, that’s a bonding problem.
The most common failure points usually look like this:
- Bead thickness changes mid-line, often from inconsistent trigger pressure or a clogged/noisy plunger.
- Ropes or “worms” instead of a bead, often from a tip cut too small for the caulk viscosity.
- Skins over too fast, then smoothing drags and tears, common with silicone or warm, dry rooms.
- Smears on surrounding surfaces, usually no tape strategy and over-smoothing with a wet finger.
- Adhesion failure days later, usually poor cleaning, moisture, or using the wrong sealant type.
According to OSHA, chemical products used on jobsites should be handled following label directions and safety information, which in practice means ventilation, gloves when needed, and not improvising with solvents that the manufacturer doesn’t recommend.
Choosing a caulking gun that makes a smoother bead
Not every caulk gun helps you get a caulking gun smooth finish. Some designs amplify every little twitch in your hand, others dampen it.
Here’s what tends to matter in real use:
- Dripless (anti-drip) mechanism: reduces oozing when you release the trigger, cleaner stops and corners.
- Thrust ratio: higher ratios push thick sealants more easily, lower ratios feel faster with thin acrylic latex.
- Rod style: a smooth rod often feels steadier and quieter than a basic ratchet rod, especially for long beads.
- Comfort and balance: if the handle bites your palm, you’ll rush, and rushing shows in the bead.
Quick comparison table: what to pick for your job
| Job scenario | Sealant type (typical) | Gun features that help | Why it matters |
|---|---|---|---|
| Bathroom tub/tile | 100% silicone | Dripless, higher thrust, smooth rod | Silicone resists flow, clean stops prevent smears |
| Interior trim/baseboards | Acrylic latex | Dripless, medium thrust, lightweight frame | Fast lines, less fatigue, easier to tool |
| Exterior gaps/siding | Polyurethane / hybrid | High thrust, sturdy frame, dripless | Thicker caulk, slower curing, needs steady push |
| Small repairs | Small tubes | Compact gun or specialty applicator | Better control in tight spaces |
Prepping the joint: the part people skip, then regret
If you want a smooth finish that lasts, surface prep is the boring step that saves you from redoing the whole line.
- Remove old caulk fully: new caulk often won’t bond reliably to old silicone, even if it looks clean.
- Clean and dry: soap scum, dust, and moisture can cause gaps and early peeling.
- Set the joint width: for wide gaps, use backer rod so you’re not filling a canyon with expensive sealant.
- Mask strategically: tape both sides when appearance matters more than speed, like tile edges or painted trim.
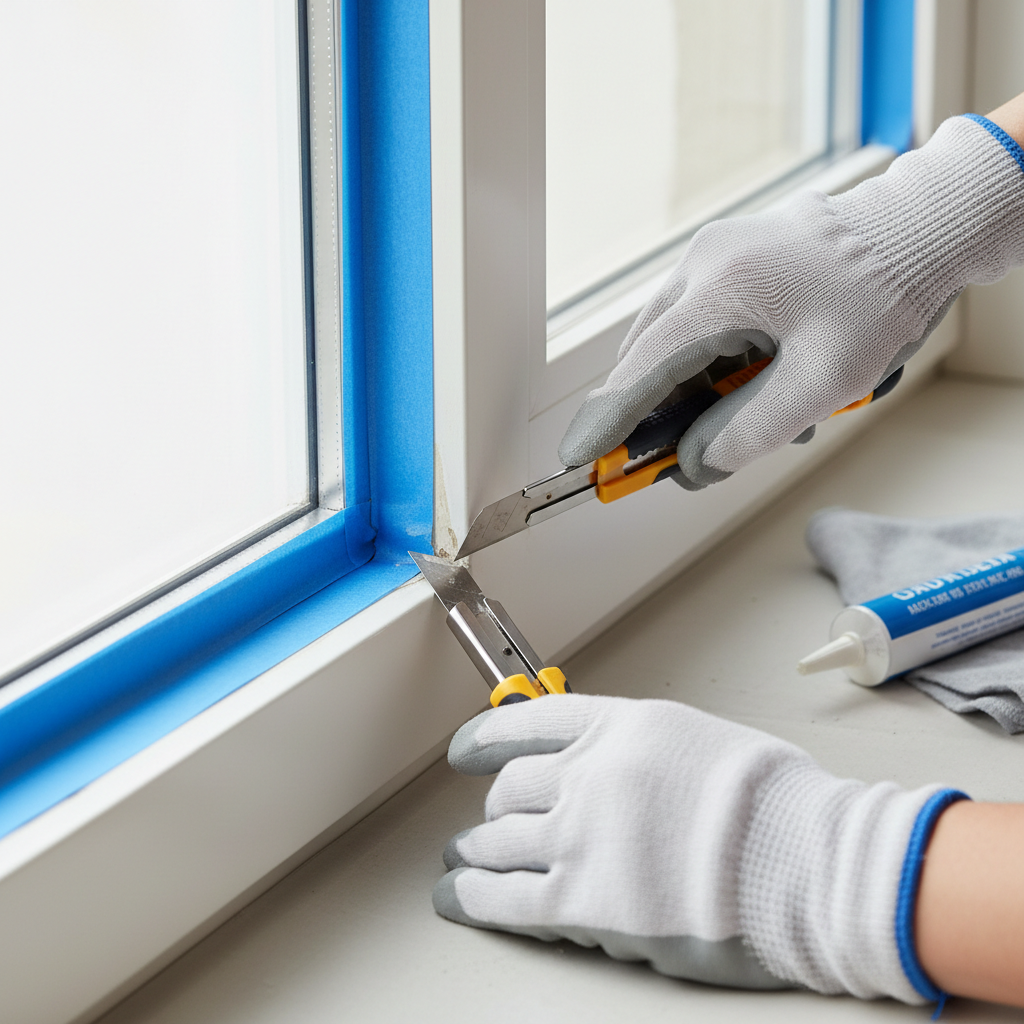
One small tip that changes the outcome: wipe the area, then wait a few minutes and wipe again. The first pass often just moves residue around, the second actually removes it.
Cutting the tip and setting the flow for a cleaner bead
Most “messy bead” problems start at the nozzle. If you cut too much, you’ll need to move faster than your control allows.
- Cut at a 30–45° angle: it rides the joint better and helps you see the bead forming.
- Match the hole to the joint: aim slightly smaller than your target bead, you can always tool wider.
- Puncture the inner seal cleanly: a ragged puncture can create surging flow.
- Test on cardboard: confirm flow before you commit to a visible surface.
For caulking gun smooth finish work, steady flow beats high flow. You want a controllable bead that you can tool once, not a flood you have to “save.”
Application technique: how to move your hands for fewer ridges
There are two popular methods: pushing the bead and pulling the bead. Many pros pull because the tip stays visible and the bead lays down more predictably, but either can work if your angle stays consistent.
A simple technique you can repeat
- Hold the gun at a consistent angle, with the nozzle lightly touching both sides of the joint.
- Use your whole arm to move, not just your wrist, wrist-only movement creates waves.
- Keep the trigger rhythm even: try to “squeeze and glide” as one motion.
- Stop clean: release pressure, then move the tip away slightly, dripless guns make this much easier.
If you’re getting gaps, slow down and increase pressure slightly. If you’re getting bulges, do the opposite, move a touch faster or reduce pressure. It sounds obvious, but most people only change one variable and keep the other fixed, that’s why it stays messy.
Smoothing (tooling) without making a bigger mess
Smoothing is where a good bead becomes a caulking gun smooth finish, or where everything smears. Timing matters: tool too early and you pull the bead thin, tool too late and you tear the skin.
Three smoothing options, and when they work
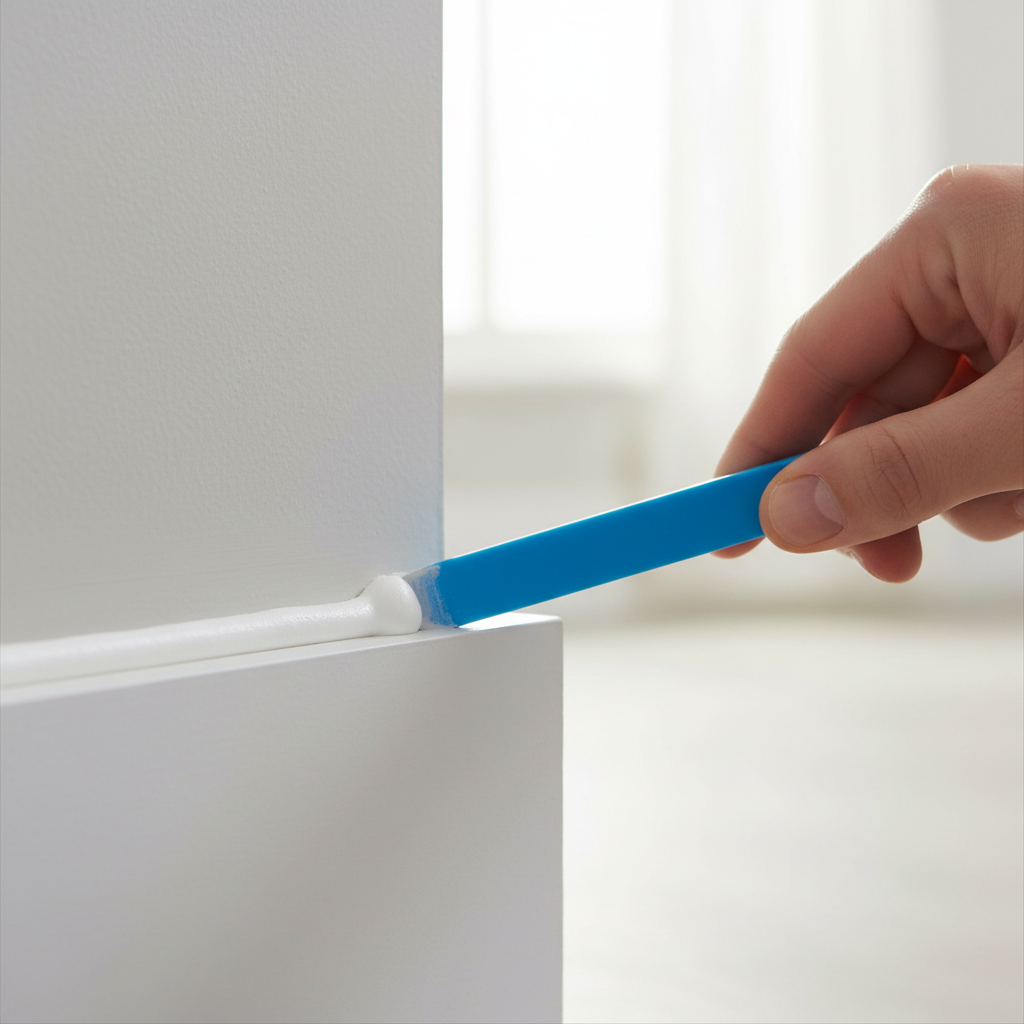
- Caulk finishing tool: consistent radius, less mess, great for long lines and beginners.
- Gloved finger: fast, good feel, but easy to over-wet and leave residue on surrounding surfaces.
- Damp sponge or rag edge: useful for acrylic latex cleanup, less ideal for silicone unless the manufacturer allows it.
A practical rule: tool once, maybe twice. If you keep touching it, you introduce air, drag material out of the joint, and leave a shiny, uneven surface.
According to EPA, indoor air quality can be affected by chemicals used inside the home, so it’s sensible to ventilate the area and follow the sealant label instructions, especially with stronger-smelling products.
Practical workflow: a repeatable “clean bead” routine
If you want a smoother result without overthinking it, follow a set sequence. The order does a lot of the work for you.
- Clean, dry, and tape the joint if appearance matters.
- Cut a smaller tip than you think you need, then test flow.
- Run a continuous bead in manageable lengths, 2–4 feet is realistic for most DIYers.
- Tool immediately with a finishing tool or gloved finger, light pressure.
- Pull tape while caulk is fresh: peel back at a low angle for crisp edges.
- Leave it alone: avoid “one more touch-up” unless you’re fixing a clear void.
Key takeaway: clean surfaces and controlled flow usually matter more than hand “talent.” When your setup is right, your hand can be average and the bead still looks professional.
Mistakes that ruin the finish (even with a good gun)
- Using silicone where paint is needed: paint won’t bond well to many silicones, plan the finish first.
- Skipping curing time: water exposure in a shower too soon can cause premature failure.
- Overfilling big gaps: use backer rod or choose a product meant for wider joints.
- Cleaning with random solvents: check the label, some chemicals can weaken adhesion or discolor surfaces.
- Chasing perfection in one pass: slight variation is normal, what you want is a sealed joint and clean edges.
When to call a pro (or at least ask for guidance)
Caulking looks simple, but certain situations raise the stakes. If you see active water intrusion, rot, mold you suspect is widespread, or recurring joint failures, it may be smarter to consult a qualified contractor or remediation professional. For product safety, especially in enclosed spaces, follow the manufacturer’s SDS guidance and consider asking a hardware pro which sealant fits your substrate.
Conclusion: smoother caulk is mostly process
A caulking gun smooth finish is rarely about a single magic tool, it’s the combination of a dripless, controllable gun, a properly cut tip, clean surfaces, and tooling at the right moment. If you want one action that pays off immediately, cut the nozzle smaller and slow your trigger rhythm, you’ll notice the bead settle down right away.
If you’re sealing a high-visibility area, do a short practice run on cardboard, then tackle a 2–3 foot section first, once that looks good, keep going.
FAQ
What type of caulking gun helps most with a smooth finish?
A dripless caulk gun with a smooth rod and comfortable grip usually makes it easier to stop cleanly and keep flow consistent, especially for long beads.
Why does my caulk bead look bumpy even when I go slowly?
Bumps often come from inconsistent pressure or a partially clogged tip. Retest on cardboard, and consider cutting a fresh nozzle opening so the flow doesn’t surge.
Should I push or pull the caulk bead?
Many people get cleaner lines by pulling because they can see the bead forming, but either method works if your nozzle angle stays stable and you don’t twist your wrist mid-pass.
Can I use water or soapy water to smooth silicone caulk?
Some people do, but results vary by product and surface. It’s safer to follow the sealant label guidance, and use a finishing tool and light pressure to avoid smearing.
How do I get crisp edges without a lot of cleanup?
Painter’s tape on both sides of the joint helps, then tool the bead and pull the tape immediately while the caulk is still fresh, peeling back at a low angle.
What’s the biggest reason caulk fails after it looked fine on day one?
Bonding issues: moisture, residue, or old silicone left behind. A bead can look smooth but still lift if the surface wasn’t cleaned and dried well.
How long should I wait before using a shower after caulking?
It depends on the product and conditions. Check the label for cure time, and if the room is humid or cool, it often takes longer than you expect.
Is a battery-powered caulking gun worth it for DIY sealing?
It can be, especially for long runs or thicker sealants where hand fatigue causes uneven pressure. For occasional small jobs, a good dripless manual gun is often enough.
If you’re sealing multiple rooms and want fewer do-overs, it can help to pick one reliable dripless gun, match sealant to the surface, and practice your trigger rhythm on scrap first, it’s the quickest path to cleaner lines without turning the project into a whole weekend.