
Sandpaper sheet waterproof options exist for a reason: wet sanding is supposed to cut smoothly without loading up, but many people end up with soggy sheets, clogged grit, and swirl marks that show up the moment the surface dries.
If you are sanding automotive clear coat, smoothing primer, flattening wood finishes, or refining epoxy, the sheet matters as much as your technique. The right waterproof backing and abrasive type usually means cleaner scratch patterns, less dust, and fewer sheet changes.
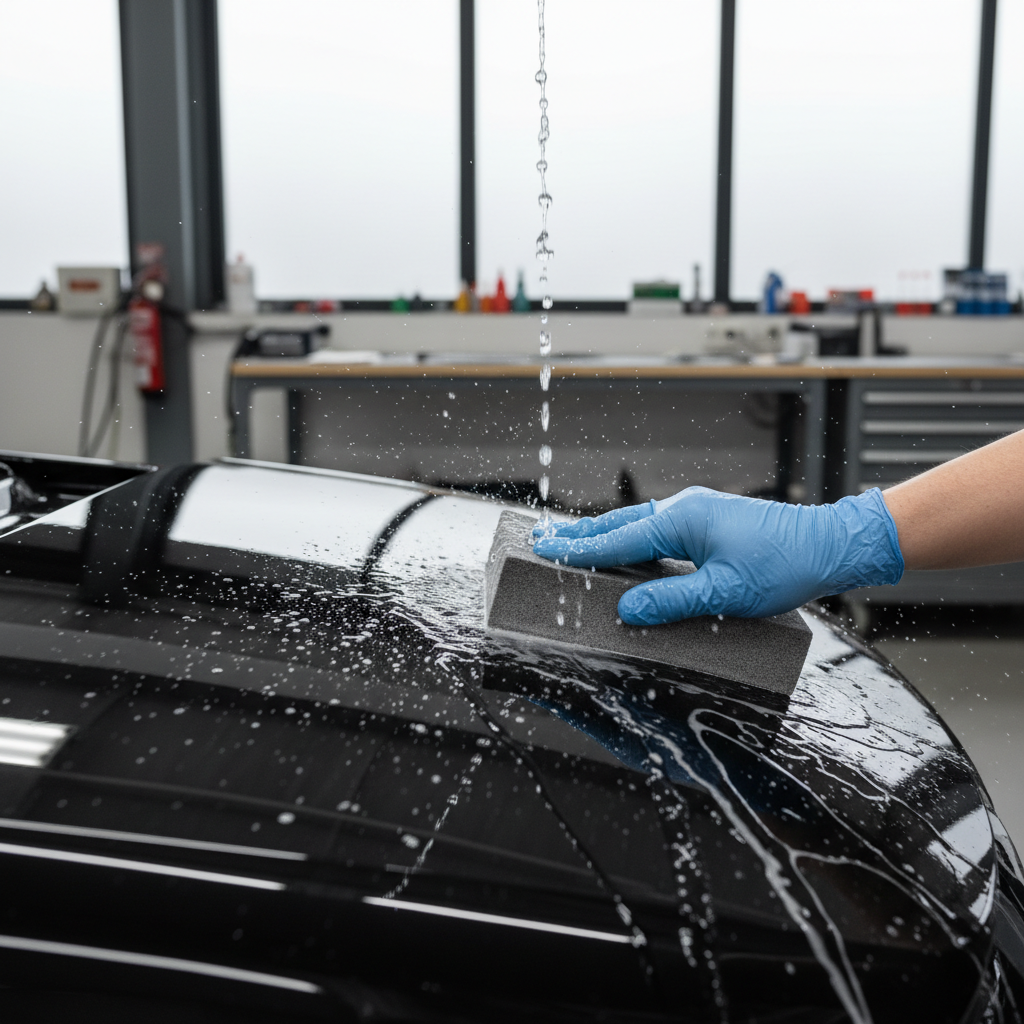
What makes this topic tricky is that “waterproof” gets used loosely in listings. Some sheets resist water for a short session, others are built for longer soak times, and a few are simply standard paper that falls apart when you look at it wrong. Below is a practical way to choose, test, and use wet-or-dry sheets so your finish improves instead of getting riskier.
Why waterproof sheets behave differently in wet sanding
Wet sanding works because water acts as a lubricant and a carrier, it helps float away sanding debris so the abrasive cuts rather than drags. When the sheet cannot tolerate moisture, everything goes sideways fast.
- Backing strength: true wet-or-dry sheets often use latex-impregnated paper or film backing, so the sheet stays stable when wet and resists tearing at edges.
- Bonding system: the resin that holds grit in place must tolerate water, otherwise grains shed early and the sheet “goes smooth” too soon.
- Abrasive type: silicon carbide is common for wet sanding because it fractures to stay sharp, aluminum oxide is common on wood but may load faster depending on the finish.
- Scratch consistency: with steady lubrication, a sandpaper sheet waterproof tends to leave a more uniform pattern, which matters when you polish after.
According to OSHA, wet methods are often used to help control airborne dust in certain tasks, which is a nice side benefit, but it does not replace appropriate PPE and ventilation when your material still creates hazardous slurry.
Quick self-check: do you actually need waterproof sandpaper?
Not every sanding job benefits from water. If your sheet fails in wet sanding, the problem may be the process rather than the product.
- You probably want wet-or-dry sheets if you sand clear coat, paint, primer surfacer, gelcoat, or cured epoxy and plan to compound or polish.
- Stay dry (most of the time) if you sand bare wood before stain, or if water may raise grain and add extra steps.
- Be cautious if you sand MDF edges, body filler not fully cured, or unknown coatings, moisture can soften some materials or cause swelling.
- Red flag: if your current “waterproof” sheet curls, delaminates, or sheds grit within minutes, it is likely not built for true wet sanding.
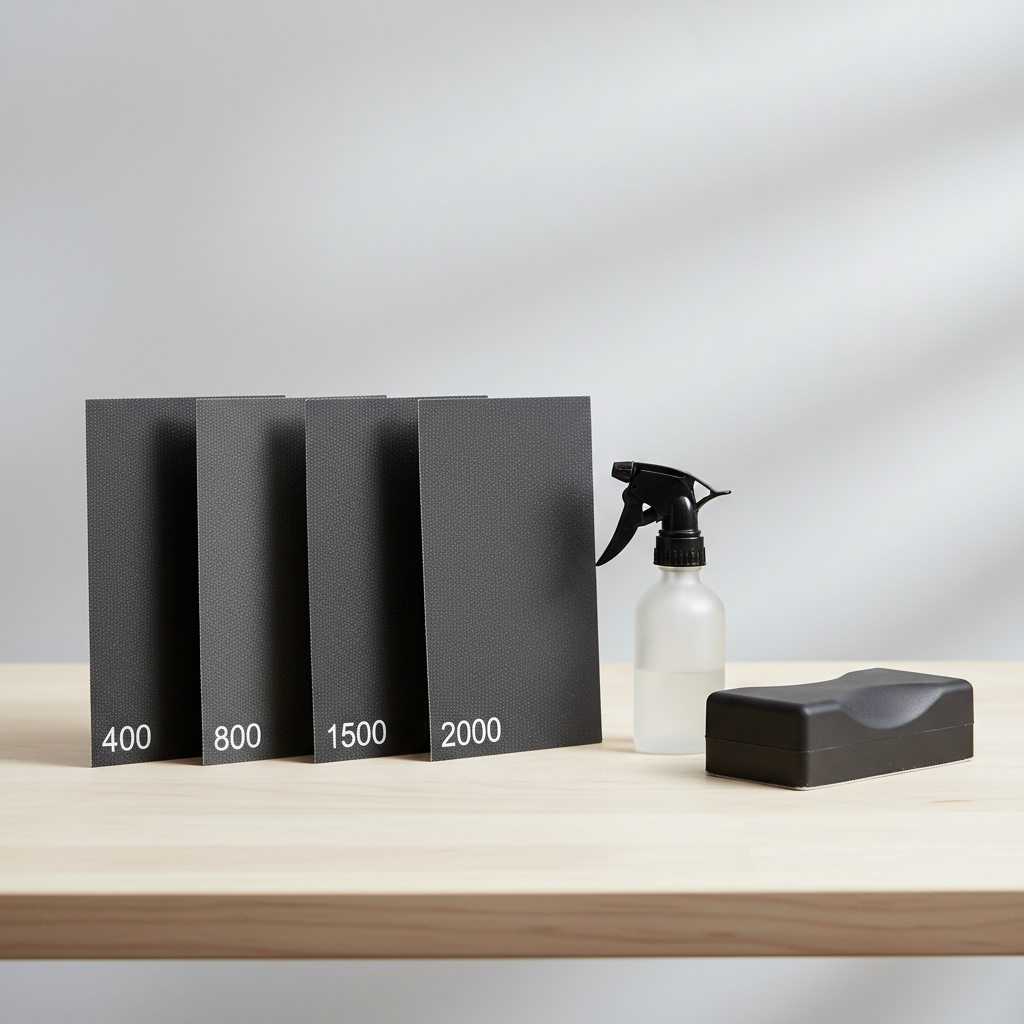
If you are unsure, do a 5-minute test: cut a small strip, wet it, wrap it on a block, sand a scrap piece, and see whether the sheet stays flat and sharp. That test tells more than most product copy.
Choosing the right grit and backing for wet sanding
Grit choice is where many projects get overworked. People jump too fine too early, then press harder to “make it cut,” which invites pigtails and uneven sanding.
Typical grit ranges (common use cases)
- 320–600: leveling primer, removing orange peel on fresh clear (only if film build supports it), shaping scratches before refinement.
- 800–1200: refining texture, prepping for compound, blending edges where you want control.
- 1500–3000: final refinement before polishing, reducing compounding time, minimizing haze risk.
Backing matters too. Paper is flexible and affordable, film is flatter and often leaves a more consistent scratch pattern on hard coatings. For many finishing workflows, film-backed wet-or-dry can feel “more predictable,” though it may cost more.
Wet sanding technique that wastes fewer sheets
A better sheet helps, but technique is what keeps it cutting. Most failures come from too little lubrication, too much pressure, or sanding without a stable interface.
- Use a block when you can, it keeps pressure even and reduces finger grooves. Soft interface pads help on curves.
- Keep the surface wet, a spray bottle with clean water is usually enough. Some add a drop of car wash soap for glide, but avoid anything that could interfere with later paint or adhesion.
- Light pressure, more passes, let the abrasive do the work. If it stops cutting, rinse the sheet and the surface.
- Work in small sections, especially on clear coat. You want control, not speed.
- Rinse frequently, slurry can act like random grit and create deeper scratches.
If your goal is polishing, you are really managing scratch depth. A sandpaper sheet waterproof used with a consistent block and lubrication keeps scratches closer to “expected,” which makes compounding less stressful.
Comparison table: what to look for when buying waterproof sheets
Listings can be vague, so focus on build cues that predict performance. Use this table as a buying filter.
| What to check | Why it matters in wet sanding | What “good” often looks like |
|---|---|---|
| Backing | Prevents curling, tearing, edge breakdown | Latex paper or film backing, stays flat when soaked |
| Abrasive | Affects cut rate and scratch quality | Silicon carbide for many wet sanding finishing tasks |
| Resin bond | Holds grit under water exposure | “Wet/dry” or “waterproof resin” language, consistent grit retention in use |
| Grit standard | Prevents surprise coarseness between brands | Clear grit labeling (CAMI or FEPA), consistent feel across sheets |
| Sheet size | Fits blocks and reduces waste | 9x11 sheets for hand sanding, or pre-cut sheets for your block |
Common mistakes (and how to avoid them)
Wet sanding looks forgiving, but it quietly punishes small errors. These are the ones that typically cause “mystery scratches.”
- Skipping grits too aggressively: if you jump from 600 to 2000, you may spend forever at 2000 and still leave 600 scratches behind.
- Using fingertips instead of a block: finger pressure creates uneven cut, especially on clear coat and flat panels.
- Letting slurry dry on the surface: dried grit clumps can gouge. Keep it wet, wipe and rinse often.
- Over-soaking cheap sheets: some products tolerate splashes but fail with long soak times. If you must soak, test first.
- Assuming “waterproof” equals “safe”: wet sanding still removes material. On thin clear coat, you can burn through. If you are unsure about film thickness, consider asking a body shop or detail pro.
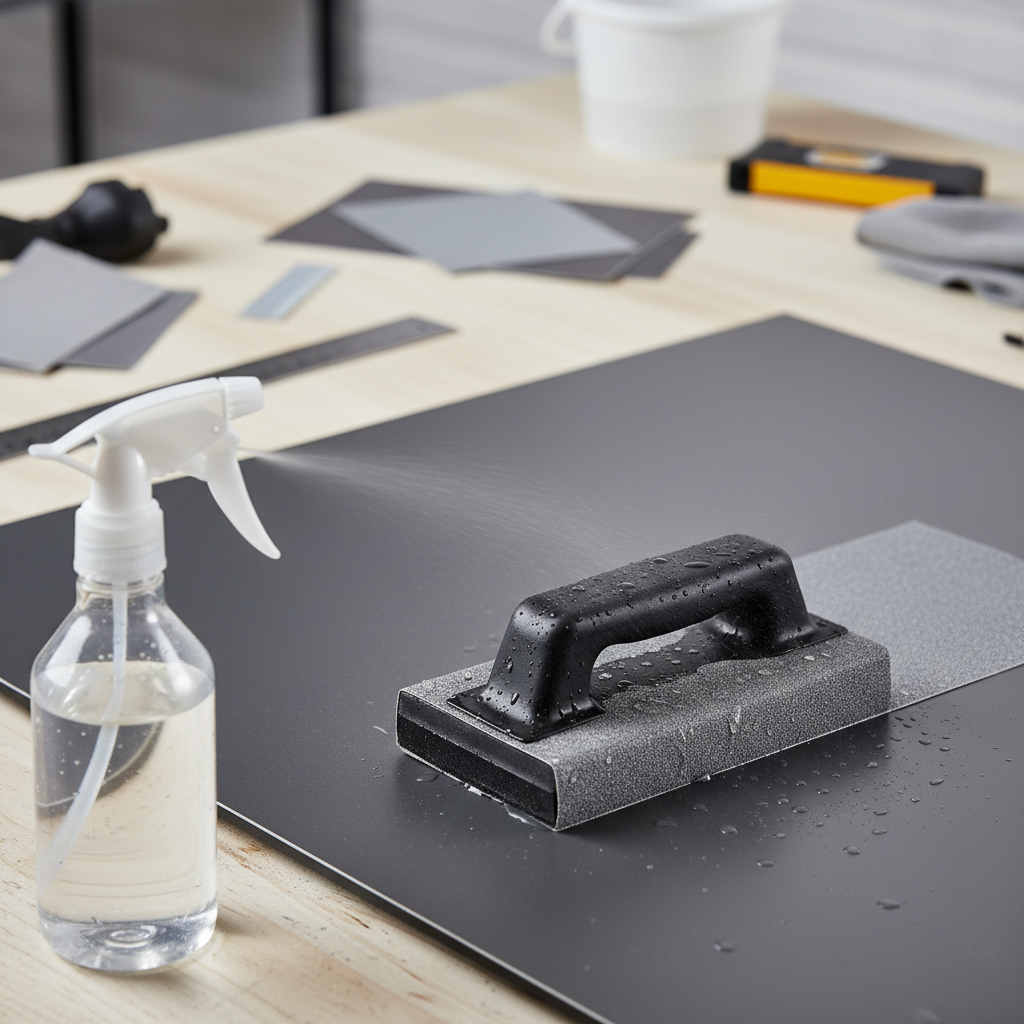
One more practical tip: if you see random deep scratches, stop and clean everything. In many cases it is contamination, a single grain of debris trapped under the sheet, not the grit rating itself.
When to consider professional help
Wet sanding can cross from “finish improvement” to “finish repair” quickly. If you are working on a vehicle with unknown paint history, a vintage instrument, or a high-value countertop, it may be worth talking to a refinisher before you start.
- If you suspect thin clear coat or prior burn-through repairs, a pro can advise on safer grit choices and polishing steps.
- If the surface has peeling, checking, or adhesion issues, sanding may make failure spread.
- If the material dust or slurry could be hazardous, ask about containment and PPE. According to NIOSH, controlling exposure to airborne particles is an important part of reducing risk in many work settings.
Key takeaways and a simple action plan
Key points to keep in mind: wet sanding rewards consistency more than force, and the sheet must stay stable under water if you want predictable results.
- Pick wet-or-dry sheets with a backing that stays flat, not just “water resistant” marketing.
- Match grit steps to the job, do not jump too far and expect polishing to erase everything.
- Use a block, keep the surface lubricated, and rinse often to avoid random deep scratches.
If you want a quick next step, choose one panel or small test area, run a controlled grit progression, and inspect after drying under good lighting. That tells you whether your sandpaper sheet waterproof choice and technique fit your surface before you commit to the whole project.
FAQ
What is the difference between waterproof sandpaper and regular sandpaper?
Waterproof sheets are built with backing and bonding that tolerate water exposure, so they resist curling, tearing, and grit loss. Regular paper sheets often break down quickly when soaked or heavily wetted.
Can I use waterproof sandpaper dry?
Usually yes. Many wet-or-dry products work dry, though they may load faster without water, especially on paints and resins. If dust control matters, consider wet methods where appropriate.
What grit should I start with for wet sanding clear coat?
It depends on texture and film build. Many people start around 1000–1500 for orange peel refinement, but on thin or unknown clear coat, a safer approach may be starting finer and accepting slower leveling, or consulting a professional.
Should I soak wet-or-dry sheets before use?
Some sheets perform better after a short soak because they become more pliable. Others do fine with spray-and-go. If the product is low quality, soaking can reveal weakness fast, so test a small piece first.
Why does my wet sanding leave deep scratches even at high grit?
Most often it comes from contamination, a dirty bucket, debris on the panel, or slurry clumps. Rinse the sheet, wipe the surface, and consider using fresh water and a cleaner sanding block.
Is adding soap to the water a good idea?
A tiny amount can improve glide and reduce sticking, but keep it minimal and avoid products that might leave residue if you will paint afterward. When in doubt, stick to clean water for prep surfaces.
How long should a waterproof sandpaper sheet last in wet sanding?
It varies by abrasive, grit, surface hardness, and pressure. In many cases, a good sheet lasts through multiple small sections if you rinse often, while heavy leveling work can consume sheets quickly.
If you are trying to reduce rework, a consistent grit set and a reliable sandpaper sheet waterproof option that stays flat under water often saves time even if the sheets cost a bit more, especially when the alternative is chasing scratches during polishing.