
Using a stud finder with laser mark is one of the simplest ways to stop “almost right” drilling, the kind that looks fine until the anchor pulls out or the TV mount ends up a half-inch off level.
If you’ve ever found a stud, measured twice, drilled once, and still missed, you’re not alone. The usual culprit is not your tape measure, it’s the tiny shift between marking the wall and actually putting the bit where you intended.
This guide breaks down what a laser-marking stud finder actually solves, how to choose one that matches your projects, and how to use it in a way that holds up on real walls, not just perfect drywall in a demo video.
Why accurate drilling is harder than it looks
Most drilling mistakes happen in the “handoff” moment between detection and drilling. You confirm the stud, then you reach for a pencil, then you swap to the drill, and the mark is suddenly not where your bit lands.
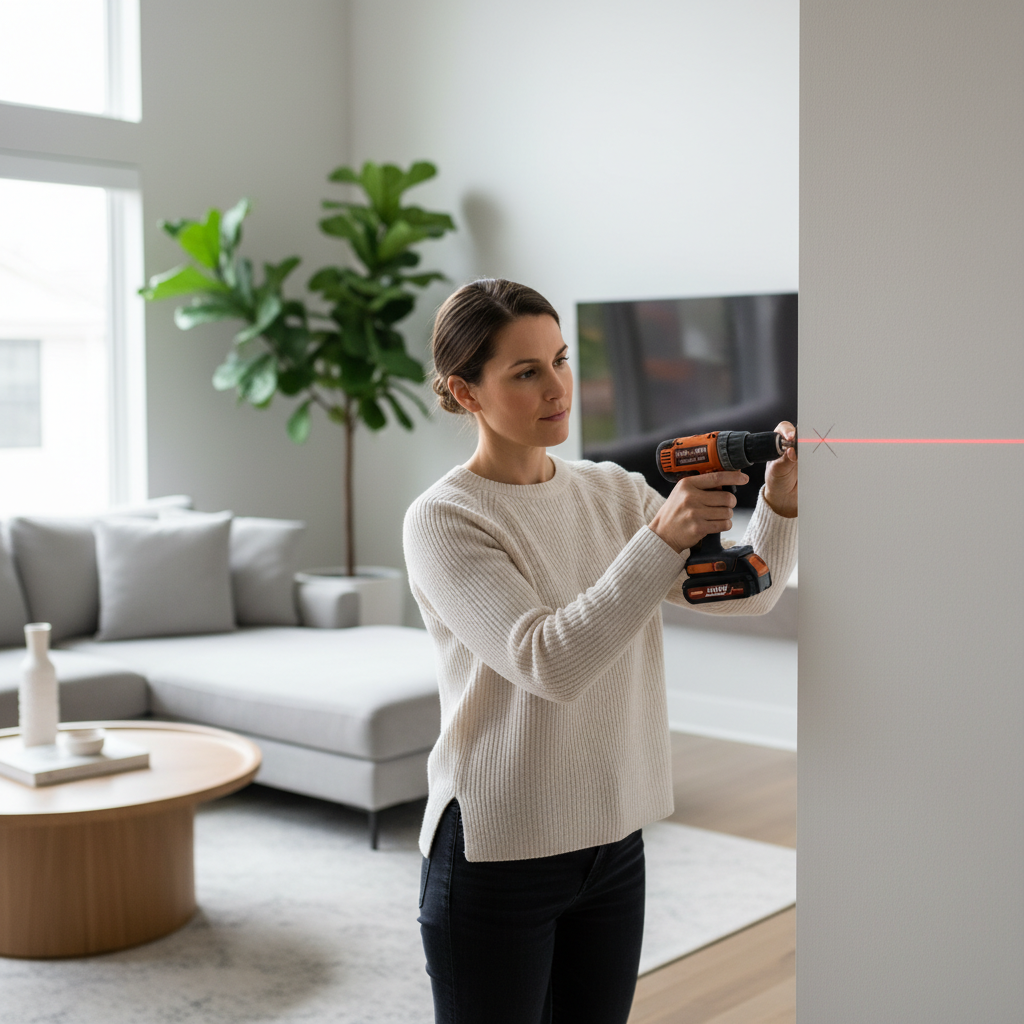
Even when you do everything “right,” several real-world factors stack up:
- Drywall texture and paint sheen can make pencil marks faint, especially on eggshell or semi-gloss finishes.
- Stud edges aren’t always clean, you might detect a wider zone, then guess the center.
- Hand placement shifts, you mark with one grip, drill with another, and your reference point moves.
- Obstructions like nail plates, plumbing, or electrical runs force you to adjust your hole location after marking.
A laser reference doesn’t magically fix every wall, but it reduces that handoff error because you can keep a visible target while you position the drill.
What a laser-marking stud finder actually does (and what it doesn’t)
A stud finder with a built-in laser typically projects a dot or line that acts as a visual indicator for where to mark or drill. In practice, it’s less about “finding studs better” and more about transferring the detected position accurately.
Here’s the honest boundary: the laser is only as trustworthy as the sensor reading. If the unit misreads due to thick plaster, lath, foil-backed insulation, or uneven wall density, the laser will confidently point you to the wrong place.
That’s why it helps to think in two steps:
- Detection: identify the stud edges/center with the sensor.
- Execution: use the laser mark to keep your drill bit aligned to the chosen point.
Used that way, the laser becomes a “last inch” alignment tool, which is usually where errors show up.
Quick self-check: do you actually need a laser mark?
If you’re debating whether this feature matters, use this quick checklist. If you answer “yes” to two or more, a laser guide tends to pay for itself in fewer patched holes and less rework.
- You install TV mounts, shelves, rails, or cabinets where hole placement must stay level.
- You often drill alone and can’t easily hold a level, mark, and drill without shifting.
- You work on dark paint or textured walls where pencil marks disappear.
- You frequently drill multiple holes in a straight line (e.g., French cleats, ledger boards).
- You’ve had studs “move” on you between marking and drilling, even after rechecking.
If you mostly hang light frames with drywall anchors, a basic unit and careful marking might be enough.
Choosing a stud finder with laser mark: what to compare
Not all laser-marking models behave the same. Some project a dot that’s easy to aim at a single hole, others project a line that helps with alignment across multiple fasteners.
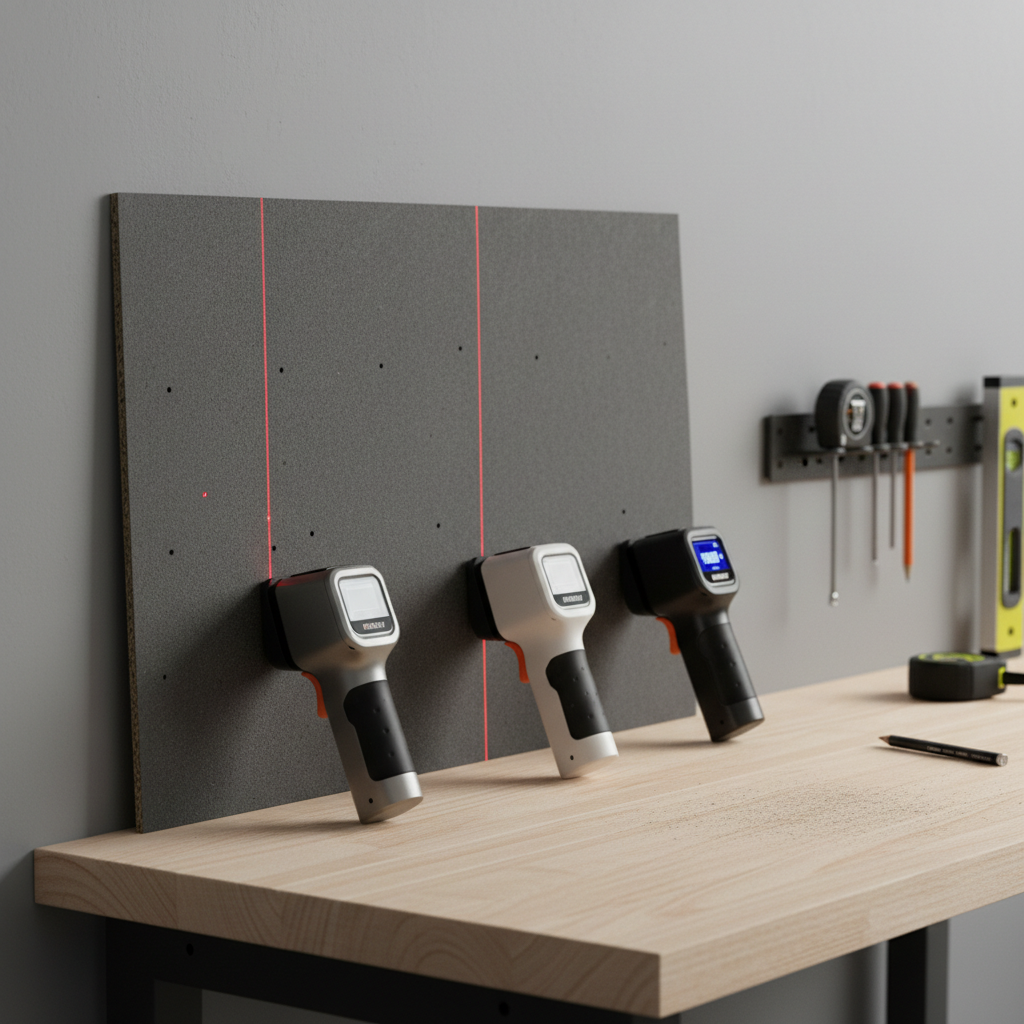
Use the table below as a practical buying filter, especially if your goal is accurate drilling rather than “more features.”
| Feature | Why it matters | Who benefits most |
|---|---|---|
| Laser type (dot vs line) | Dot helps pinpoint a single hole, line helps keep multiple holes aligned | TV mounts, rails, shelving systems |
| Center-finding mode | Reduces guessing between two edge marks | Anyone doing structural fasteners |
| Deep scan / multi-material modes | Walls vary, better modes can reduce false positives | Older homes, thicker walls, tiled areas |
| AC wire warning | Helps avoid drilling near energized wiring, still not a guarantee | Kitchens, media walls, remodeled rooms |
| Calibration behavior | Some devices require frequent recalibration as you move | People working room-to-room |
| Ergonomics and grip | If it rocks on the wall, your reading shifts | Textured walls, one-handed use |
One more practical point: if you expect to use the laser in bright rooms, check whether the beam remains visible on light paint. Some lasers wash out under strong lighting, and you end up back to pencil marks.
How to use it for accurate drilling (real-world steps)
A stud finder with laser mark works best when you treat it like a process, not a single beep-and-drill moment. The goal is to confirm location, pick the exact hole point, then keep that point visible until the bit starts.
1) Start with a clean reference pass
Place the tool flat, then scan slowly. Many models expect you to begin on “empty” drywall so the sensor can baseline properly.
- Scan left-to-right to find one edge, then reverse to confirm.
- If your unit provides a center indicator, verify it by finding both edges anyway.
2) Confirm with the “two-pass” habit
Two passes from different directions often catch false positives from drywall patches or dense paint zones. If the stud location changes a lot between passes, trust the inconsistency and recheck rather than forcing a decision.
3) Use the laser to hold the spot while you position the drill
Instead of marking first, many people get better results by turning on the laser, then bringing the drill to the beam, and only then making a small starter dimple.
- For drywall, a nail set or awl can create a tiny pilot dimple so the bit doesn’t “walk.”
- For hard surfaces, start with a smaller pilot bit when appropriate.
4) If it’s a mount, establish level before committing
For brackets and rails, you usually want both stud accuracy and a level line. Many users do a “dry fit” step:
- Find studs and note centers with the laser, lightly mark with painter’s tape.
- Hold the bracket, level it, then choose the final hole points that land on stud centers.
This is where a line laser can feel more natural than a dot, but either can work if you slow down.
Safety and common mistakes (the stuff people skip)
It’s tempting to assume a warning icon means “safe” and no icon means “clear.” That’s not how walls behave.
According to OSHA, contact with electricity is a major hazard in construction environments, and drilling into concealed wiring can create serious risk. A stud finder’s AC warning can help, but it should not replace cautious drilling practices.
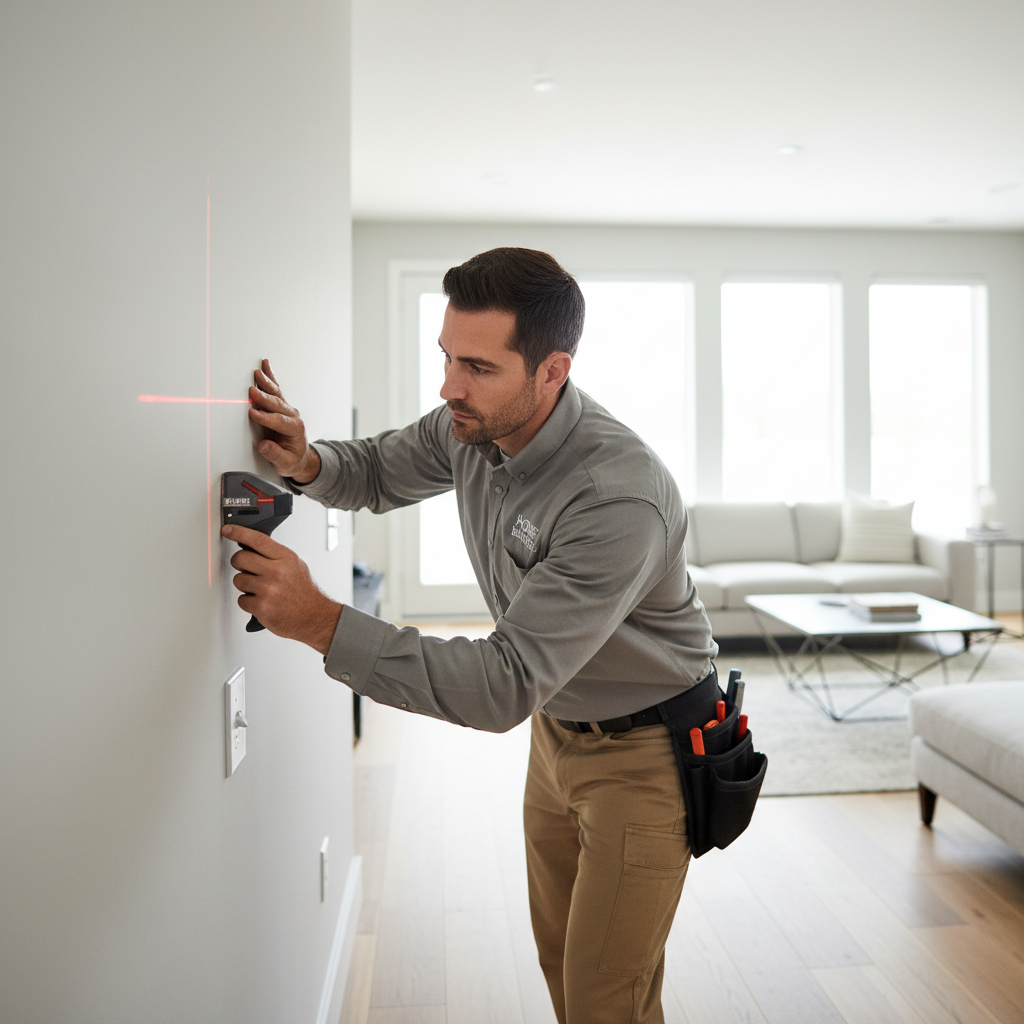
Common mistakes worth avoiding:
- Scanning too fast, many sensors need a slow, steady slide to read density changes.
- Pressing unevenly, rocking the tool changes the sensor distance and can shift readings.
- Trusting a single beep, confirm edges and center rather than committing to one signal.
- Ignoring “no stud” realities, some walls have metal studs, wide spacing, or blocking only where needed.
- Drilling deep immediately, start shallow and check resistance, especially near outlets or switches.
If you’re drilling in kitchens, bathrooms, or anywhere plumbing may run, cautious probing and conservative hole depth are smart. In higher-risk locations, it may be worth consulting a professional.
Practical drilling setups by project type
Where the laser really shines is repeatability. Below are a few setups that tend to reduce frustration.
TV mount on drywall
- Locate both studs, confirm center points, then use the laser to keep each pilot hole on center.
- Start with pilot holes before lag bolts, especially if you feel the bracket wants to pull off level.
- If the stud center seems too close to an outlet path, adjust height or consult an installer.
Floating shelves or cabinet rail
- Use painter’s tape for temporary marks, then align the rail with a level.
- Use the laser reference to keep holes consistent along the rail line.
- If studs don’t line up with shelf positions, consider approved anchors for the load, or redesign spacing.
Garage wall storage and peg systems
- Scan across a wider area, garages can include fire-rated drywall and varied framing.
- Once you find a stud, measure 16 inches on center as a hypothesis, then verify with the sensor.
- Laser mark helps keep your first row straight, which saves time across the whole system.
Key takeaways before you buy or drill
- Laser marking improves alignment more than it improves detection, treat it as an execution aid.
- Look for strong center-finding and steady calibration behavior, flashy extras matter less.
- Confirm readings from both directions, false positives happen on patched or uneven walls.
- AC warnings can be helpful, but drilling near wiring or plumbing calls for extra caution.
Conclusion: a small feature that saves real rework
A stud finder with laser mark won’t eliminate every miss, but it often cuts down the most annoying part of hanging anything heavy, that moment when your careful mark turns into a slightly wrong hole.
If you want a simple next step, pick one project you care about, a TV mount or shelves, then practice the two-pass scan and drill-to-laser method on a less visible wall first. Once you trust the workflow, the laser starts feeling less like a gadget and more like a steady aiming point.
FAQ
Is a stud finder with laser mark more accurate than a regular stud finder?
It’s usually more accurate at placing the hole where you intended. Detection accuracy still depends on sensor quality and the wall, the laser mostly helps you transfer the reading to the drill without shifting.
Dot laser or line laser, which is better for drilling?
A dot often feels better for single fasteners, like one pilot hole. A line tends to help when you need multiple holes to stay aligned, like mounting rails or long brackets.
Can I rely on AC wire detection to avoid hitting electrical wiring?
It can reduce risk, but it’s not a guarantee. If you’re close to outlets, switches, or known cable routes, drill cautiously and consider getting advice from a qualified electrician for uncertain walls.
Why does my stud finder show a wide stud area instead of a clean center?
Many times it’s sensing edges inconsistently due to drywall thickness, texture, or nearby fasteners. Slower scanning, consistent pressure, and confirming from both directions usually narrows the center.
Do laser stud finders work on plaster or lath walls?
Sometimes, but performance varies a lot. Older wall construction can confuse sensors, so you may need alternate confirmation methods, and conservative pilot holes help.
What’s the best way to mark without damaging paint?
Painter’s tape is a safe option for temporary marks, and you can mark the tape instead of the wall. The laser helps reduce how many marks you need in the first place.
How do I keep the drill bit from walking off the mark?
Create a small starter dimple with an awl or nail set, then begin with a pilot bit. This matters more on glossy paint, dense drywall, or when drilling at an angle.
How many passes should I scan before drilling?
Two passes is a good baseline, one from each direction. If results disagree, do another pass, change the starting point, and don’t rush into the hole.
If you’re currently patching mis-drilled holes or installing something that has to look perfect, choosing a tool setup that keeps the drill aligned, like a laser-guided stud finder plus a simple pilot-hole routine, can make the job feel a lot more predictable without turning it into a weekend project.