
Cable label set for wiring sounds simple, but it usually becomes urgent the moment you open a panel and realize half the conductors look identical. If you have ever traced a wire by guessing, you already know the cost: wasted time, avoidable downtime, and the kind of confusion that makes small jobs feel risky.
The good news is that labeling does not require fancy tools or a full rewire. With the right label types, a consistent naming scheme, and a few habits that stick, you can make any wiring job easier to service, easier to audit, and easier to hand off to someone else.
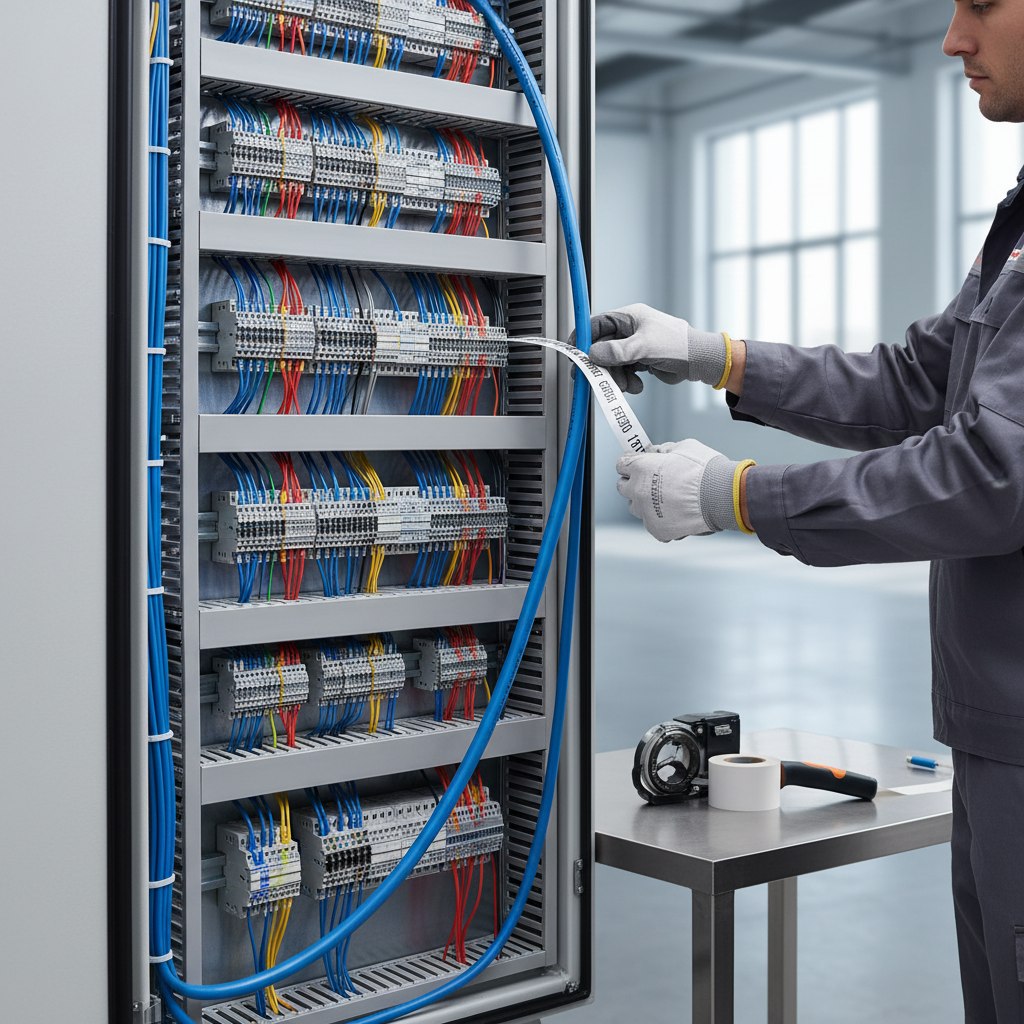
A common misconception is that “any sticker works.” In reality, labels fail for boring reasons: heat, oil, humidity, tight bends, or simply the wrong adhesive. This guide walks through what to buy, how to choose based on environment, and how to label so it still makes sense months later.
Why wiring labels fail (and why it matters)
Most label problems show up during maintenance, not on day one. Many installs look fine when you close the enclosure, then the first service call reveals fading text, peeling corners, or missing IDs.
- Surface mismatch: some cable jackets resist adhesives, especially certain plastics, so labels lift over time.
- Heat and UV exposure: garages, rooftops, attics, and outdoor runs can fade inks and embrittle materials.
- Chemicals and oils: shops and industrial spaces can dissolve adhesives or smear print.
- Too-tight bends: small-gauge wires and tight routing can cause flags or wraps to pop.
- Inconsistent naming: labels may survive physically, but still fail because “W1” means nothing without a scheme.
According to OSHA, employers must ensure electrical equipment is used and maintained safely, and clarity in identification often supports safer work practices. If you work in a regulated environment, labeling may also align with internal lockout/tagout procedures, so it is not just “nice to have.”
What a cable label set for wiring typically includes
Not every kit is built the same. A cable label set for wiring usually bundles a few label formats so you can match the job instead of forcing one label to do everything.
Common label types you will see
- Wrap-around self-laminating labels: print area plus a clear tail that seals it, great for durability on cable jackets.
- Flag labels: readable without rotating the wire, handy in dense panels where wraps become hard to see.
- Heat-shrink sleeves: very durable, often preferred for harsh environments, but you need the right shrink size and a heat source.
- Pre-printed markers: quick for standard numbering, less flexible for custom names.
- Tie-on tags: useful for temporary IDs or oversized text, can snag if not managed.
In practice, wraps handle most general wiring, flags solve readability in tight spaces, and shrink sleeves win when heat, abrasion, or chemicals are part of daily life.
Quick self-check: which label approach fits your job?
Before buying, answer a few practical questions. This saves you from ordering a kit that looks good in photos but fails in your environment.
- Indoor clean enclosure: wraps or flags often hold up well.
- High heat or outdoor exposure: consider UV-rated wraps or heat-shrink sleeves.
- Oil, solvents, frequent wipe-downs: self-laminating wraps or sleeves tend to last longer.
- Very dense terminal blocks: flags improve scan-ability when wires are packed.
- Need fast numbering only: pre-printed markers might be enough.
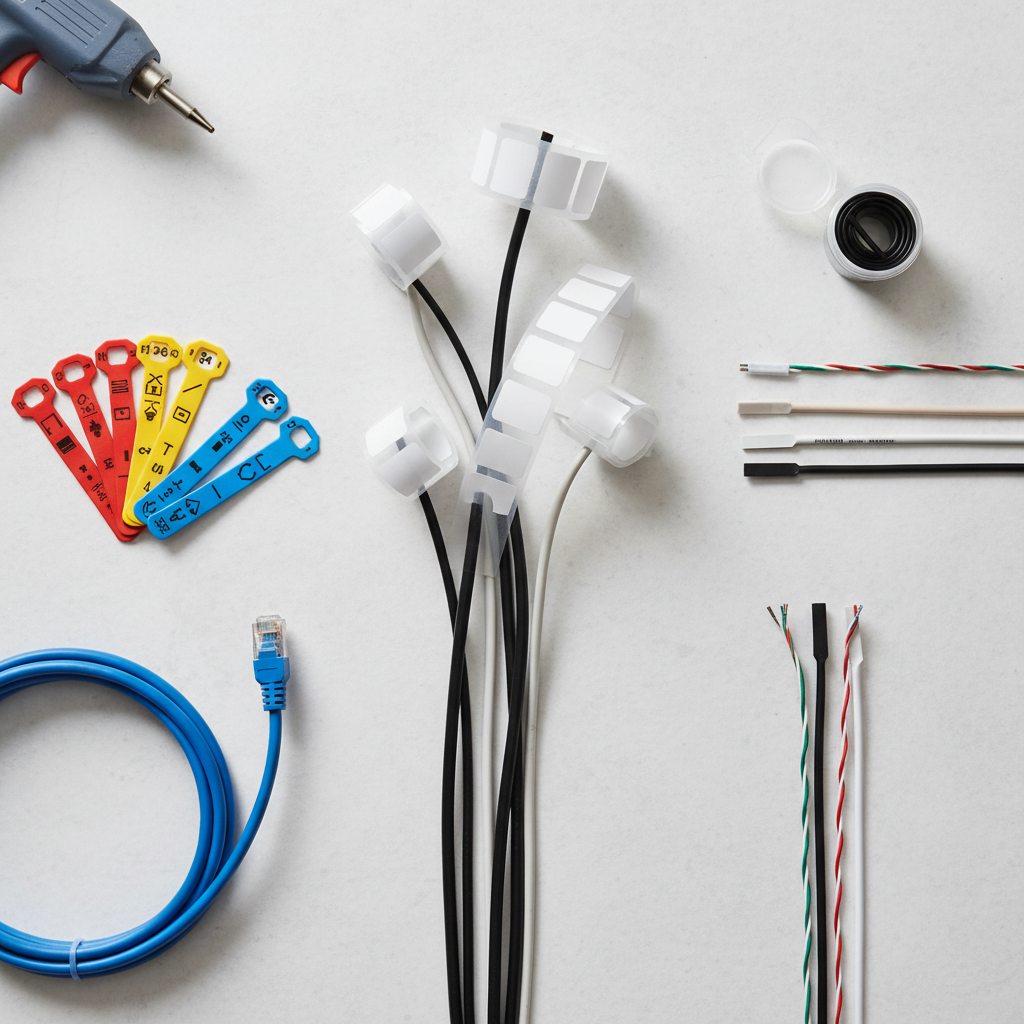
If your answer is “a bit of everything,” choose a mixed kit and standardize your naming scheme first, because a great material cannot fix unclear IDs.
Choosing the right set: materials, print method, and readability
Buying labels is partly about durability, but also about how quickly a human can understand them under pressure. A cable label set for wiring should be chosen with the real maintenance moment in mind, not the installation moment.
Material and adhesive basics
- Vinyl: flexible and common, usually good for general indoor use.
- Polyester: often tougher and more solvent resistant, good for panels and equipment IDs.
- Nylon cloth: conforms well to curved surfaces and can be good on rougher jackets.
If you are unsure, look for labels marketed for electrical, industrial, or control panel use, and verify the temperature and chemical resistance ranges listed by the manufacturer.
Print options: pre-printed vs printable
- Handwritten: acceptable for temporary work, but ink can smear and readability varies wildly.
- Printable labels (label printer): consistent and fast once you have templates.
- Pre-printed books: quick for basic numbering, limited for complex identifiers.
Readability is not just font size, it is contrast and placement. Black-on-white is still the most readable in many panels, but some teams use color bands for quick system grouping. If you do, keep color meaning consistent and write it down.
A practical labeling system that does not collapse later
This is where many projects quietly fail. People label, but they label without a shared logic, so the next person treats it as “random stickers.” A little structure goes a long way.
A simple naming pattern that scales
- Location: Panel ID or room, such as “P2” or “MDF.”
- Circuit or function: “LIGHT,” “PUMP,” “FAN,” “DATA.”
- Sequence: 01, 02, 03 for similar runs.
- Ends: optional suffix like “-SRC” and “-LOAD” if it helps tracing.
Example: P2-PUMP-01-SRC and P2-PUMP-01-LOAD. It reads like plain English, and it still makes sense when the panel gets expanded.
Step-by-step: applying labels so they stay readable
Cable label set for wiring works best when you treat labeling like a mini process, not a quick afterthought. This is the workflow many techs settle into because it avoids rework.
1) Prep and placement
- Wipe cable jackets if oil, dust, or moisture exists, even a quick dry wipe helps adhesion.
- Place labels where a person can actually see them later, usually a few inches from termination points.
- Label both ends of a run when possible, you will thank yourself during troubleshooting.
2) Apply with the right tension
- For wrap-around labels, avoid overstretching; tight wraps can lift on small gauges.
- For self-laminating labels, make sure the clear tail fully covers the print area so smudges and abrasion do not hit the text.
- For flags, keep the flag direction consistent across the panel so scanning becomes natural.
3) Verify before you close the cover
- Do a quick “spin test”: can you read the ID without moving other conductors?
- Compare against your wiring diagram or panel schedule, fix mismatches immediately.
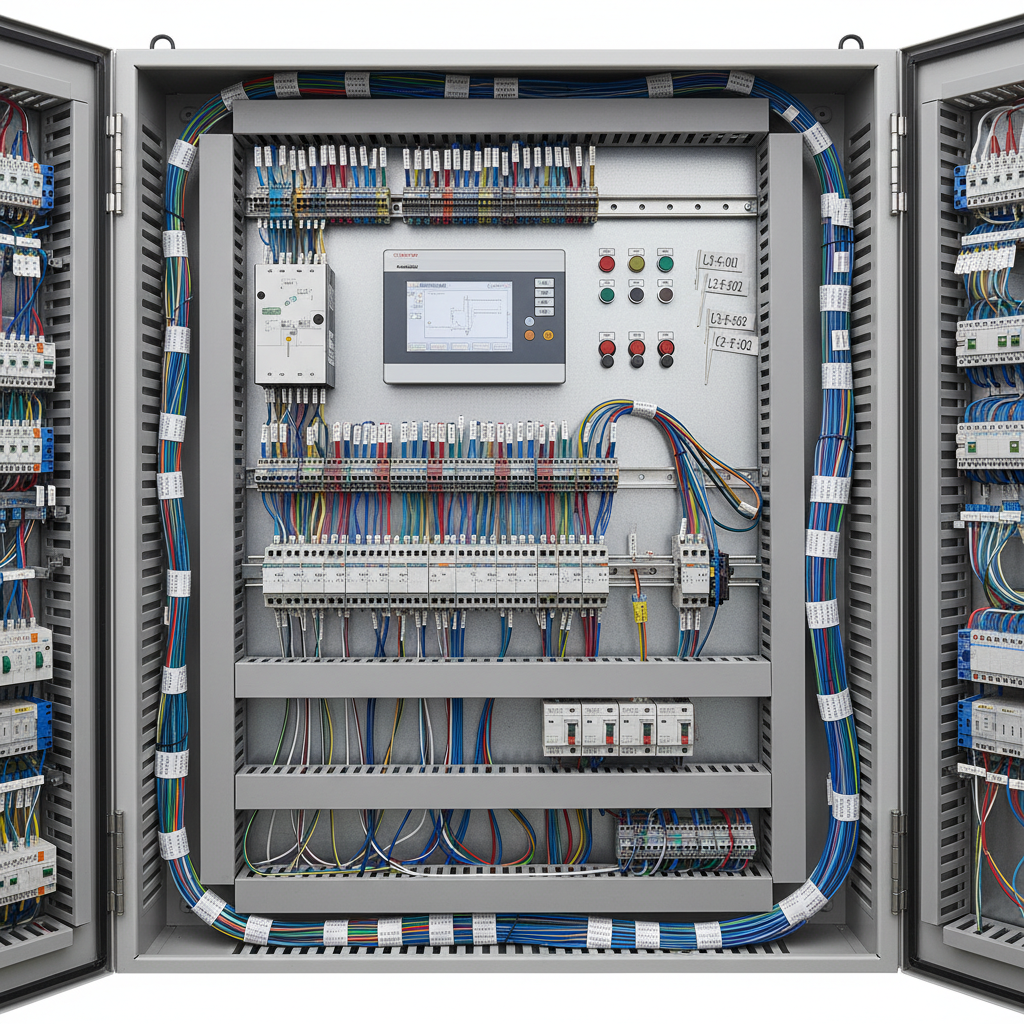
Comparison table: common label types and when to use them
If you are deciding what to keep in your kit, this quick table helps you match label format to the environment.
| Label type | Best for | Pros | Watch-outs |
|---|---|---|---|
| Self-laminating wrap | General wiring, panels | Durable, protected text, fits many diameters | Needs clean jacket, can lift if wrapped too tight |
| Flag label | Dense wiring, quick visual scans | Easy to read without rotating wire | Can snag if oversized, needs consistent orientation |
| Heat-shrink sleeve | Harsh environments | Excellent durability, abrasion resistant | Must size correctly, needs heat tool and clearance |
| Pre-printed markers | Simple numbering | Fast, no printer required | Limited customization, inventory management |
| Tie-on tag | Temporary IDs, large text | Very visible, removable | Less tidy, may interfere in tight spaces |
Mistakes to avoid (the ones that waste the most time)
- Labeling only one end: you still end up tone-tracing or guessing.
- Using tiny fonts everywhere: if you cannot read it at arm’s length, it will not help during real work.
- No documentation link: labels should map to a panel schedule, diagram, or at least a shared spreadsheet.
- Mixing schemes: “BR1” and “BEDROOM-1” in the same job guarantees confusion.
- Ignoring safety boundaries: if labeling requires opening energized equipment, consult a qualified electrician and follow site safety rules.
According to NFPA, electrical safety practices are critical when working on or near energized conductors, and many tasks should be handled by qualified persons. If you are not sure what is safe to access, treat labeling as a planning task until the equipment is in a safe state.
Key takeaways and a realistic next step
Good labeling is not about perfection, it is about making the next inspection or repair obvious. If you choose a cable label set for wiring that matches your environment and you keep the naming consistent, you usually reduce troubleshooting time immediately.
- Pick the label format for the environment, not for what looks neat on day one.
- Standardize the naming scheme before printing a hundred labels.
- Label both ends and verify against your diagram or panel schedule.
If you want one action today, start with one panel or one room, label it fully, and write down the naming rules so the next batch matches.
FAQ
What should I look for in a cable label set for wiring in a hot garage or attic?
Look for temperature ratings and materials intended for higher heat, often self-laminating wraps with stronger adhesives or heat-shrink sleeves. If the kit does not state ranges, it may not be a great fit for harsh spots.
Do I need a label printer, or can I use pre-printed markers?
Pre-printed markers work if numbering is enough, but they can feel limiting once you want function-based names. A printer adds flexibility and consistency, especially when multiple people touch the same system.
How do I label cables so I can trace them quickly later?
Label both ends, keep IDs short but meaningful, and match labels to a diagram or schedule. In dense panels, flag labels often read faster than wraps because you do not need to rotate the wire.
What is the best way to label network and low-voltage wiring?
Many low-voltage installers use wrap labels near terminations plus a simple scheme that includes location and port or drop number. The best choice depends on whether you prioritize readability at the rack, the endpoint, or both.
Why do my wire labels keep peeling off?
Usually it comes down to surface contamination, jacket material, or the label not being rated for the environment. Cleaning the jacket, switching to self-laminating labels, or moving to heat-shrink can help in many cases.
How often should I update labels after changes?
Any time a circuit function changes or a conductor gets repurposed, update the label and the documentation together. Letting them drift apart is how “mystery wires” come back.
Is it safe to label wires inside a live electrical panel?
It can be unsafe, and requirements vary by situation. If there is any doubt, plan labeling during a proper shutdown or consult a qualified electrician, especially in commercial or industrial settings.
If you are trying to standardize labeling across multiple panels or job sites, a mixed cable label set for wiring plus a shared naming template usually saves the most time, because it reduces improvisation and makes every future service call feel less like detective work.