
Hardware organizer tray stackable setups solve a very specific frustration: you know you own the right screw, washer, or bit, but you can’t find it without dumping a whole bin on the bench.
If you work in a garage, jobsite, craft room, or even a small apartment, the “pile of parts” problem costs time and patience, and it usually gets worse the more projects you take on. A good stackable tray system doesn’t just store hardware, it reduces re-buying duplicates, prevents mix-ups, and makes cleanup feel realistic.
This guide walks through what to look for, how to choose sizes and materials, and how to set up a stack you’ll still like using three months from now, not just on day one.
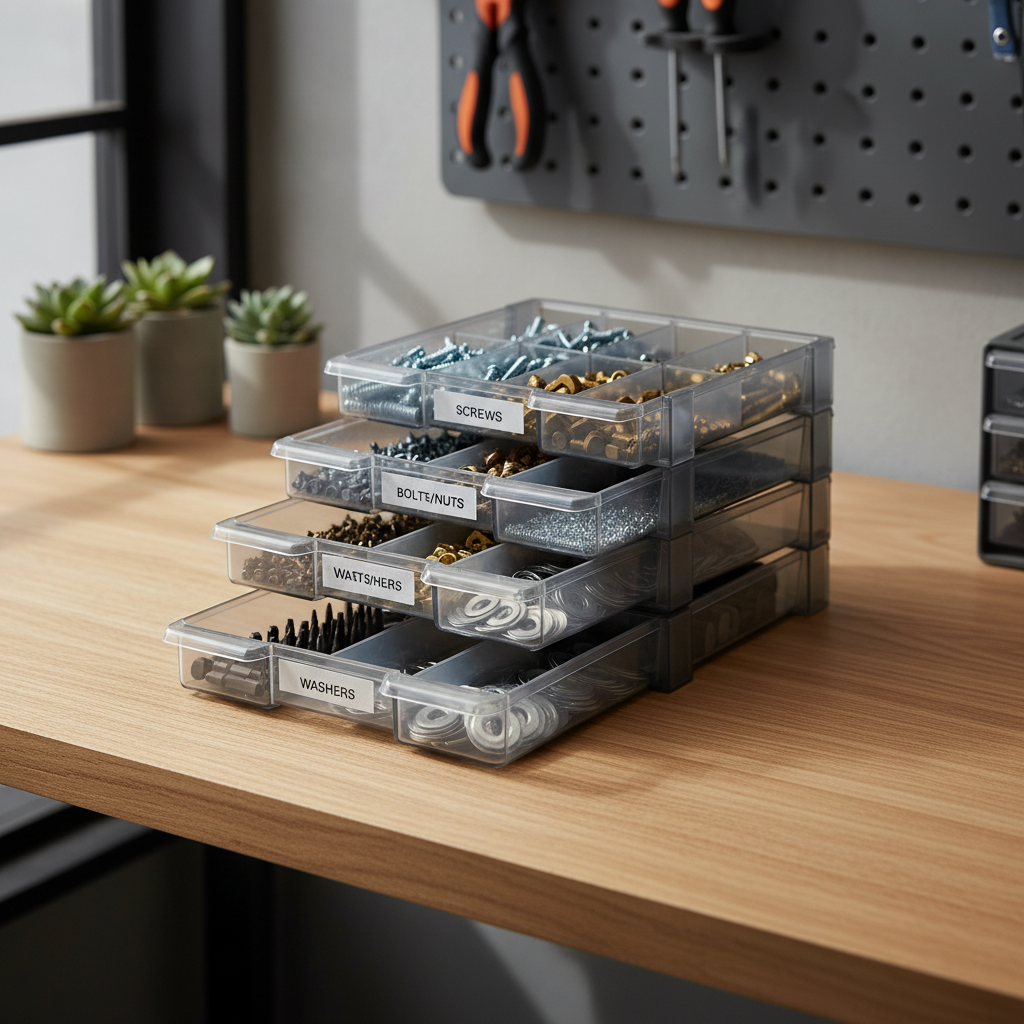
Why stackable trays beat “one big bin” in real life
The advantage isn’t just stacking, it’s separation without complexity. Most people fail at organizing because the system adds friction.
- Less “hardware soup”: Compartments prevent different fasteners from migrating into each other when you carry the box.
- Modular growth: You can add one tray for drywall anchors or picture-hanging gear without reorganizing everything.
- Faster grab-and-go: A tray stack can stay in the truck while one tray comes to the room where you’re working.
- Better visibility: Shallow trays keep parts in view, so you’re not digging to the bottom.
In a busy shop, another subtle win is consistency. When the same tray always holds the same category, you stop “thinking” about where stuff lives.
Quick self-check: are you the right fit for stackable trays?
A stackable organizer isn’t for everyone. If you only keep one mixed jar of nails, you might be fine as-is. This checklist helps you decide.
- You buy small hardware more than once because you can’t find what you already have.
- You do multiple types of projects (woodworking + home repair + hobbies) and parts overlap.
- You carry hardware between locations, even if it’s just room-to-room.
- You need to keep tiny pieces like e-clips, O-rings, springs, or PCB screws from disappearing.
- Your current organizer spills or unlatches when it tips.
If at least two feel familiar, a hardware organizer tray stackable system usually pays off quickly in reduced searching and less re-buying.
What to look for: features that actually matter
Product pages love buzzwords, but a few details decide whether you’ll enjoy using the trays.
Latch design and “stack lock” stability
Look for latches that feel positive and don’t flex. The best stacks also have a mechanical nesting feature so trays don’t slide sideways when carried.
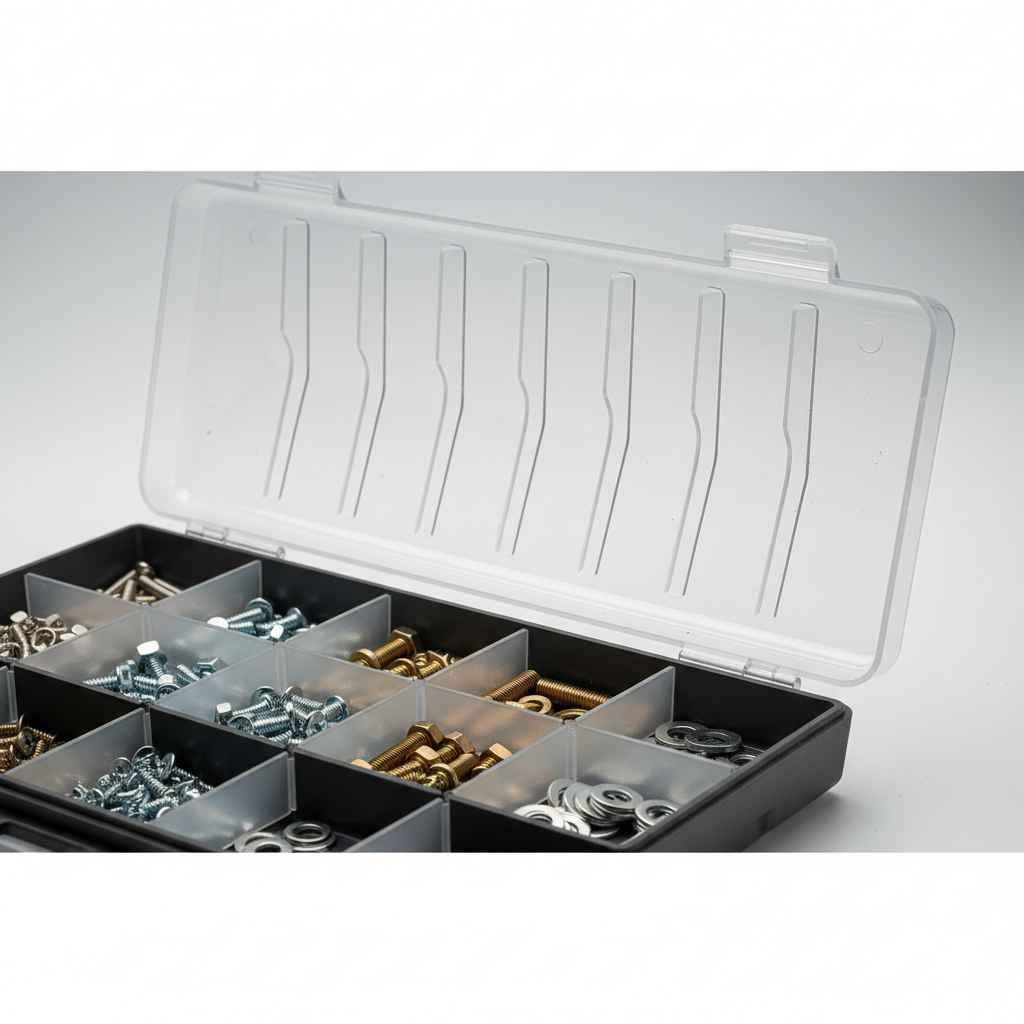
Compartment layout (fixed vs adjustable)
- Fixed compartments stay rigid and tend to resist mixing better.
- Adjustable dividers fit odd assortments, but small parts can sneak under poorly fitting dividers.
If you store very small items, prioritize tighter divider tolerances and flatter tray bottoms.
Depth, lid seal, and anti-mix performance
Many organizers look great until you tilt them. A lid with ribs that press into each compartment can reduce cross-contamination. This is one of those “boring” features you’ll appreciate after the first spill that doesn’t happen.
Material and hinge quality
Thicker plastic and robust hinges matter more than brand names. If you work in cold climates, brittle hinges can be a problem, so inspect hinge pins and the flex points.
Choosing the right setup: a practical sizing guide
Instead of guessing, match tray types to how you actually work. Here’s a quick comparison that helps you avoid buying a stack you outgrow immediately.
| Use case | Tray depth | Compartment style | Good for |
|---|---|---|---|
| General home repairs | Shallow to medium | Mixed (some adjustable) | Wall anchors, common screws, picture hooks |
| Woodworking + shop | Medium | More fixed sections | Wood screws, inserts, brads, specialty bolts |
| Automotive / small engine | Medium to deep | Fixed + a few large bays | Clips, fuses, hose clamps, assorted fasteners |
| Electronics / makers | Shallow | Small fixed cells | M2/M3 screws, standoffs, connectors, heat-set inserts |
One pattern worth copying: use two “daily driver” trays for common items and keep niche hardware in separate trays you only pull when needed.
How to set up a stackable tray system that stays organized
This is the part most people skip. The trays are fine, the system fails because labels, categories, and “reset habits” never get defined.
1) Pick categories that match how you search
Don’t organize by what looks tidy, organize by what you ask yourself mid-project. Examples:
- “Wood screws” split by gauge and length ranges you actually use
- “Wall stuff” for anchors, hooks, toggle bolts
- “Electrical smalls” for wire nuts, terminals, fuses (if applicable)
- “Oddball” tray for one-off parts, with a monthly cleanout
2) Standardize labeling so you don’t renegotiate every time
Use simple labels: size, type, and finish. For example “#8 x 1-1/4" wood, zinc.” If you want to go further, add a small note like “cabinet hinges.”
According to OSHA, good housekeeping practices help reduce workplace hazards, and while a small home shop isn’t a regulated site, the idea translates well: clear labeling and tidy storage reduce mistakes when you’re moving fast.
3) Build a “restock lane”
Keep one empty compartment or a small cup as a staging area for leftovers from a project. When you’re done, you pour items back into the right tray once, not five times during the job.
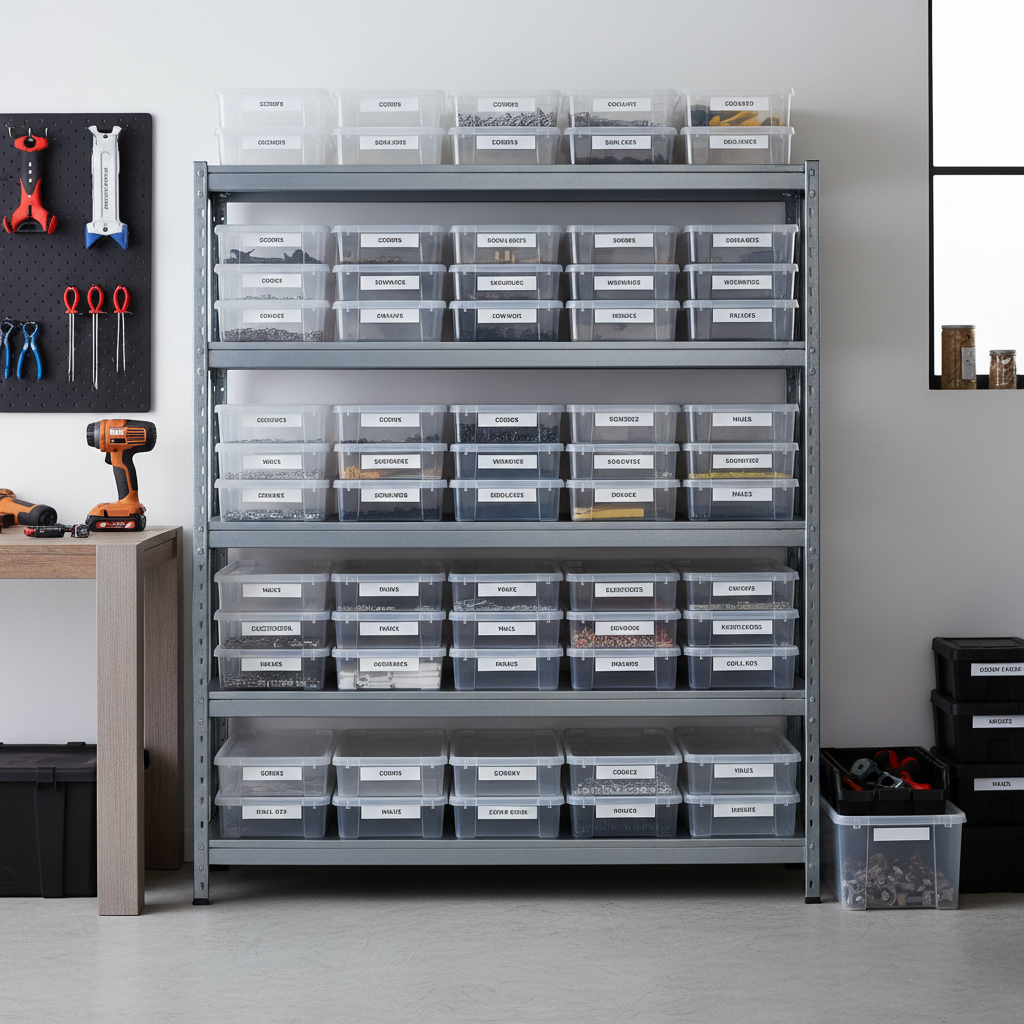
Common mistakes (and the small fixes that prevent them)
A few pitfalls show up again and again, even with expensive organizers.
- Over-splitting categories: If you create 20 micro-compartments, you’ll stop maintaining them. Merge rarely used sizes.
- Ignoring “tilt mixing”: If your tray doesn’t seal per compartment, keep tiny items in mini bags inside each bay.
- Storing by purchase kit: Those assorted kits are convenient, but your life is easier when you reorganize into “what you reach for.”
- No workflow for returns: A stackable system fails when leftovers sit on the bench for weeks.
Also, be honest about duplicates. Two identical trays labeled the same can be fine, but only if you store them together and treat them as “overflow,” not as two different homes.
Safety and when to get more help
Organizing hardware feels harmless, but there are a few edge cases where you should slow down.
- Small parts and kids/pets: Screws, magnets, and batteries can be choking or ingestion hazards. Consider locking storage or higher shelving.
- Jobsite compliance: If you’re organizing fasteners for a work crew, labeling and storage should match your company’s safety requirements.
- Unknown fasteners: If you’re dealing with structural hardware for critical repairs, it’s often safer to confirm specs with a qualified contractor or engineer rather than guessing from “looks similar.”
According to CDC, keeping small hazardous items secured can reduce unintentional injuries in the home, and hardware definitely falls into that “keep it contained” category.
Conclusion: the simplest system you’ll keep using
A hardware organizer tray stackable setup works best when it stays boring: clear categories, predictable labels, and a quick habit for putting leftovers back. If your current storage makes you hunt, spill, or re-buy, that’s your sign to move to modular trays.
Action ideas: pick one project category you do most, build a two-tray “daily driver” stack for it, then add trays only when a category repeatedly ends up as a messy pile.
FAQ
What makes a hardware organizer tray stackable system better than a tackle box?
Tackle boxes can work, but stackable trays usually give better modularity: you can expand by category and carry only what you need. The best ones also nest securely so stacks feel stable.
Do adjustable dividers cause parts to mix?
They can, especially with tiny washers or very short screws. If your dividers fit loosely or the lid doesn’t press into compartments, consider fixed compartments for small hardware or bag the smallest items.
How many trays should I start with?
For most households, two to four trays is a comfortable start: one for common screws, one for anchors and hanging hardware, and optional trays for electrical or hobby parts. Add after you feel friction, not before.
What should I label compartments with?
Use the information you’ll search: type, size, and length. If you routinely use hardware for a specific fixture, adding that note helps, but keep labels readable at a glance.
Can I store drill bits and driver bits in the same trays?
Usually yes, if compartments are deep enough and the lid closes without pressure. If bits rattle and damage each other, dedicate one tray to bits with fewer, larger compartments.
How do I keep my stack from becoming cluttered again?
Build a simple reset rule: leftovers go into one staging spot during the job, then back into the tray at the end. A five-minute weekly sweep beats a big reorganization day you’ll postpone.
Are stackable trays good for jobsite use?
They can be, but durability matters more: latches, hinges, and how well the stack locks together. If trays get tossed into a truck daily, prioritize rugged build and a secure carry method.
If you’re trying to set up a cleaner bench, a more reliable truck kit, or just want to stop losing small parts mid-project, a stackable tray system is one of the few storage upgrades that feels immediately practical, and it’s easy to start small and improve as you learn what you truly use.